
You can create a printout of a part displayed in Opus. This is not the same as plotting in CAD, and produces a graphical printout of what is displayed in the view window in Opus. There are a number of ways to access these Opus features, as described below.
Use any of the following methods to access Opus:
- Click the Opus icon
 in the Item Folder Toolbar.
Note: If the Opus icon or the Item Folder toolbar is not visible, you may need to enable it by clicking Item Folders
in the Item Folder Toolbar.
Note: If the Opus icon or the Item Folder toolbar is not visible, you may need to enable it by clicking Item Folders View
Toolbars
Item Folder Toolbar.
View
Toolbars
Item Folder Toolbar.
- Right-click in the folder contents window of any Item Folder, and click New
Empty Opus Part.
- In Profiler, click View
Opus.
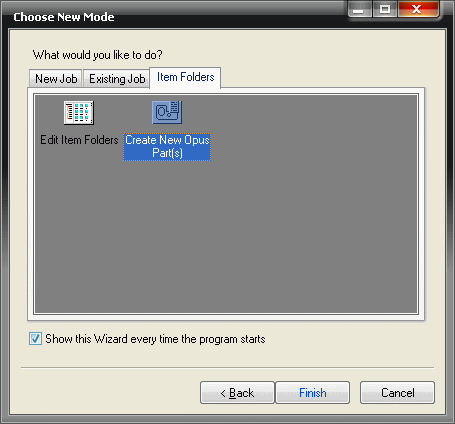
- Click File
New Job. In the Job Wizard, select the Item Folders tab, click Create New Opus Part(s), and then click Finish.
To print in Opus:
- Open or create an item in Opus.
- Click View
Print, and select Layout.
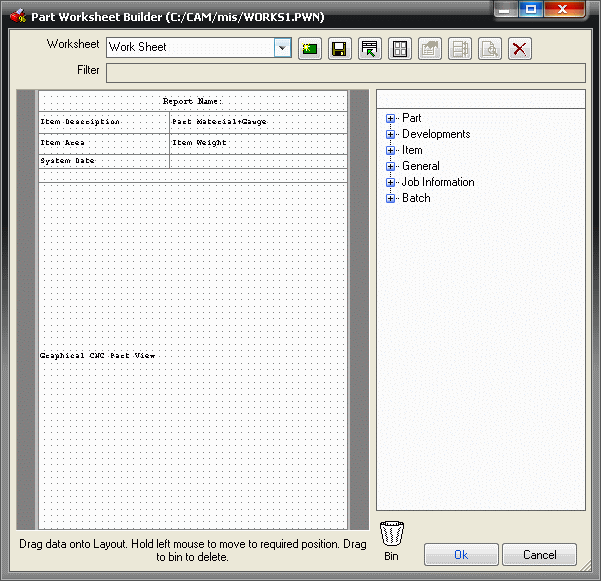
- In the Part Worksheet Builder dialog, right-click in the Graphical CNC Part View and select Properties to display the Print Object Properties dialog.
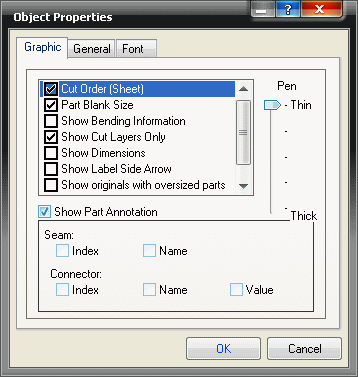
Here you can select to Show Cut Layers Only or to display Dimensions and Annotation.
- Click desired options on this dialog, and then click OK.
- Click View
Print and select either Current Part or All Part(s) if you have more than one Opus item.
The Print Preview dialog displays which lets you select which printout you need.
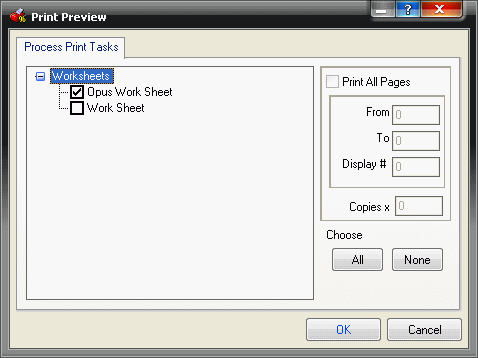
- Select the desired printout and click OK
A preview of the worksheet displays.
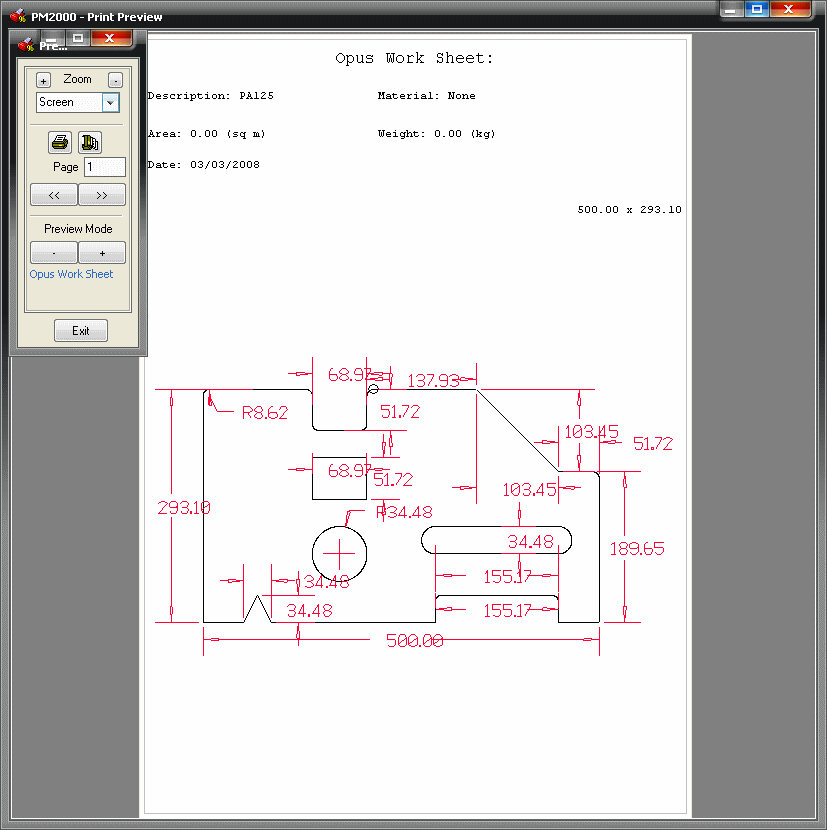
- Click the Print Icon
 to print the Page.