About the Explorer
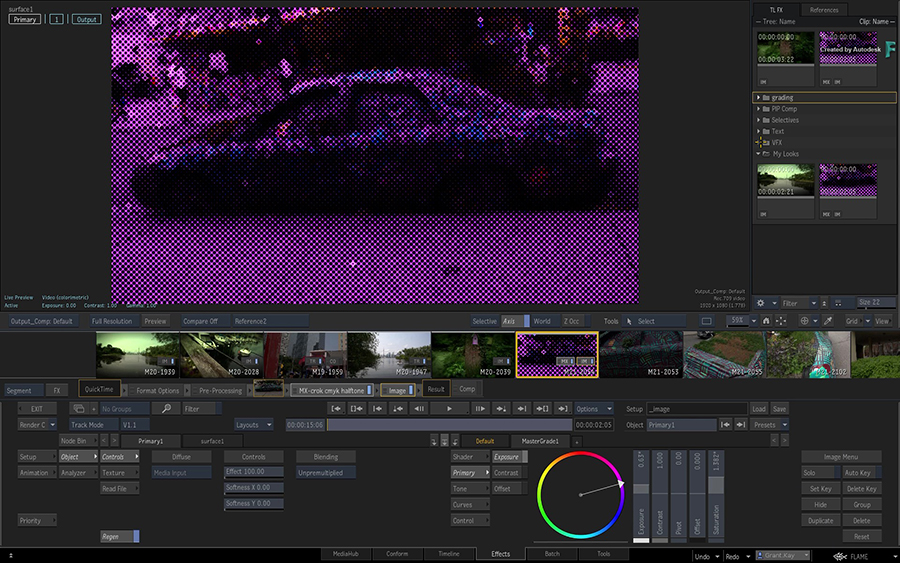
The Explorer panel stores your grabbed references and Timeline FX setups.
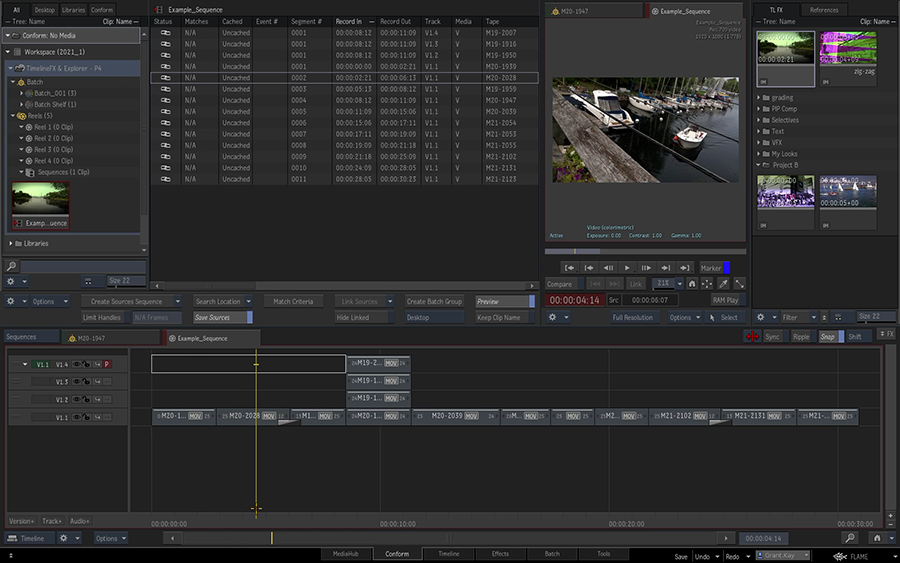
It is available from the MediaHub, Conform, Timeline, Effects, Batch, and Tools environments.
To display the Explorer:
- Select Flame menu
 Show Explorer.
If you cannot display the Explorer:
- In the Conform environment: You cannot have both the Preview window and the Explorer displayed at the same time. Click Preview to hide the Preview panel, or make sure the Media Panel is not displayed Full Height.
- In the Timeline environment: Hide the Player panels, such as the Viewing or Scopes.
- In the MediaHub environment: You can only access the Explorer when browsing archives or projects. Select Browsing for
 Projects or Browsing for
  Archives.
Where did the Timeline FX Setups Go?
Starting with version 2021, Timeline FX setups are no longer stored in the Media Panel's Clips, Desktop, and Batch tabs. They now have their own dedicated library, like the grabbed references. This library is only visible from the TL FX tab in the Explorer.
The only exception is Timeline FX clips located in a read-only container or in a Batch Group. These Timeline FX clips will remain in the same place, and cannot be moved to a different container in the Media Panel hierarchy.
To display the Explorer, do one of the following:
- Select Flame menu
 Show Explorer
 - Ctrl+swipe the side of the monitor opposite to the Media Panel.
- Use the Windows+Esc (Linux) or Command-Esc (macOS) keyboard shortcut.
 General
  Explorer to display the Explorer on the left or on the right of the monitor. The Explorer cannot be displayed on a secondary monitor.
Storing Timeline FX Setups
To store a Timeline FX setups:
- Drag a Timeline FX from:
- The Timeline FX Ribbon
- A thumbnail in the Storyboard Reel or View in Effects
- A Timeline Segment in Timeline
- Drop it in the TL FX tab in the Explorer.
The Timeline FX becomes a Timeline FX setup that you can drag and drop back onto any other segment.
Applying a Timeline FX Setup
How you restore a Timeline FX setup from the depends on where you are in the application.
Effects Environment:
Drag & Drop the Timeline FX setup from the Explorer to:
- A viewport showing the currently selected clip. A viewport showing a Context view is not considered a valid destination.
- A segment in the Storyboard Reel or View.
Double-click the Timeline FX setup.
Double-clicking a Timeline FX adds it to the currently selected clip, independently from what is shown in the selected viewport.
Timeline and Tools environments:
- Drag & Drop the Timeline FX setup from the Media Panel to:
- A segment.
- The Player. The Timeline FX is added to the segment visible in the Player.
- Double-click the Timeline FX setup to apply it to the segment visible in the Player.
In Batch or the Modular Keyer:
Drag & Drop the Timeline FX setup from the Media Panel to the schematic.
Timeline FX setups automatically expand when dragged from the Timeline FX tab to the Schematic.
Note: Batch FX clips do not automatically expanded.Double-click the Timeline FX setup add the nodes to the Schematic.
Working with Grabbed References
- Grabbed references appear in the Explorer. Whenever you grab a reference, the reference is displayed in the Reference tab of the Explorer.
- Load a grabbed references from the Explorer. Double-click a reference in the Explorer to load it in the Viewport to compare it to the current clip.
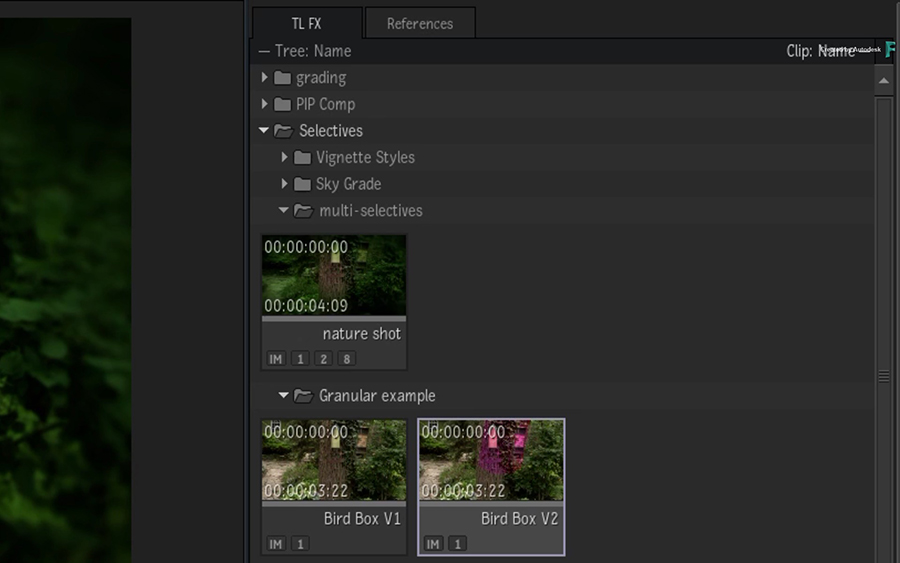
Working with Selectives
To store a specific Selective in the Explorer
From the Selector, drag the selective to the TL FX tab of the Explorer.
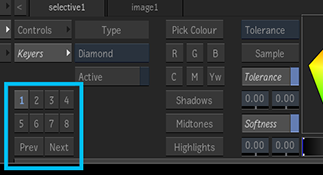 Tip: If the References tab is open instead of TL FX, hover with the clip over the TL FX tab to open it.
The Selective is a Timeline FX setup and displays the Image Timeline FX and the ID of the Selective.
To restore a Selective from the Explorer to a shot:
- Drag the Timeline FX setup with that Selective to the viewport, the Player, or onto the segment.
If the Selective you drop on the segment has an Selective ID already used by that segment, you get a dialog box asking you what to do:
- Append: Add the dropped Selective to the segment by giving it the next available Selective ID.
- Selective: Replace only the Selective with the dropped Selective. This replaces any keyers and GMask set for that Selective with those of the dropped Selective. Existing Matchboxes (including MasterGrade) are not changed.
- Matchbox: Replace the Matchbox shaders of the original Selective with those from the dropped Selective, but preserve keyers and GMasks.
- Replace All: Replace entirely the Selective with the dropped Selective, replacing keyers, GMasks, and Matchboxes.
You can bypass the dialog box with the following keyboard shortcuts.
| To: | Do: |
|---|---|
| Append the dropped Selective to the segment by giving it the next available Selective ID. | Ctrl+Drag&Drop the Selective from the Explorer. |
| Replace only the Selective with the dropped Selective. | Shift+Alt+Drag&Drop the Selective from the Explorer. Replaces the Selective that has the same ID. |
| Replace the Matchbox shaders of the original Selective with those from the dropped Selective. Preserve keyers and GMasks. | Shift+Command+Drag&Drop (macOS) or Shift+Meta+Drag&Drop (Linux) the Selective from the Explorer. Replaces the Selective that has the same ID. |
| Replace the existing Selective entirely with the dropped Selective, replacing keyers, GMasks, and Matchboxes. | Shift+Drag&Drop the Selective from the Explorer. Replaces the Selective that has the same ID. |
Filtering the Explorer Contents
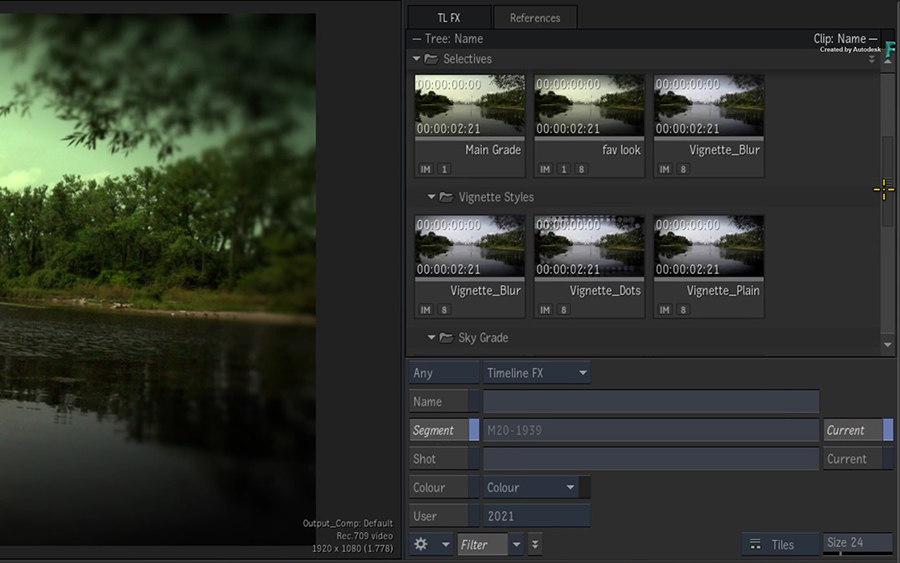
Use the Filter button to display in the Explorer only Timeline FX presets and References matching the filters you select.
The Timeline FX tab and the References tab share the Name and Colour filters.
- To display the Explorer filters:
The filters are:
- Timeline FX Type: One or multiple Timeline FX types can be selected from the drop-down button. Any / All lets you decide if the list of specified Timeline FX must match exactly all the Timeline FX of a setup.
- Name: Name of a Timeline FX preset or a Reference.
- Segment Name: Name of the segment the Timeline FX is originating from. A "Current" option can be used to automatically propagate the information of the currently selected clip to this field.
- Tags: Tags given to a a Timeline FX preset or a Reference using the Panel's Tags feature.

- Shot Name: Shot name of the clip the Timeline FX is originating from. A "Current" option can be used to automatically propagate the information of the currently selected clip to this field.
- Colour: Colour given to a Timeline FX or Reference using the Panel's colour coding feature. Only the colours in use are available.
- User: Name of the user who created the Timeline FX.
To filter the contents of the Explorer:
Click Display/Hide Filters.

When the filters are collapsed, the name of the active filters are displayed.
Set the filters.
Do one of the following:
- Click Filter.
- Press Space+E to toggle Filter on/off.

Sharing Timeline FX Setups
There are two methods to share Timeline FX setups:
- You can drag & drop a Timeline FX setup to a library or folder located in a Shared Library to share it.
- The Timeline FX library is available from MediaHub
 Projects: you can copy Timeline FX between projects, whether local or remote.
Explorer on a Second Monitor
You can now display the Explorer on a second monitor with Preferences  General
  Explorer
  Display on 2nd Monitor. If the Media Panel is not displayed on the same monitor as the Explorer, then you can select where the Explorer appears on the screen.
You can now display simultaneously up to three different panels in the secondary monitor: the Media Panel, the Explorer and a Viewport. You can display all or just one using the Flame menu or the following keyboard shortcuts:
- Media Panel Show/Hide
- 2nd Monitor Viewport/Scopes Show/Hide. This shortcut is not assigned to a keystroke by default.
- Explorer Show/Hide
If you are in an environment other than Batch or Effects, the Scopes are displayed in the viewport by default. The Scopes viewport is always displayed in the middle when all three options are enabled at once.
Keyboard Shortcuts for the Explorer
To display or hide the Explorer:
- Windows+Esc (Linux) or Command-Esc (macOS)
Toggle the filters on/off:
- Space+E
To save a Timeline FX to the Explorer:
- Save Timeline FX(s) to Explorer's Top Level: Ctrl+Flame+Z
- Save Timeline FX(s) to Explorer's Selected Item: Ctrl+Flame+X
- Save Selective(s) to Explorer's Top Level: Ctrl+Flame+A
- Save Selective(s) to Explorer's Selected Item: Ctrl+Flame+S
Top Level is the root level of the Explorer. Selected Item is the selected folder in the Explorer. If a setup is selected, then the parent folder is its destination.

