
Emissive Geometry - Arnold for Maya

HDRI -> Standard Surface Emission
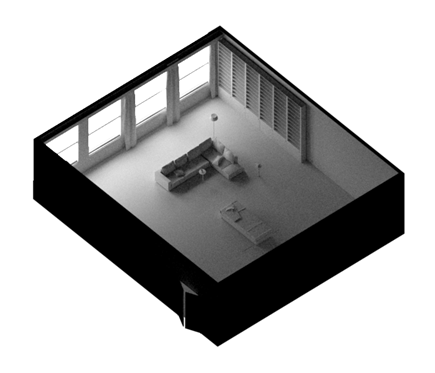
It is possible for geometry to 'emit light' by adding Emission to a Standard Surface shader. It is, therefore, possible to light the room by placing some emissive geometry outside of the windows. However, this technique is discouraged. Using the emission from a Standard Surface shader applied to a plane is quite inefficient as it will only catch the lighting from the diffuse rays. Therefore it will be quite noisy. Textured area lights (set to quad) will always be superior in this respect.
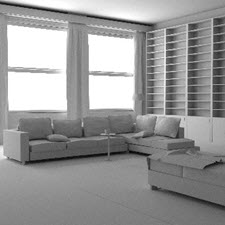
Plane outside window with Emission Scale set to 1
- Start off by creating a polygon plane and position it so that it covers the area of the windows outside the room.
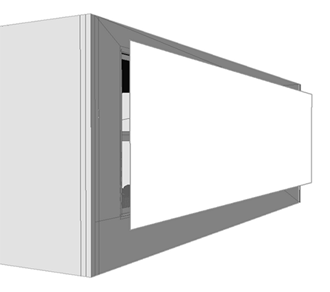
- Assign a Standard Surface shader to the plane. Increase the Emission Scale to 0. We want it to be purely emissive, so it is good practice to reduce the Base Weight value to 0.
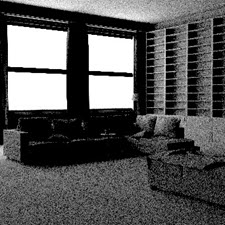
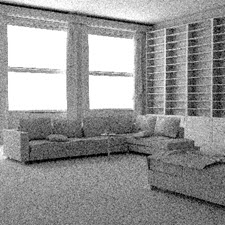
As you can see in the images below, using this method can introduce a lot of noise. The number of Diffuse Samples has to be increased a lot to reduce noise. However, this will increase render times.
 |
 |
| Plane with Emission (Diffuse Ray Depth: 1). | Plane with Emission (Diffuse Ray Depth). |
 |
 |
| Diffuse Samples 1 (3 mins 50 secs). | Diffuse Samples 6 (68 mins). |
Emissive Plane with HDRI
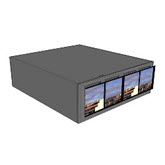
Adding an HDRI map to the Emission Color of the Standard Surface shader is another option to light the scene. In the images below an HDRI of a view through a window has been used.
 |
 |
| HDRI assigned to Emission Color of Standard assigned to plane outside window | HDRI in window appears blown out |
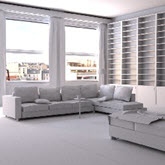
The window HDRI appears blown out when assigned to the emissive plane. A way around this is to use the Rayswitch shader. A Standard Surface shader with the HDRI image is used to control Diffuse Rays and another Standard Surface that contains the same image as a JPEG is used for the camera rays.

Rayswitch shader assigned to emissive plane geometry. The window JPEG texture is visible to camera rays, while the HDRI is visible in diffuse rays
The window HDRI appears blown out when assigned to the emissive plane. A way around this is to use the Ray Switch shader. An Standard Surface shader with the HDRI image is used to control Diffuse Rays and another Standard Surface that contains the same image as a JPEG is used for the camera rays.
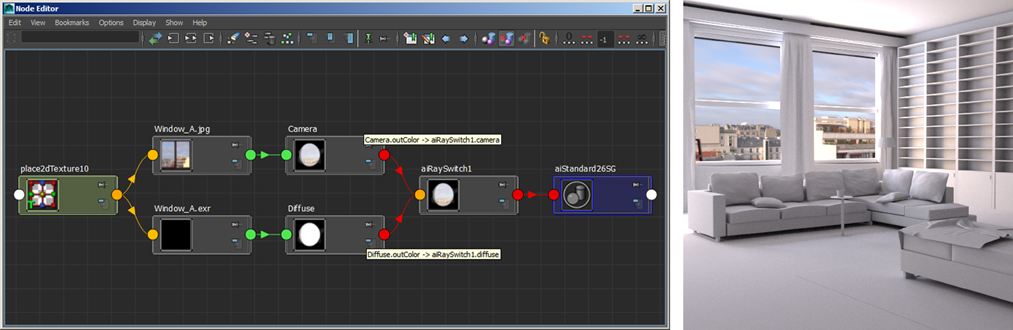
Ray Switch shader assigned to emissive plane geometry. The window JPEG texture is visible to camera rays, whilst the HDRI is visible in Diffuse Rays