Rendering Clouds using the Volume Shader - Arnold for Maya
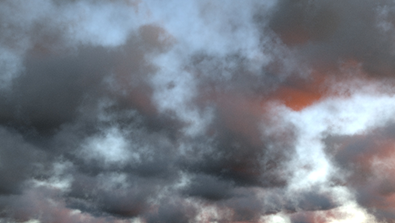
This simple tutorial demonstrates how to create a cloud effect using a combination of the standard_volume shader with a Maya cloud 3d node. It is possible to achieve a wide range of cloudy skies using this setup.
The scene can be downloaded here.
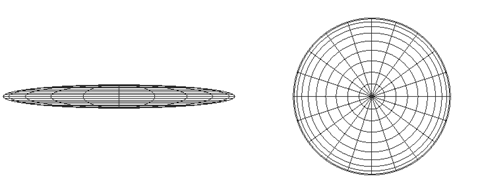
- To represent the cloud layer, we must first create an object with which we can assign a Volume shader. Create a sphere or cube and scale it down in the Y-axis.
- Increase the step_size of the sphere to around 0.1. When the step\size is positive, it turns the polymesh into a volume.
The step_size has a fixed size, therefore, the larger the container, the more steps will be taken and the longer it will take to render. Also, beware that if the step size is too small your render times will increase.
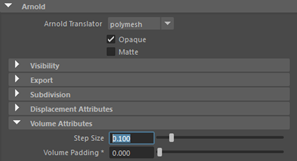
step_size in Arnold Volume Attributes of sphere
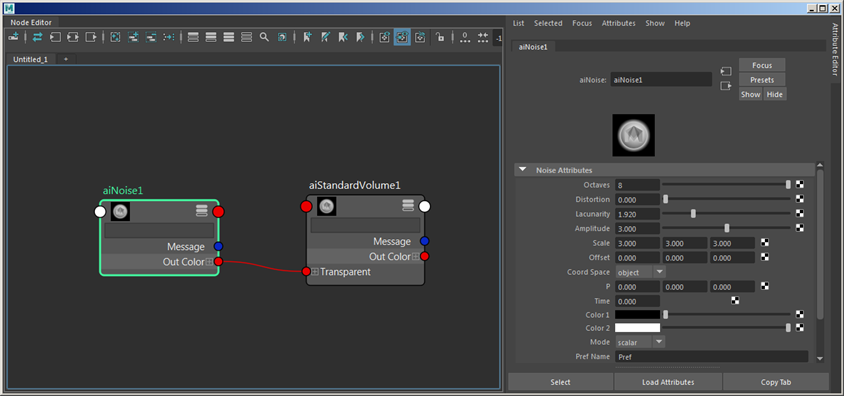
Create a standard_volume shader and assign it to the sphere.
Create a Maya Cloud 3d texture and connect it to the transmission_weight of the standard_volume shader. Decrease the scale of the Maya 3d texture node for the cloud node to see more detail.
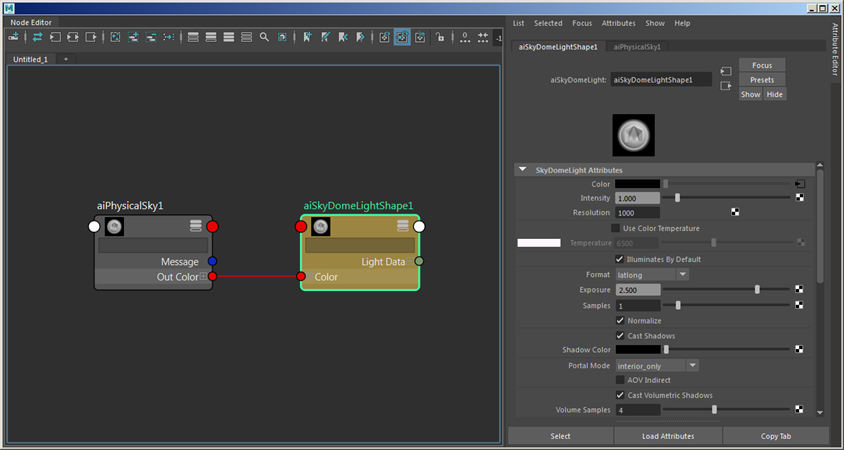
- Finally, create a skydome_light and connect a physical_sky shader to its color attribute. To reduce any noise in the volume, you must increase the number of volume_samples in the skydome_light.