PIX Inbox for Browser
All users added to a PIX project will have access to an inbox where any content sent to them is stored, similar to an email inbox.
Inbox access is the most basic level of access a user can have on PIX. From this section, a user can launch content to review, or even forward on received content to other users, depending on their permissions within the project.
Receive media sent by others
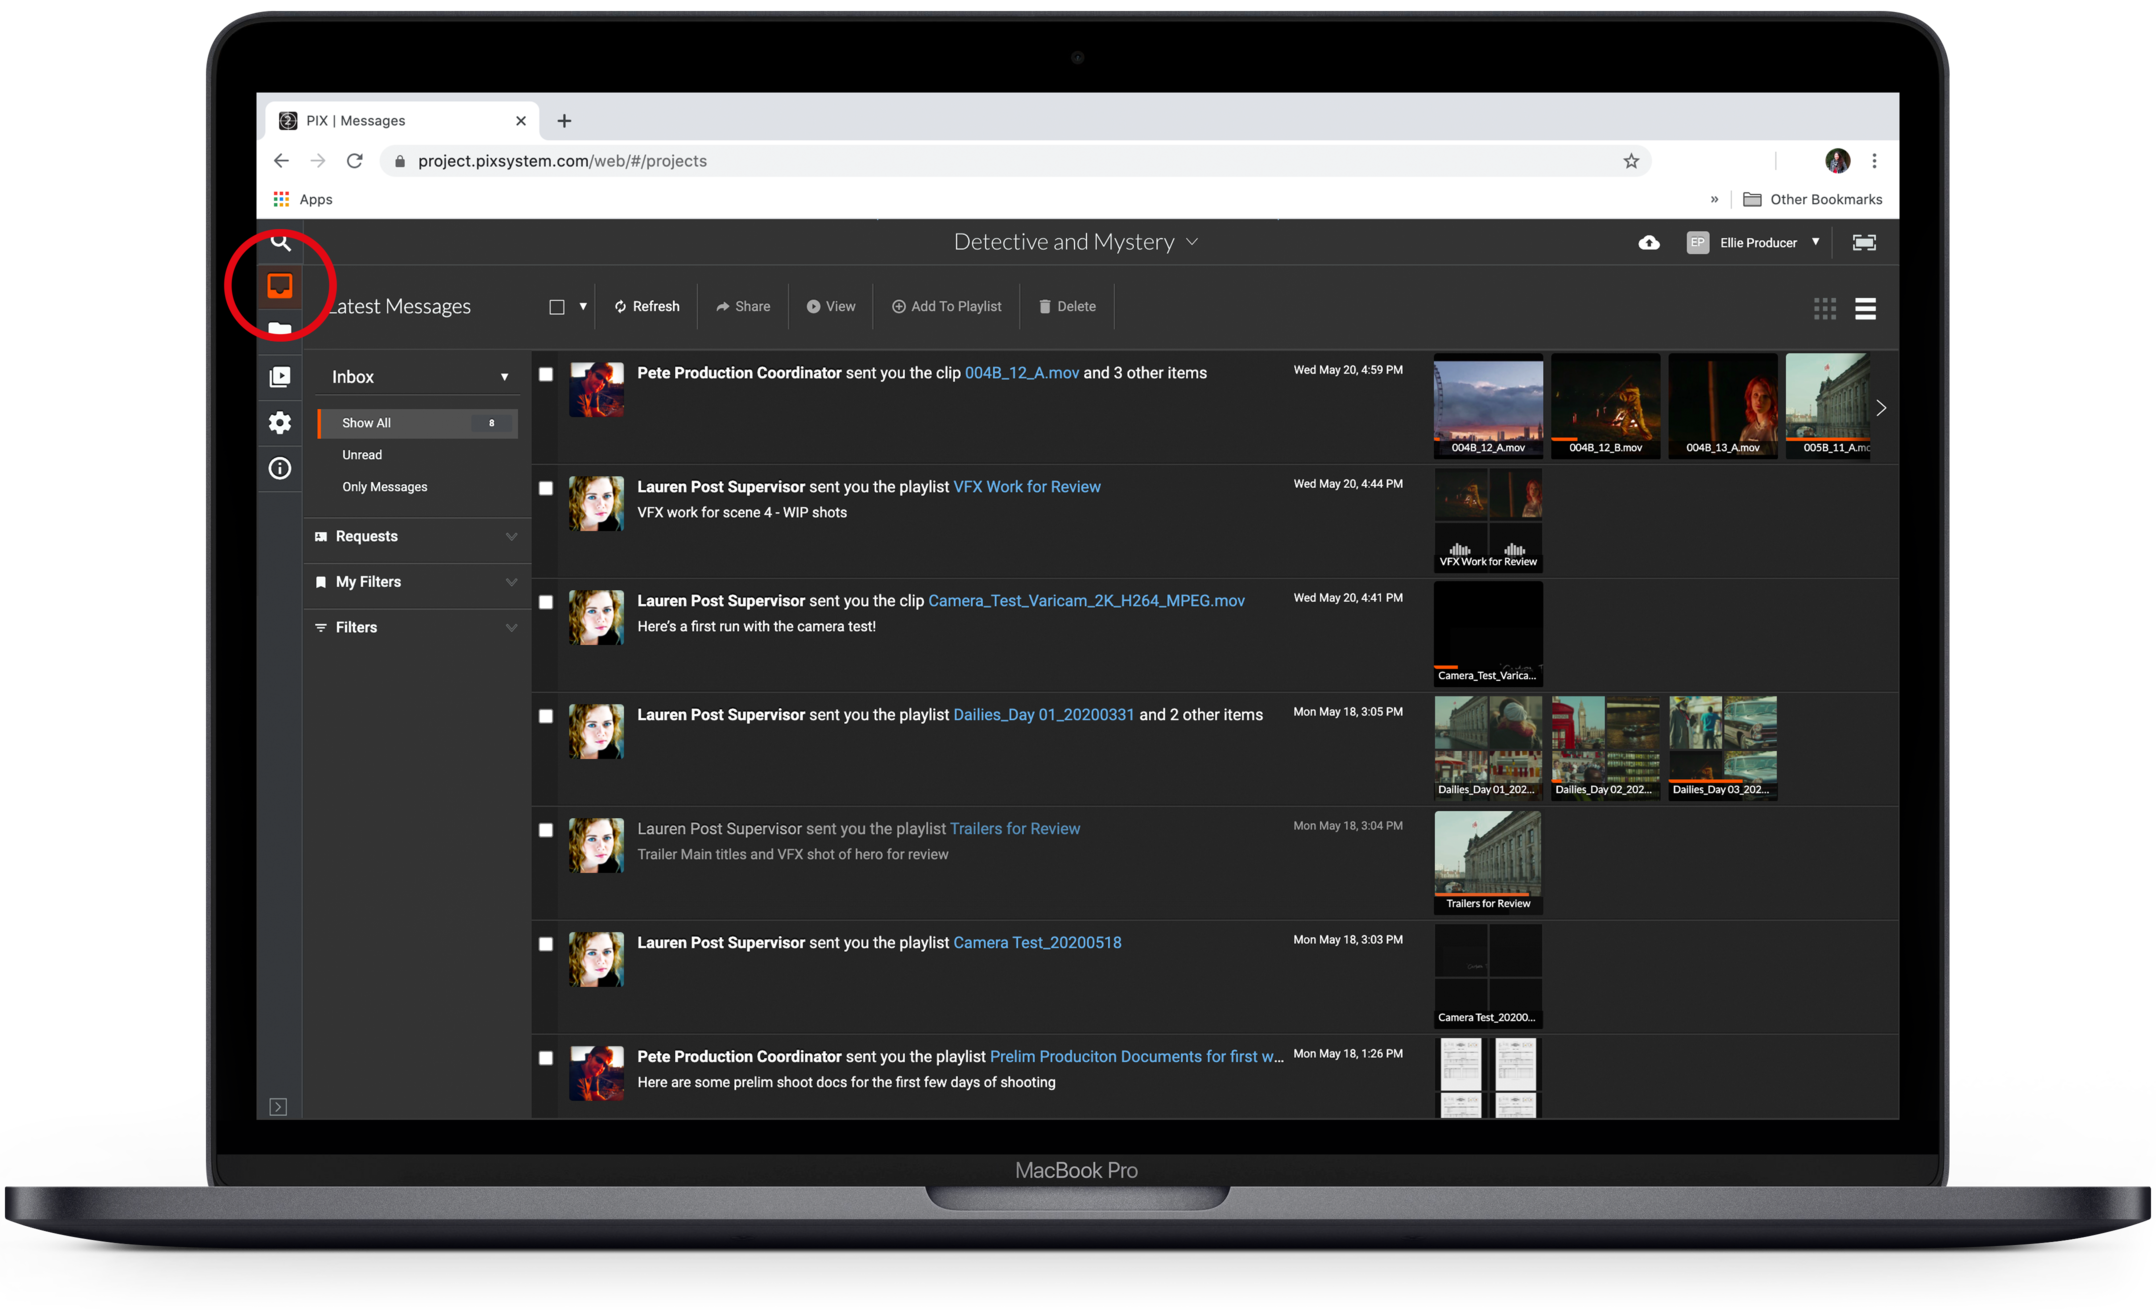
The PIX Inbox functions in the same way an email inbox would. It will house all content that has been specifically sent to that user. Users will be able to view content directly from their inbox and, if their permissions permit it, send that content on to other users on that same project.
Inbox access is the most basic level of access a user can have on PIX. Everyone who is added to a PIX project will have their own PIX Inbox.
See what's in your Inbox
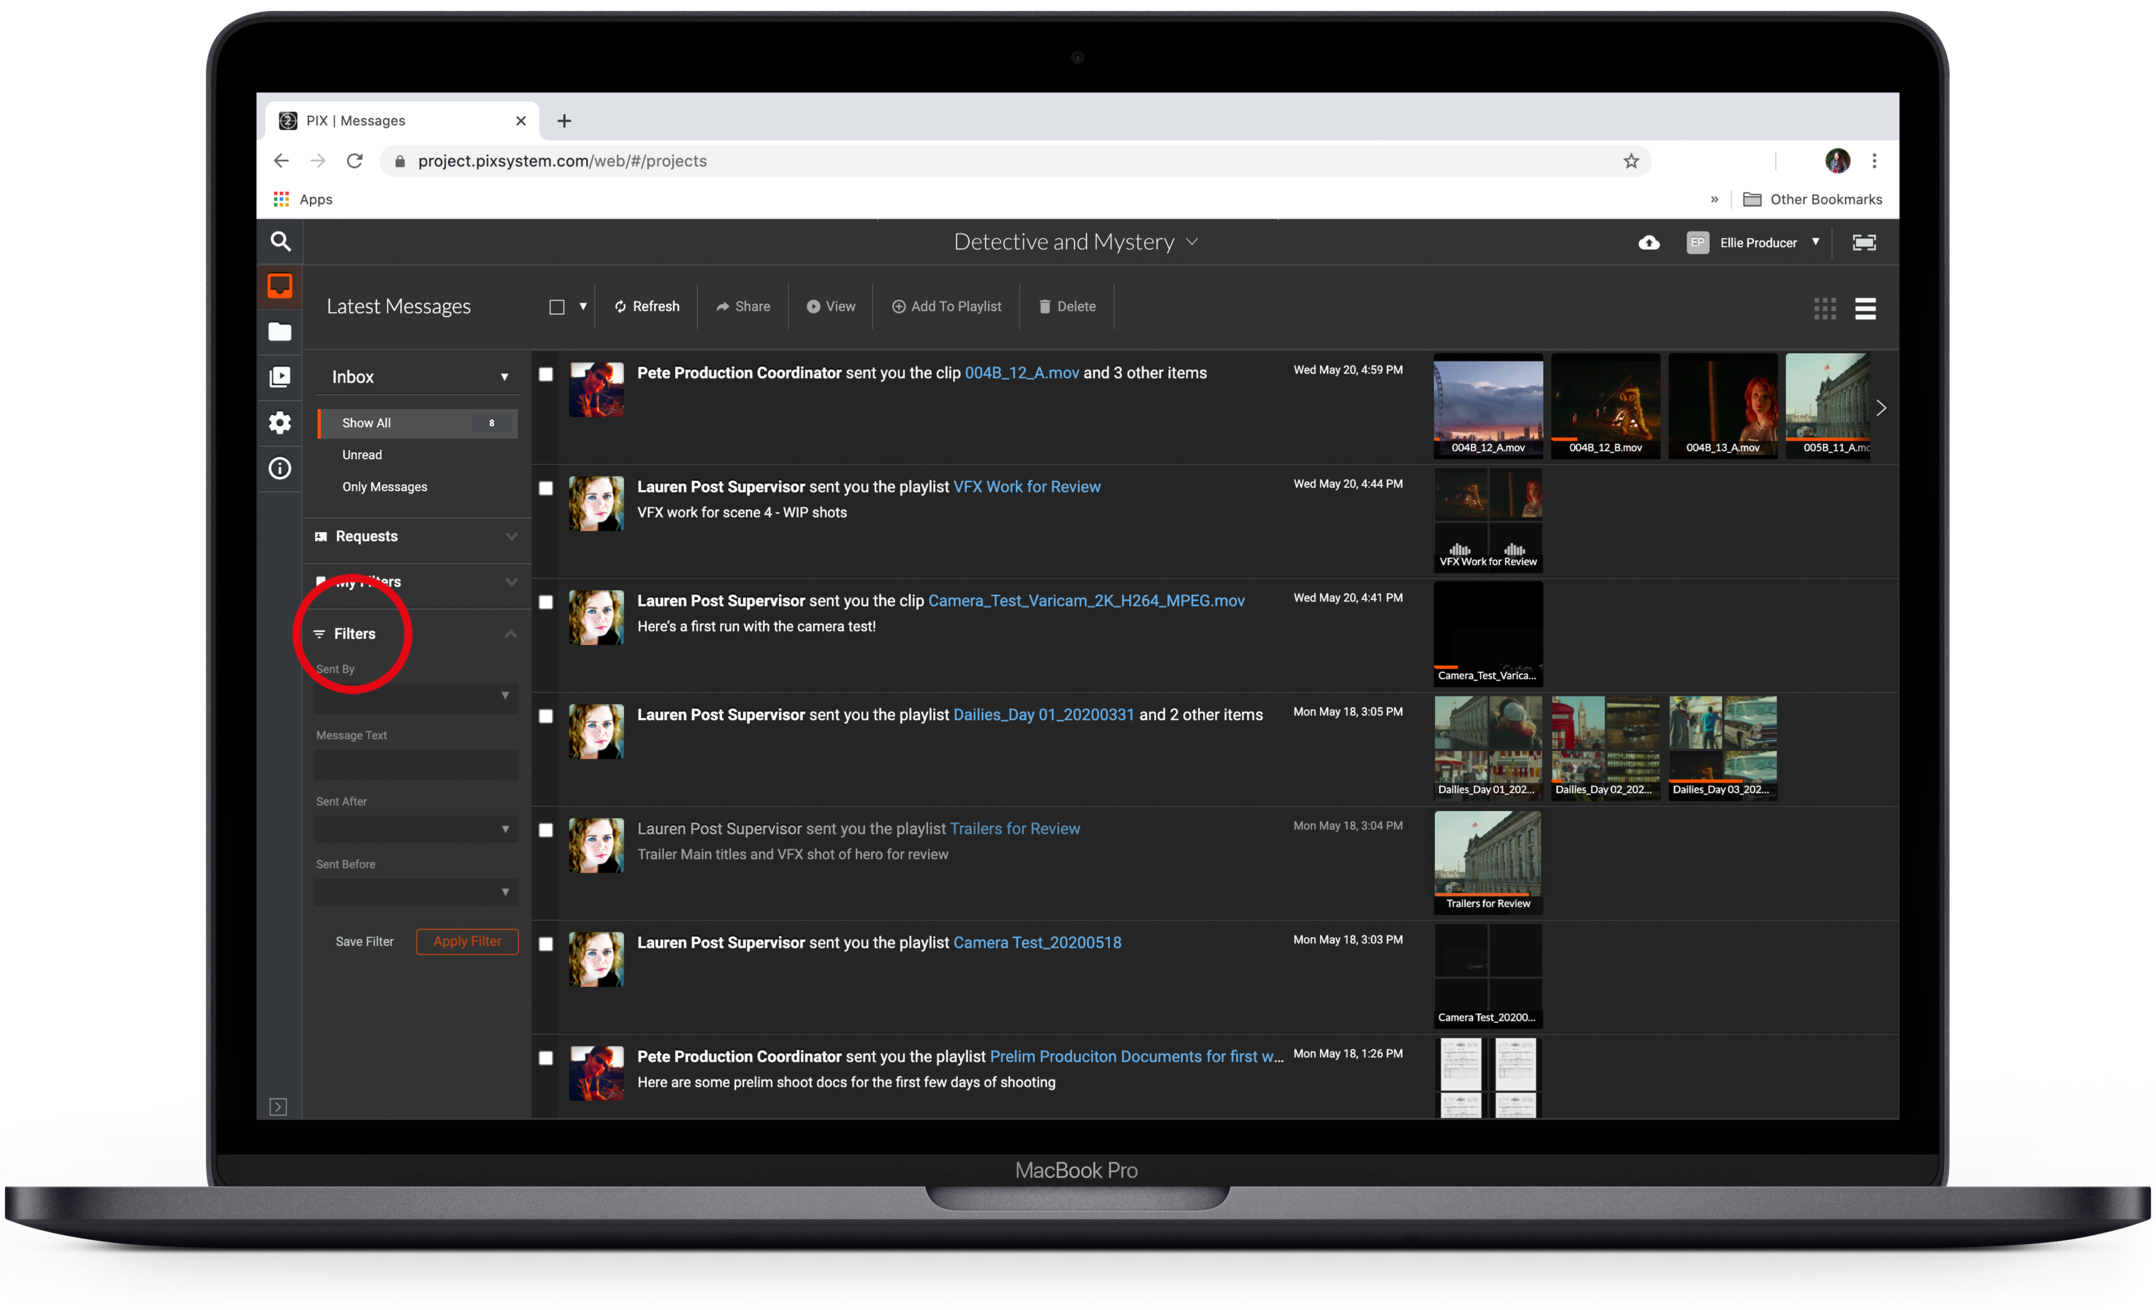
New or unread messages will appear with white text. Read messages will have grey text. The messages will be ordered from newest to oldest.
To refresh your Inbox, click Refresh in the top toolbar.
Adjust your Inbox View
If you would like to switch your Inbox’s layout to Thumbnail view:
Select the Thumbnail view icon  in the top right corner of the window.
Note that when in thumbnail view, your message feed will disappear.
Click the list icon  to go back to the list view.
Review key information
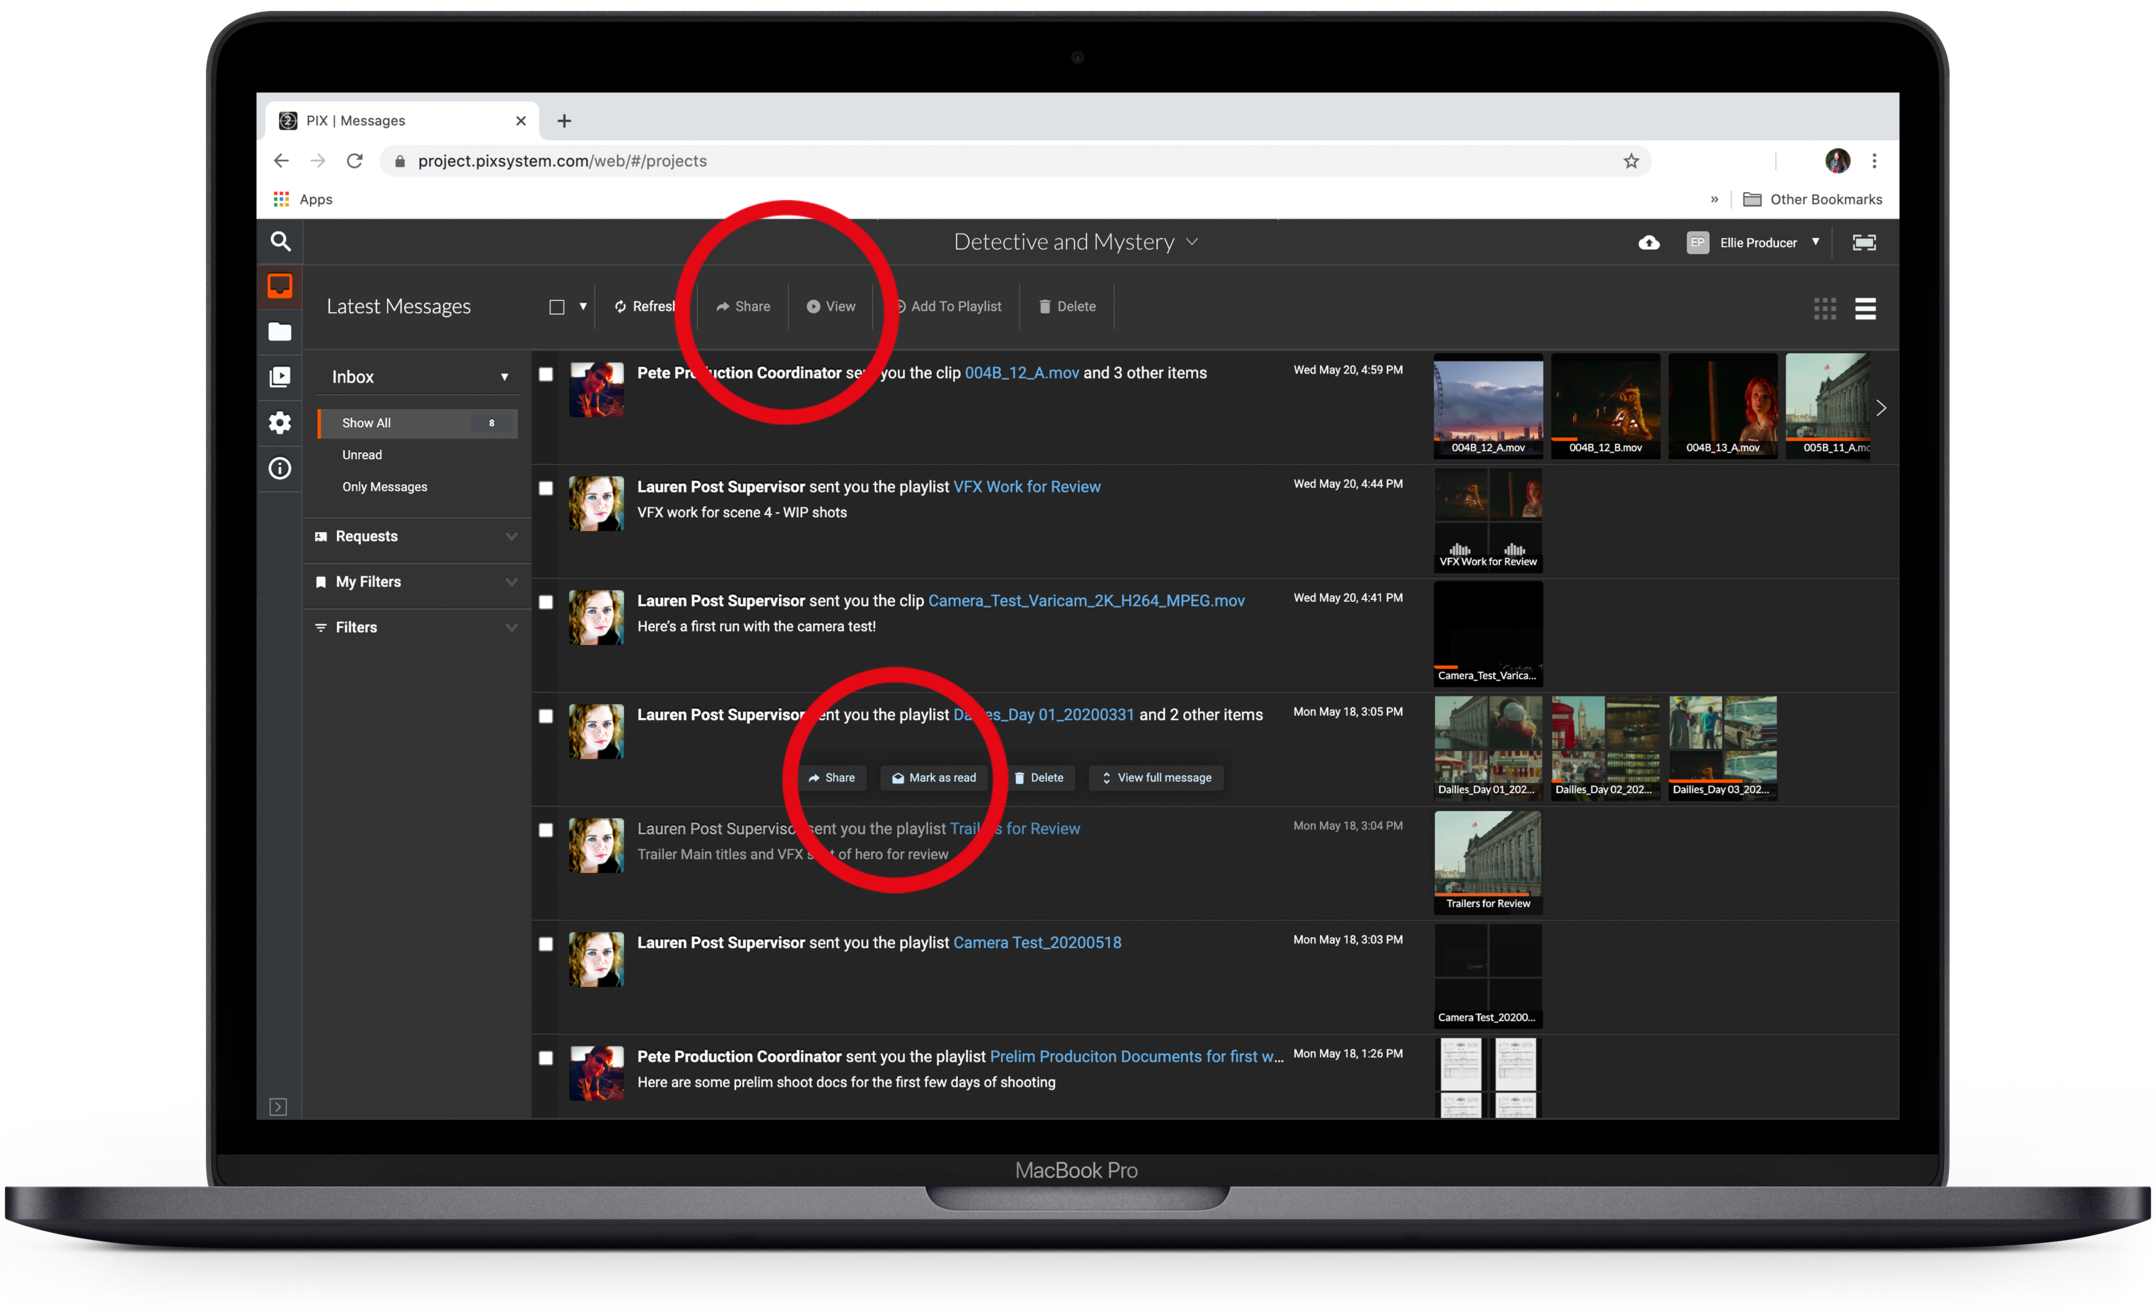
You will see who sent the material, the date and time you received it, and any message the sender included.
For more information, hover over your message and select View full message. This will display the entire message and more information.
Share, mark as viewed, or remove.
When you hover over a message or look at the top of your Inbox, you will see icons to perform actions. You can share the message, mark it as viewed, or remove it from your inbox.
View media
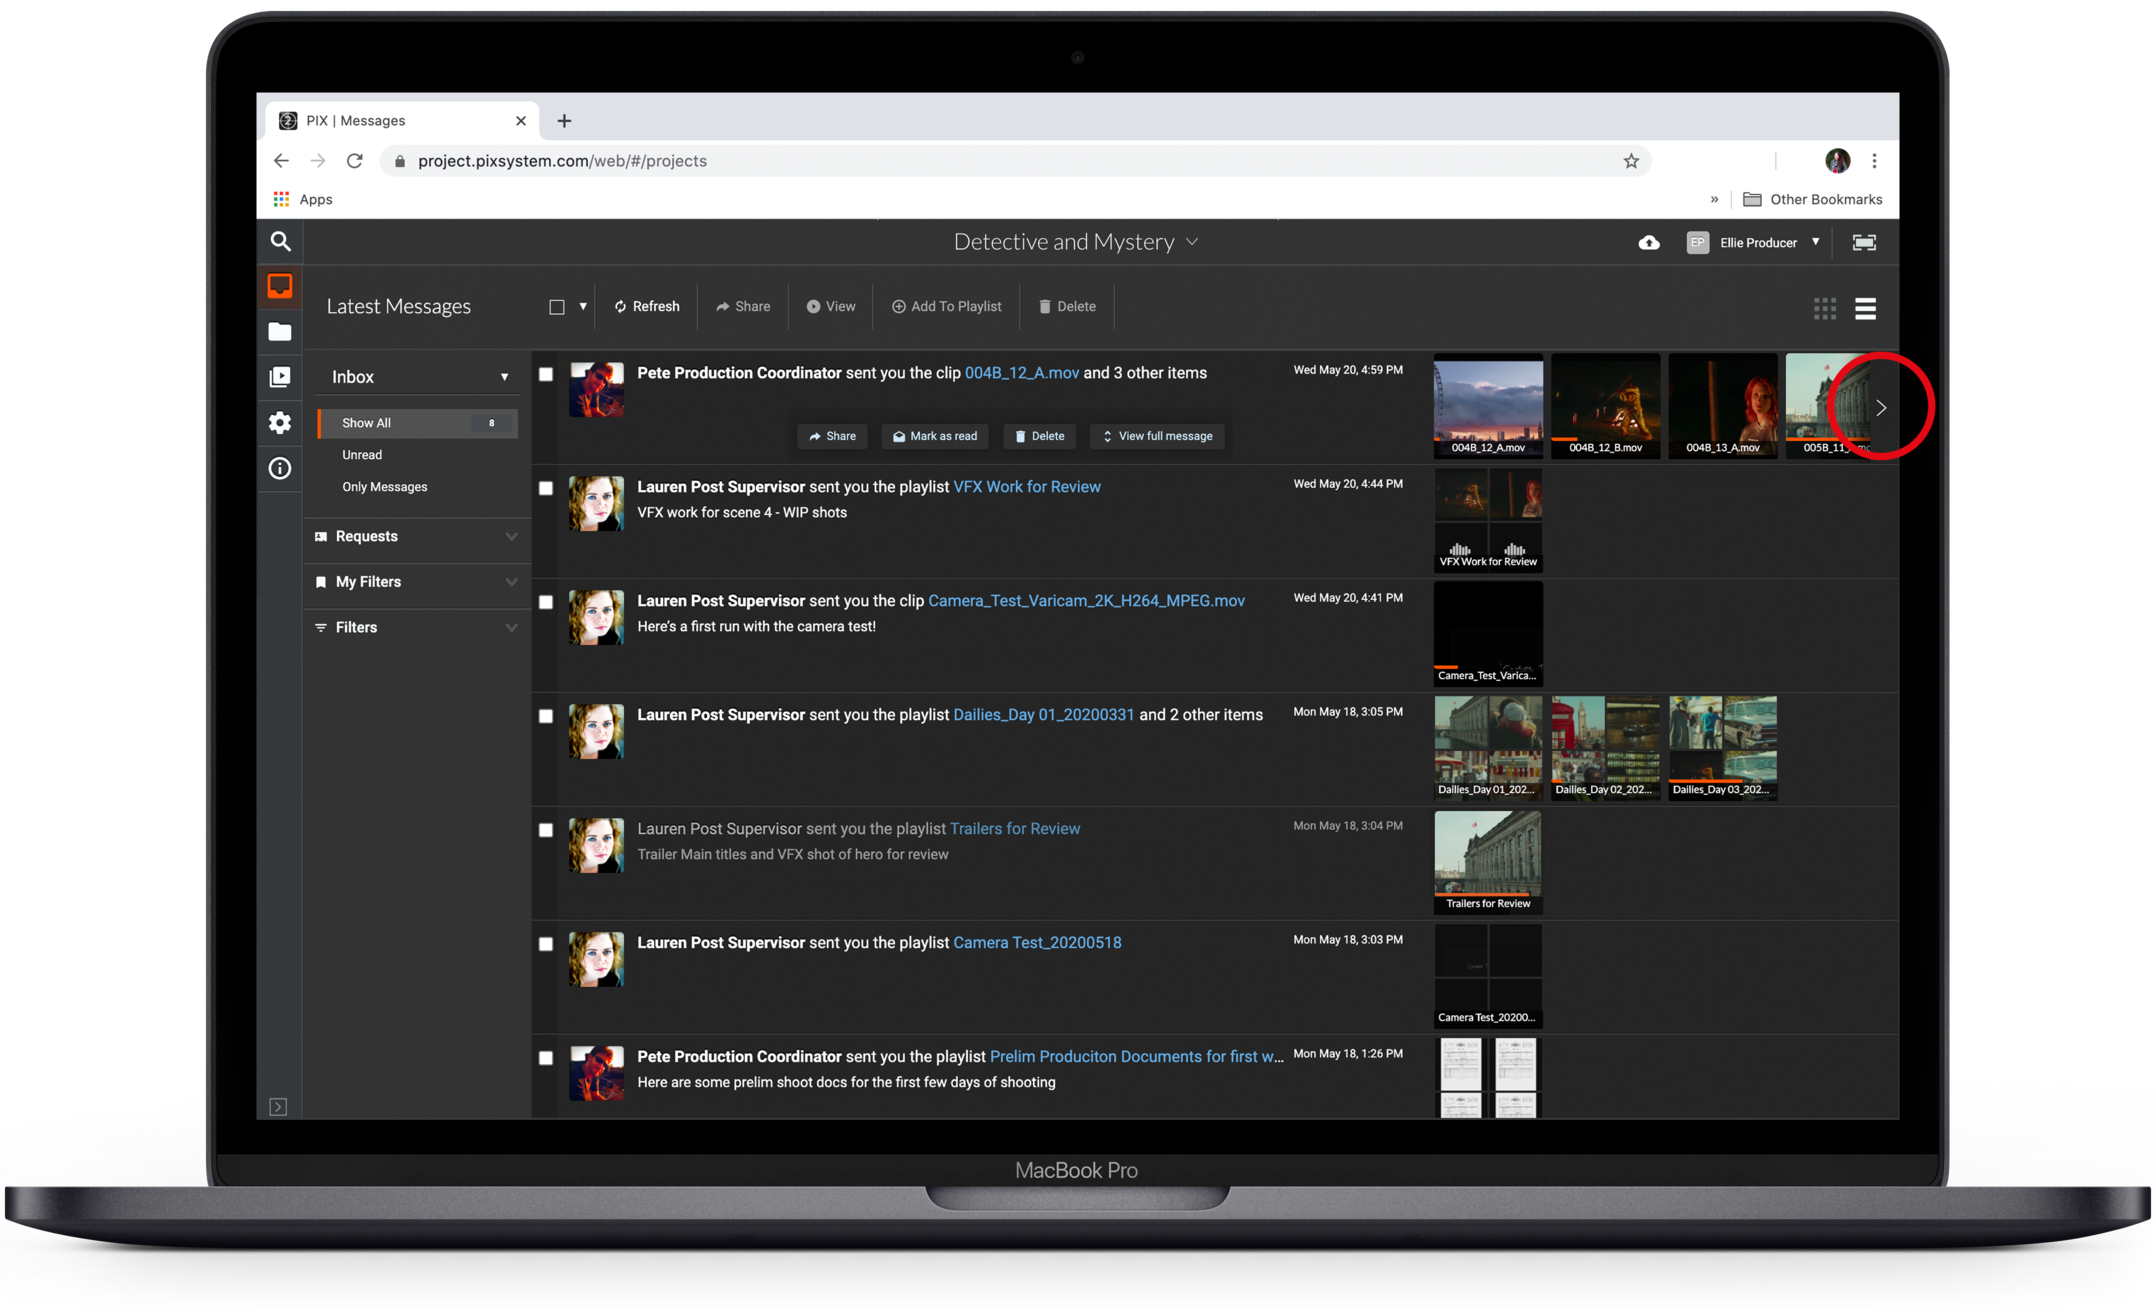 To view the media included with the message, simply click on a thumbnail.
You can click the arrows or use mouse/trackpad scrolling functions to quickly scroll through the media in the message.
Hovering over thumbnails will show items' filenames, and indicate if the item has been approved, declined, tagged, or notes made for the item.
Use the Inbox Panel to adjust what is displayed in your feed
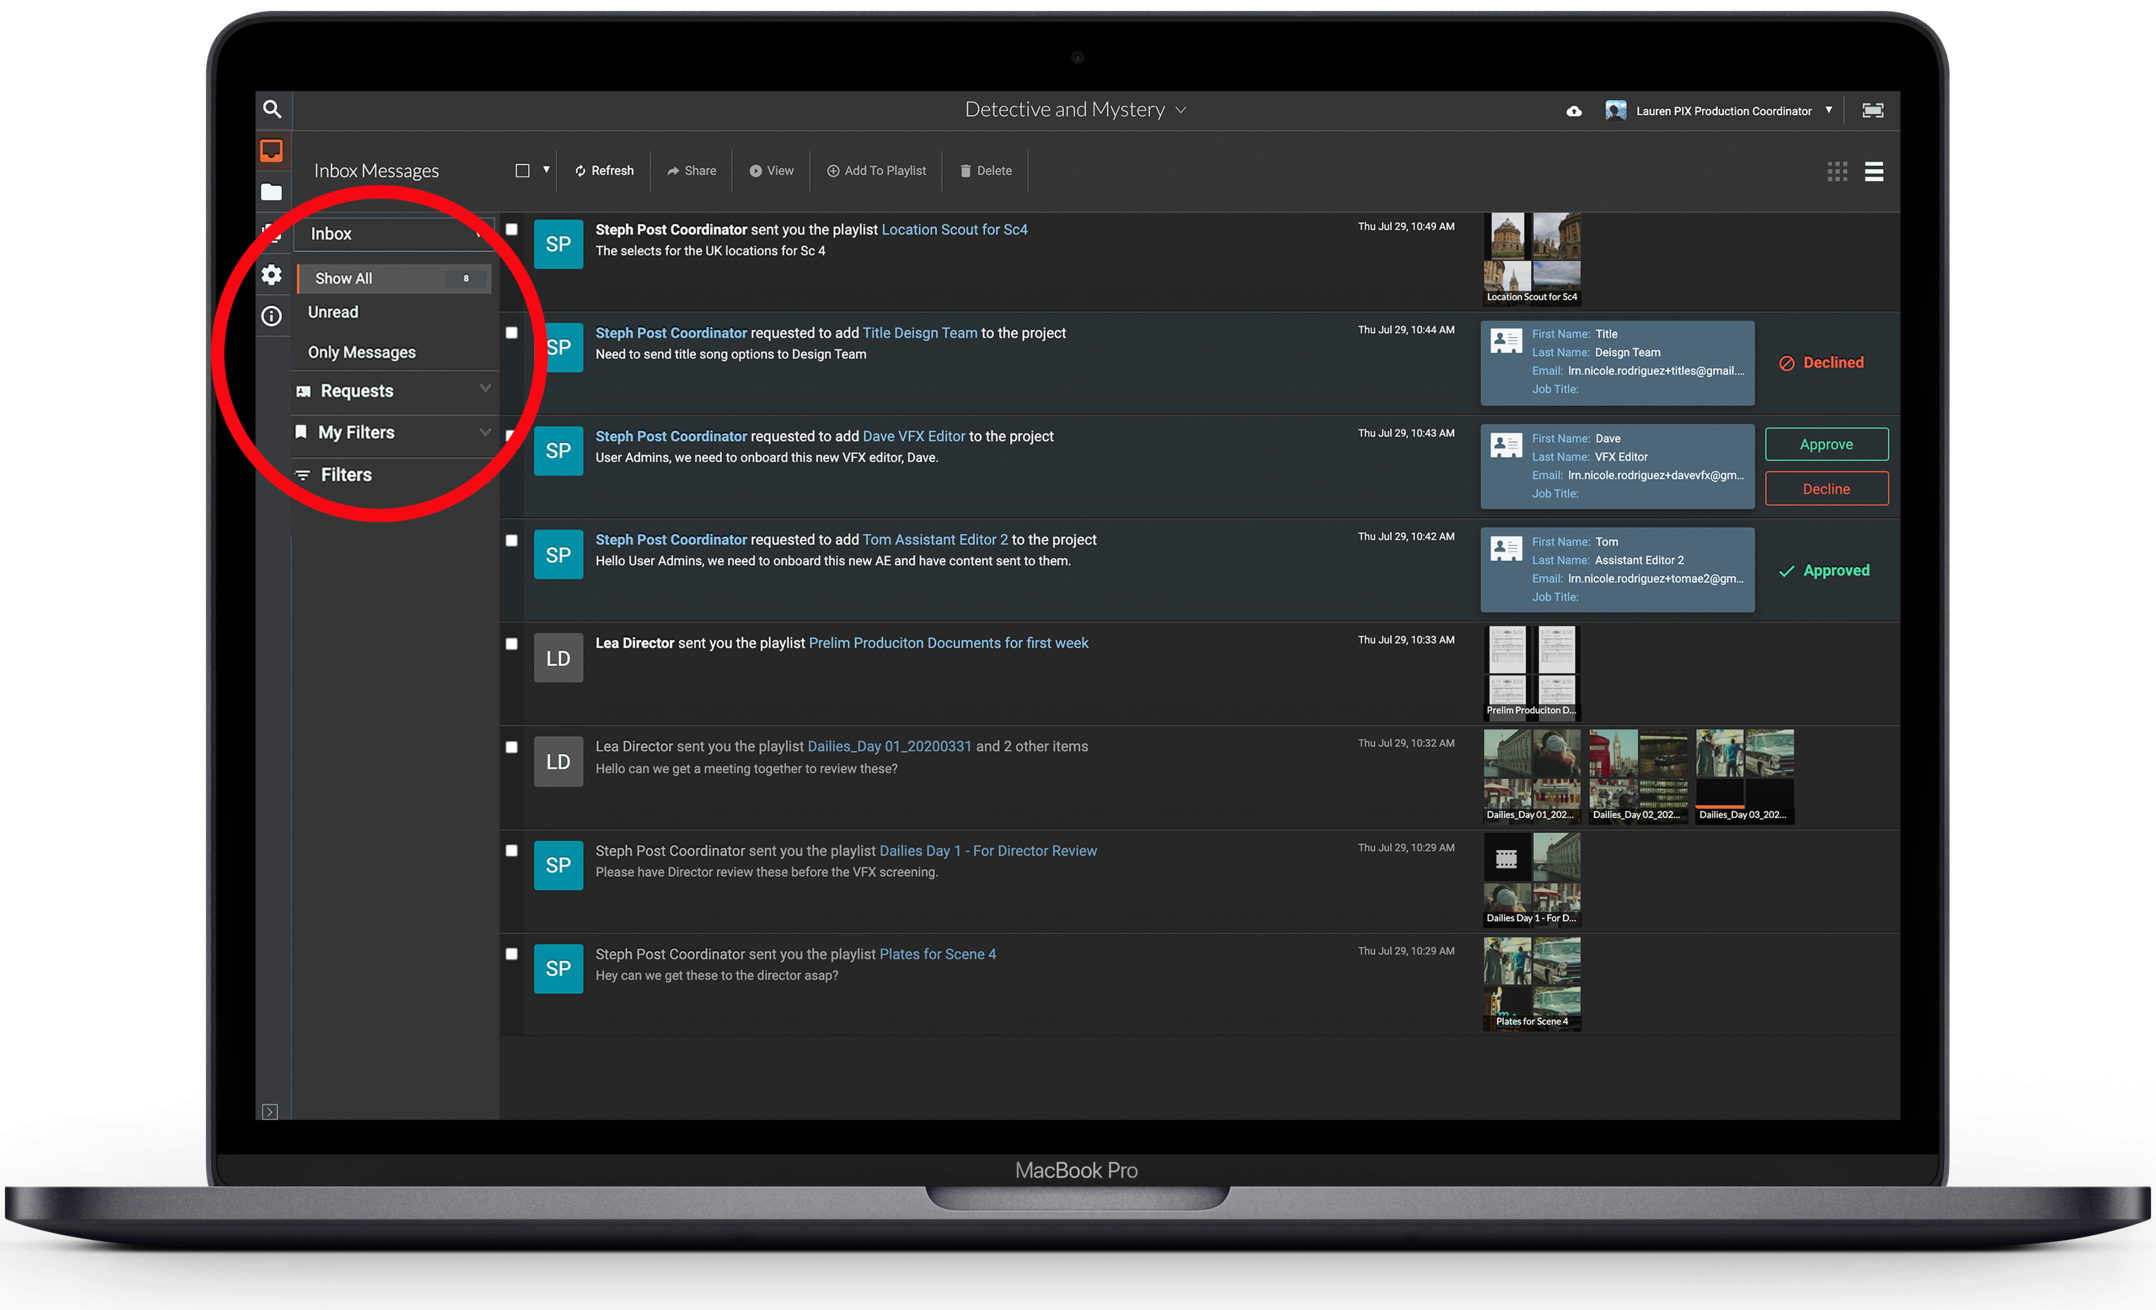
Depending on your access, there are 3 or 4 sections of your Inbox Panel:
- Inbox
- Requests (visible to User Admins only)
- My Filters
- Filters
The Inbox section has a few toggles to help sort the messages that are visible in your feed.
When set to Show All - your inbox displays all messages you have received in the project. If you are a User Admin, then new user requests will also be displayed.
Click Unread to show only unopened items.
User Admins will also see an option in this section for Only Messages. Click this to filter out the User requests from your inbox so that only your received messages containing content are displayed.
Click the downward arrow next to the word Inbox to select Sent Mail if you would like to see a list of everything you have sent in the project.
Use custom filters to search your Messages
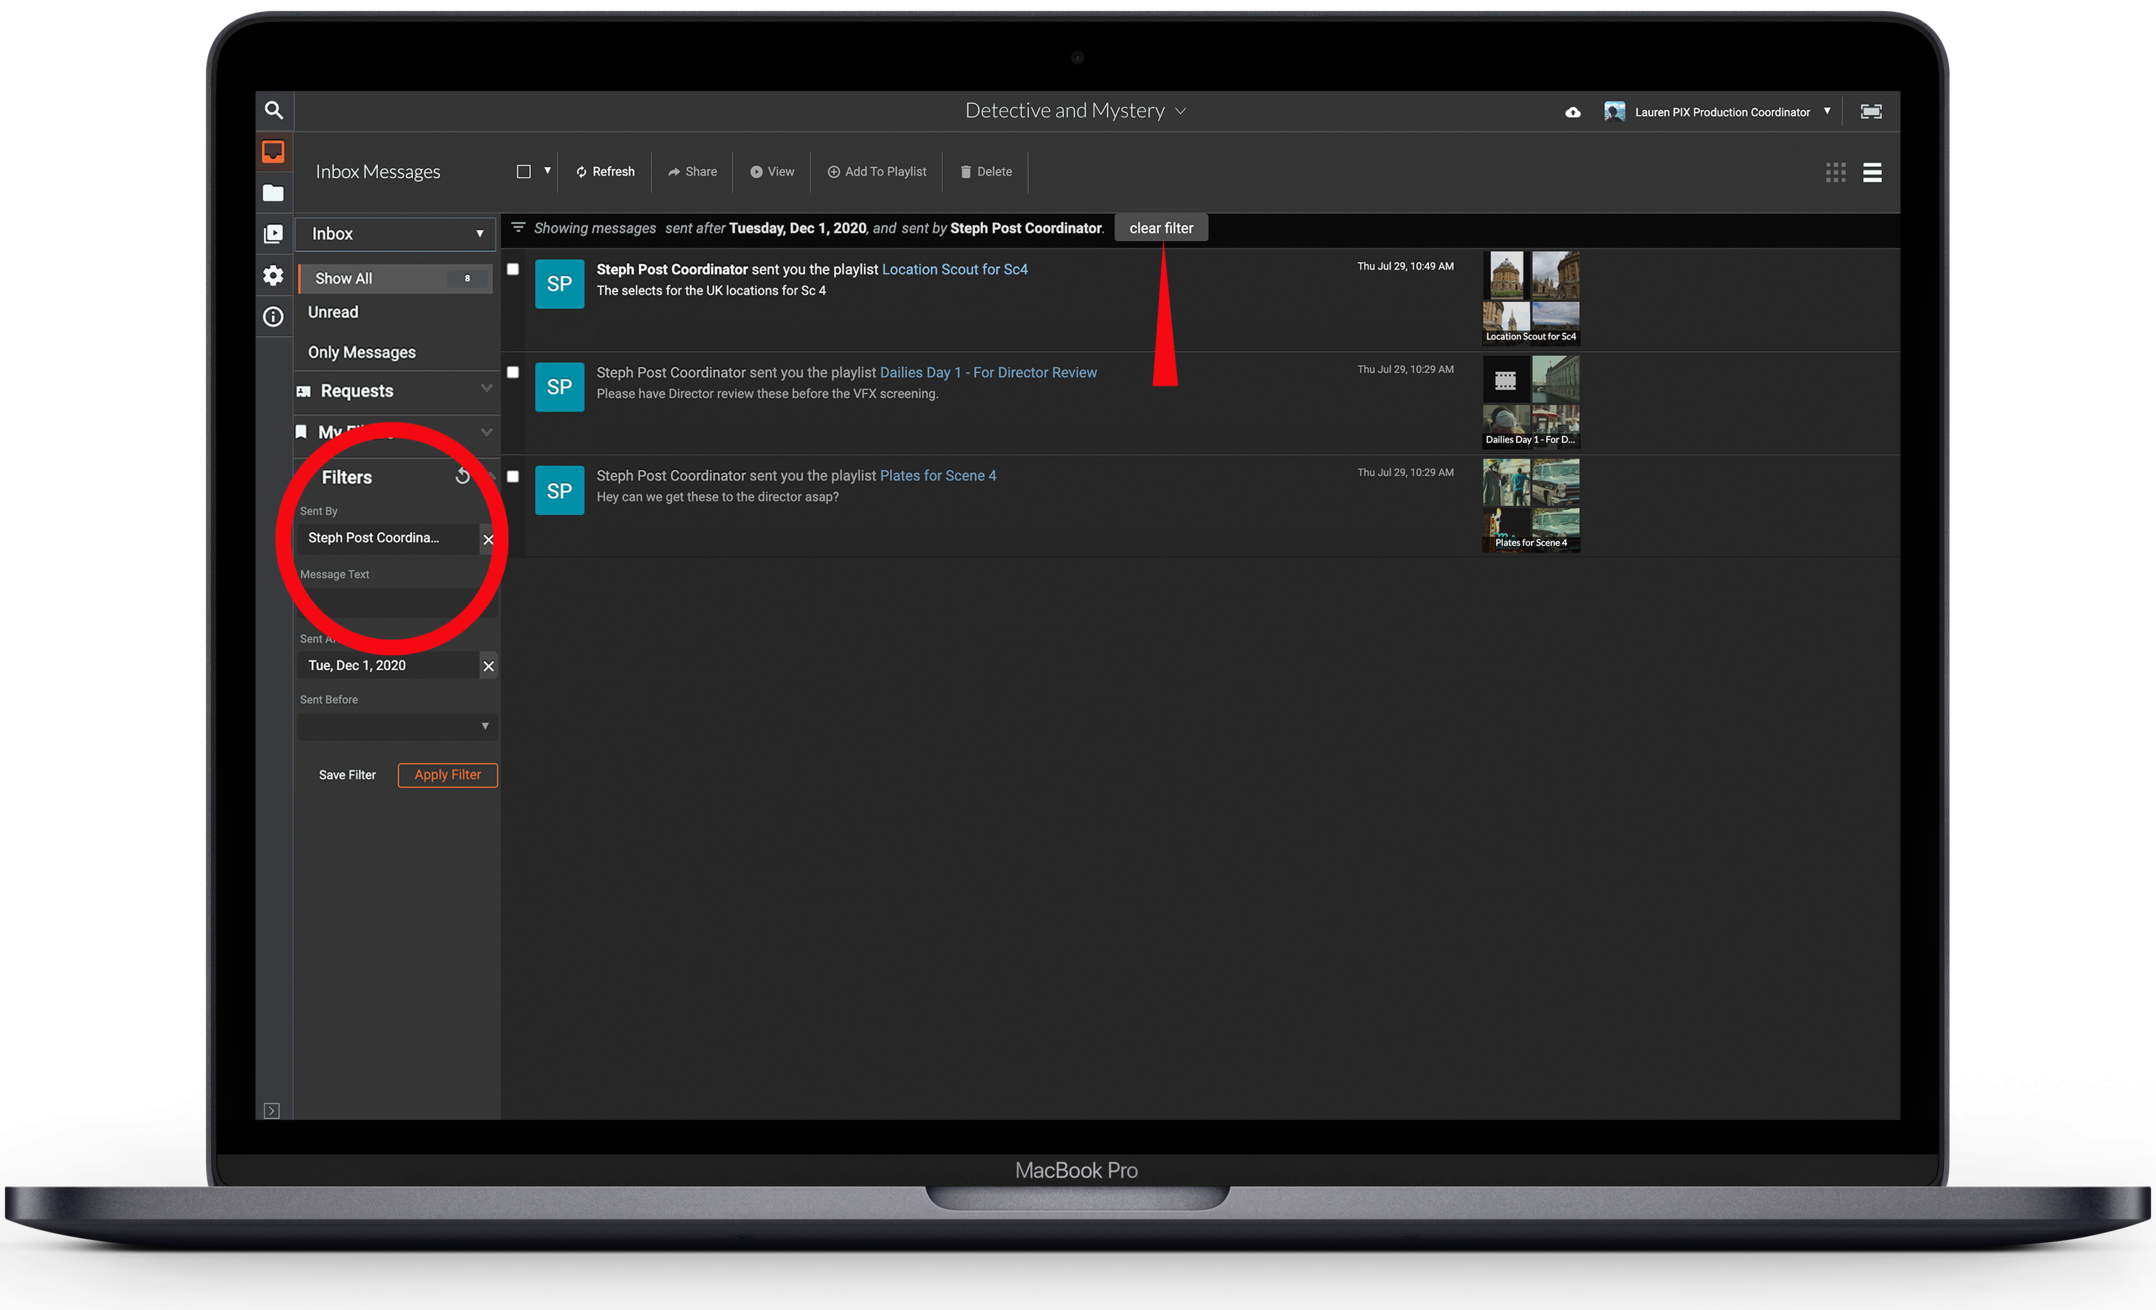
Below the Inbox section, you will see My Filters and Filters. You can create and save filters based on certain parameters and use these filters to toggle the messages that are visible in your feed.
For example, you may want to set up a filter for all sends from a particular user on the project, or sends that you received between a certain date range.
To use an existing filter, expose it under My Filters by hitting the dropdown arrow, and selecting the desired filter from the list. To clear the filtered messages in your Inbox, click Clear Filter at the top of the message feed.
Create a custom Inbox filter
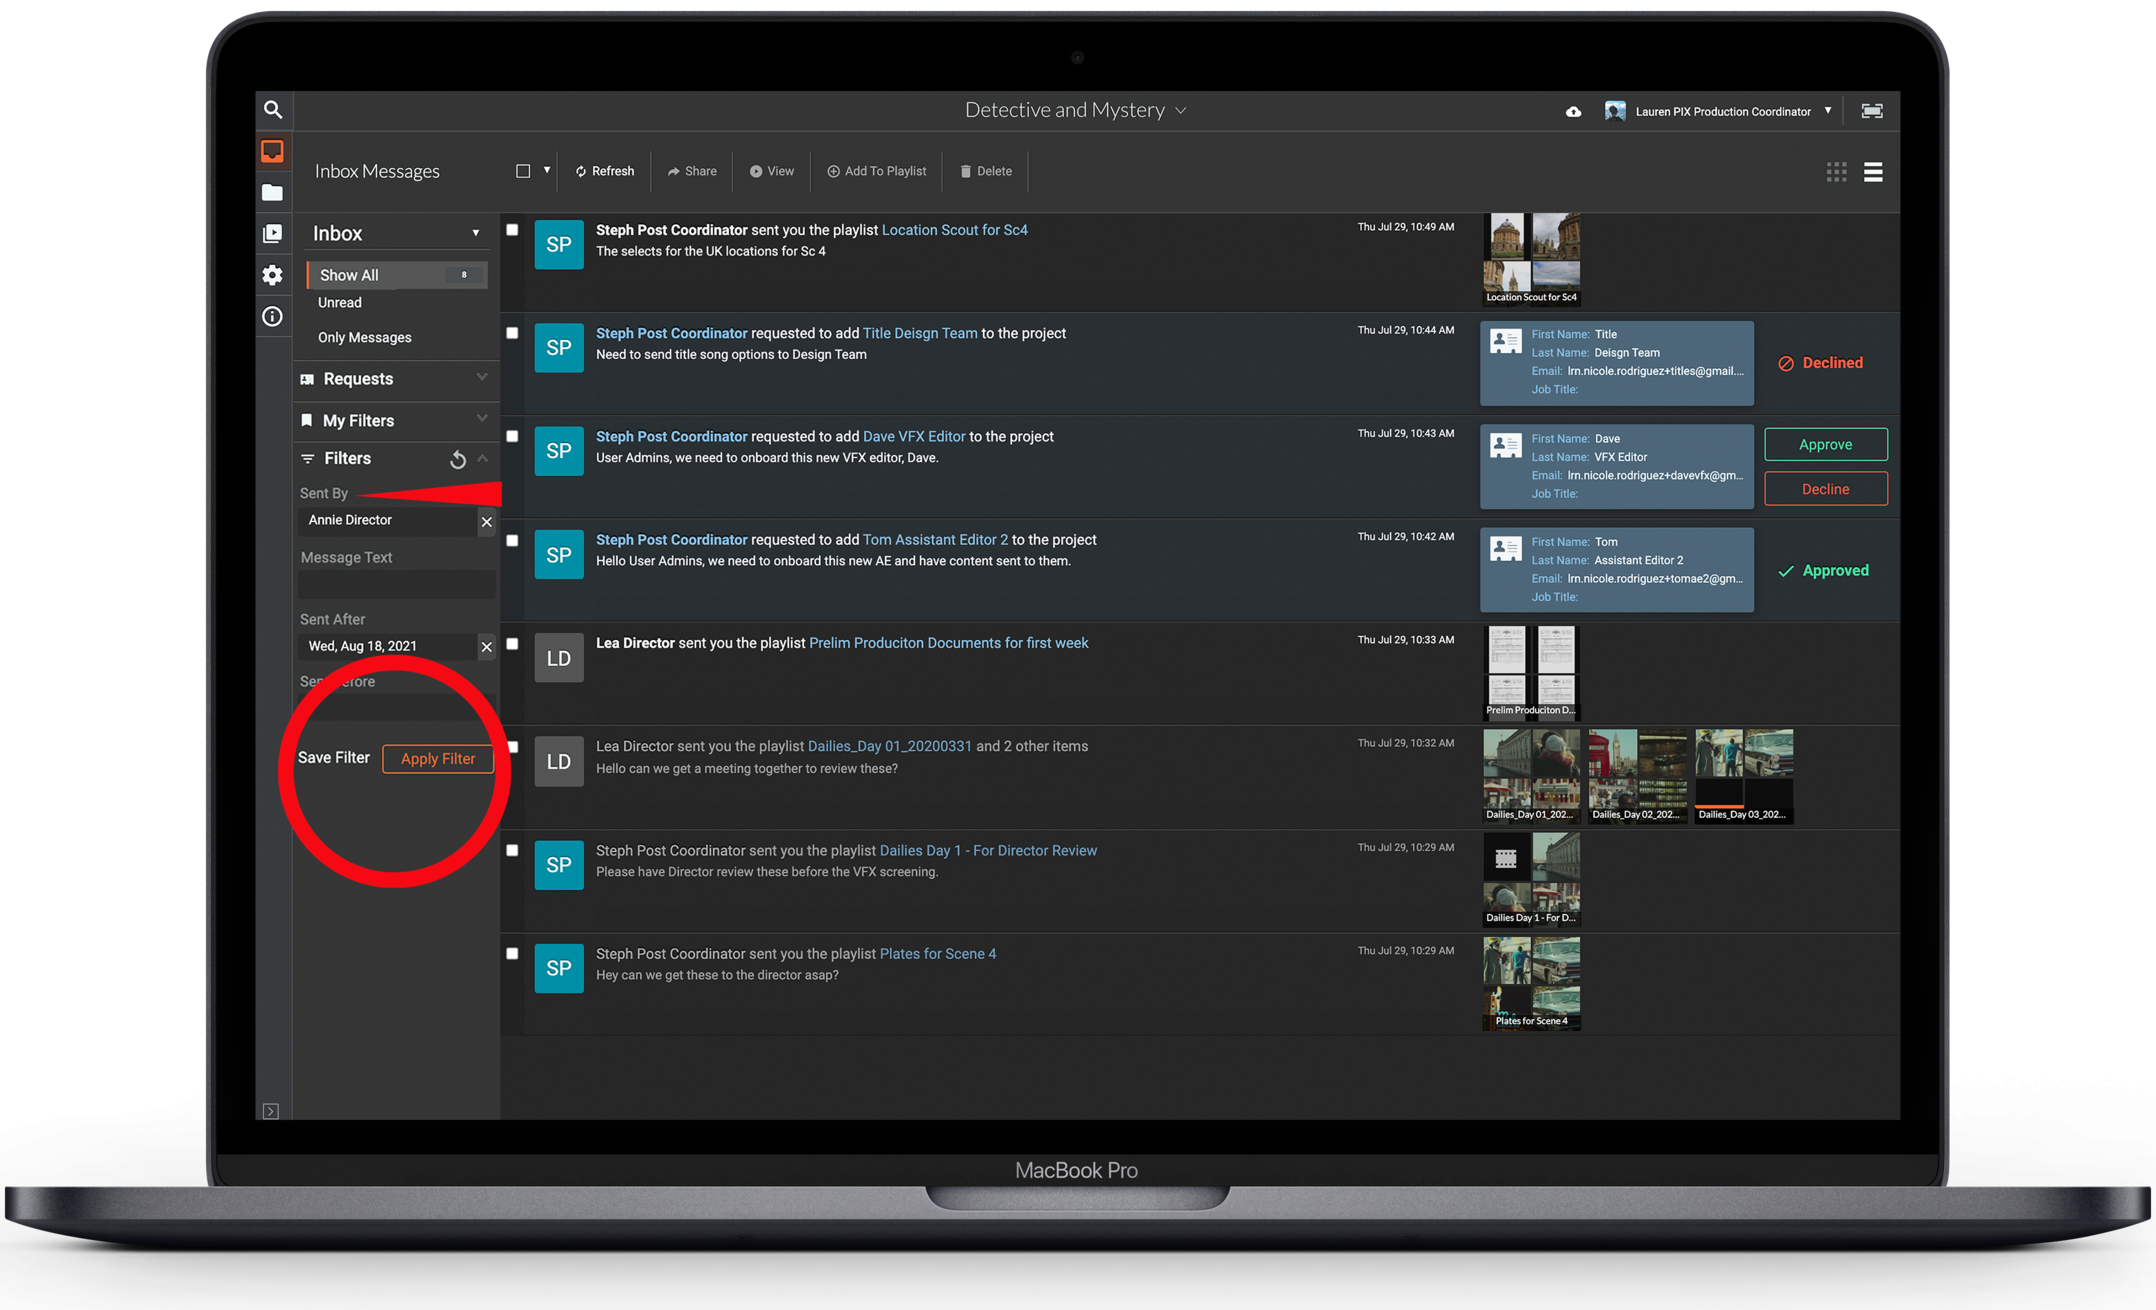
To create a new filter:
- Click Filters
- Enter the criteria you need to search by. You don’t have to fill them all in, but at least one parameter must be set in order to create the filter. The options are:
- Sent By
- Message Text
- Sent After
- Sent Before
- If you need to clear the criteria and reset it differently while you’re in the filter creation window, hit the refresh circle in the top right corner.
- Click Apply Filter to perform the search, then Save Filter if you would like to save it to your My Filters section.
Once you have saved a filter, you cannot edit its criteria, only its name.
To delete or edit the name of a saved filter, select it and click the pencil on the left to edit the name or the trash icon on the right to delete it.