Configure Project Templates for Autodesk Docs
Once you've created a project template, configure tool settings for Autodesk Docs.
From the Project List, click the Project Templates tab or in Account Admin, navigate to the Project templates tool.
Click the template that you want to configure.
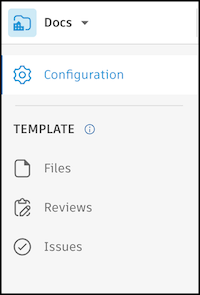
Select Docs using the product picker.
Use the left panel to select the tool you want to configure in the project template:
Docs Tools in Project Templates
| Feature | Help Article |
|---|---|
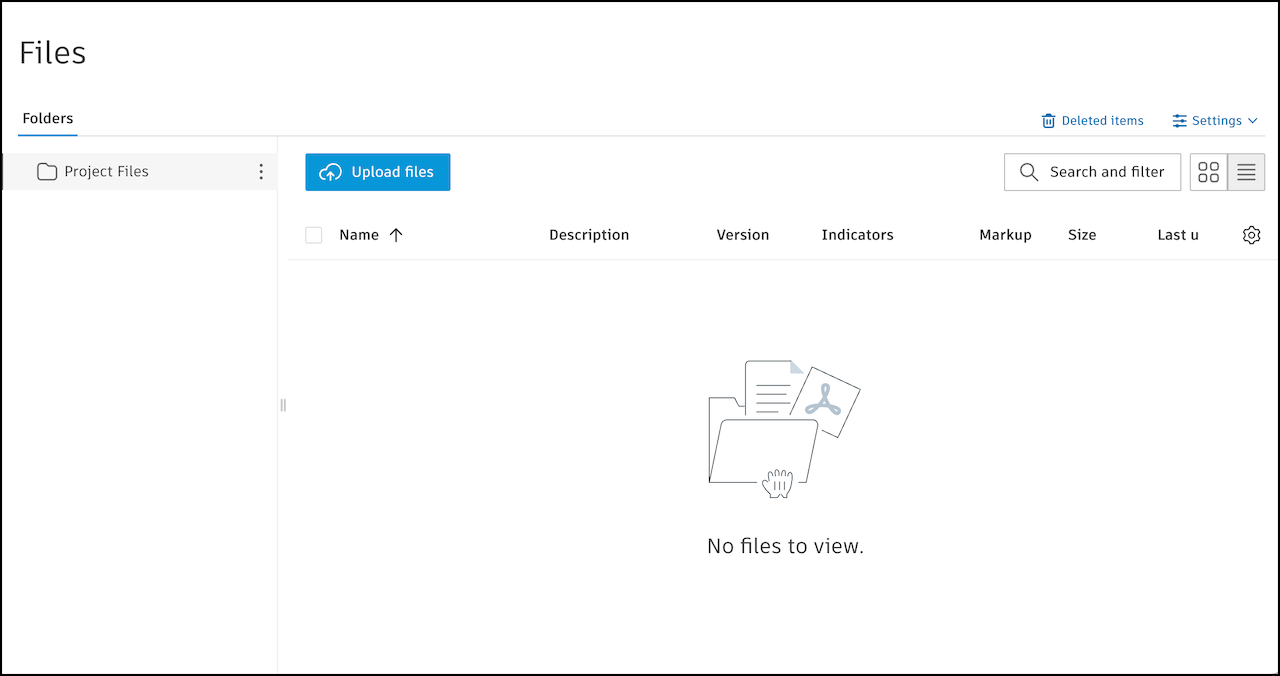
| Create and organize subfolders | Organize Files with Folders |
| Edit attributes | File Attributes and Settings |
| Create naming standards | File Naming Standards |
| Configure permissions | Folder Permissions |
| Upload and configure files for use across multiple projects | Upload and Manage Files |
- .NWC file exports from Autodesk Inventor and Data Exchanges are not supported.
- Many features from the Files tool are not available in project templates. These include creating markups and performing actions in the viewer, creating a Data Exchange in the viewer for a Revit model, and more.
| Tab | Feature | Help Article |
|---|---|---|
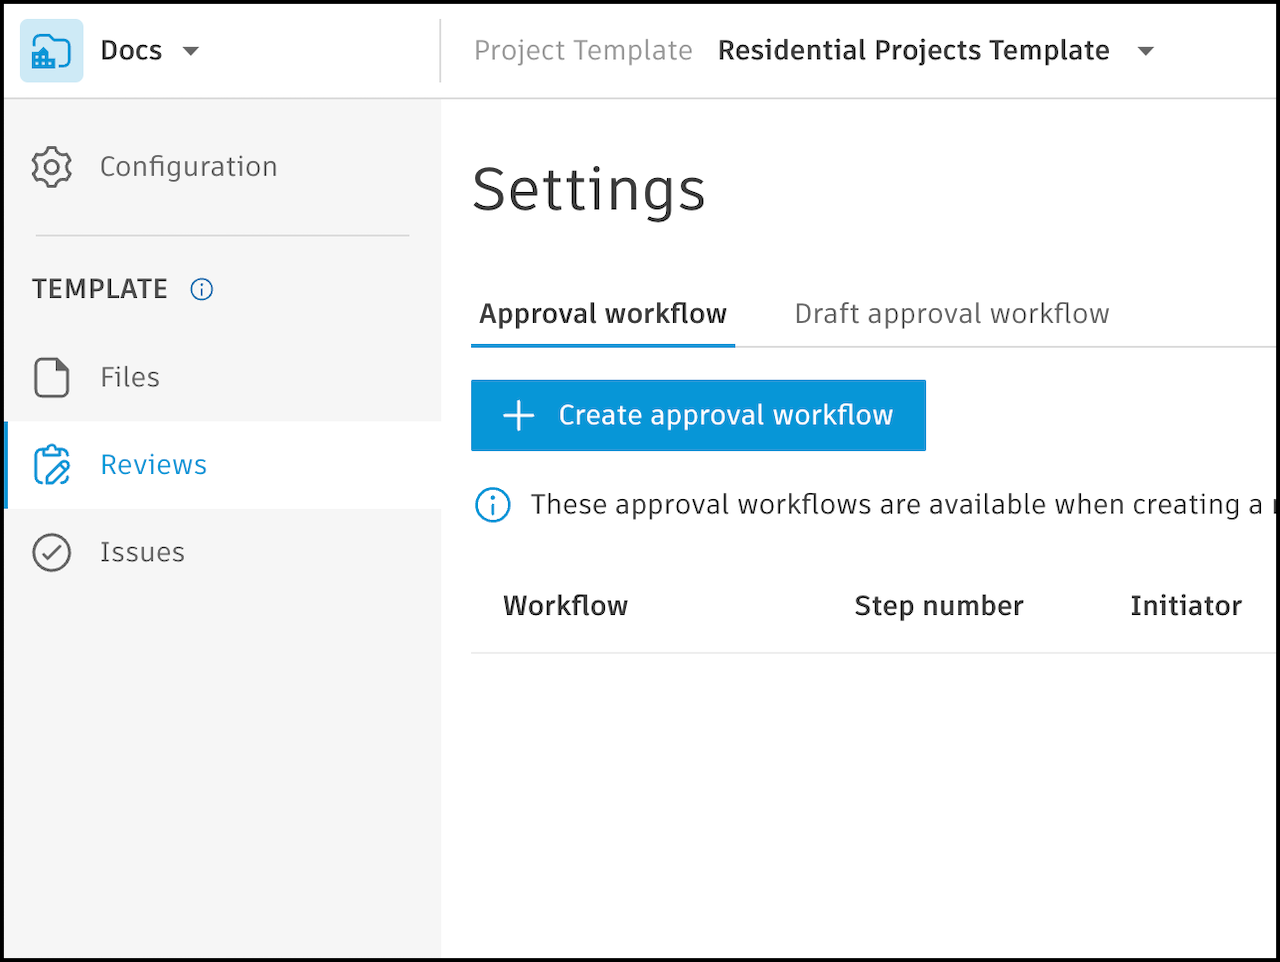
| Approval workflow |
|
Create and Edit Approval Workflows |
| Draft approval workflow | Review workflows which are in draft status and are not available to use until they are finalized. |
| Tab | Feature | Help Article |
|---|---|---|
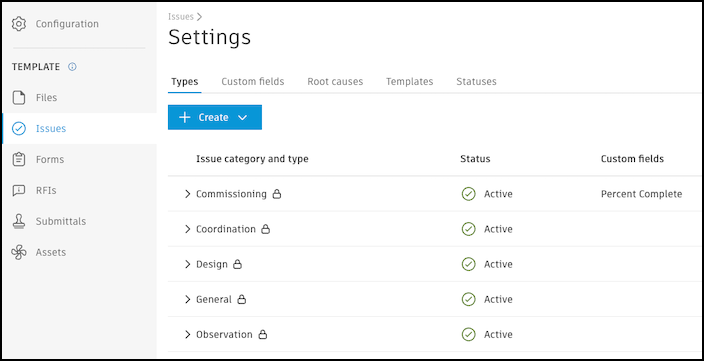
| Types | Create and configure issue categories and issue types | Issue Categories and Types |
| Custom fields | Create custom fields to add to issue categories and types | Custom Fields |
| Root causes | Create root causes to add to issues | Root Causes |
| Permissions | Configure permissions for project roles | Issue Permissions |
| Templates | Create issue templates for faster issue creation | Issue Templates |
| Statuses | Set the visibility of issue statuses | Issue Statuses Settings |
Once configured, you can create projects using your templates.
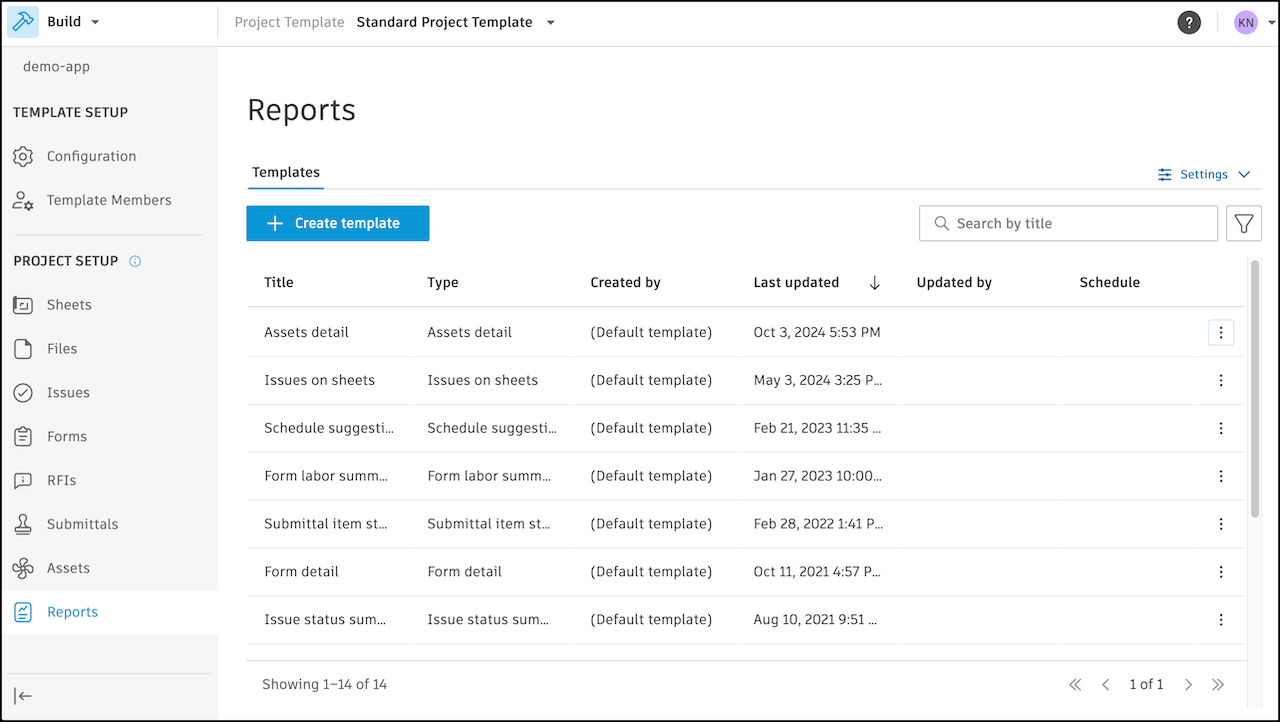
You can configure report templates, schedules, and settings in project templates for Autodesk Docs. When you create a new project from a project template, all configured report templates and schedules are automatically copied to the new project, ensuring standardized reporting and saving setup time.
| Feature | Help Article |
|---|---|
| Create and manage report templates | Create Reports Working with Report Templates |
- Create report templates from scratch using out-of-the-box templates. Configure title, file format, save location (target folder must exist in Files), filters, sort options, fields, and schedule.
- Copy report templates, schedules, and settings from existing projects to project templates.
- Manage report templates: edit, copy, delete, and schedule reports within the template. View template details such as title, type, creator, last updated, and schedule.
- Filter and search report templates by title, type, or creator.
- Schedule reports: set weekly or monthly cadence, select day and time (timezone neutral), and choose recipients by role. Start and end dates are set automatically (start defaults to project creation date; end defaults to 180 days after creation).
- Configure report settings: set language, logo, and email options.
Copied report templates and schedules are available to all project users in the new project, except for report types restricted to project administrators. Learn more.