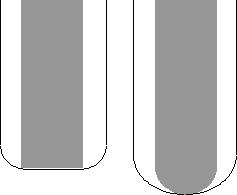
Use the Stock Model Tool State dialog to specify the parameters for the stock model tool-state.
To display the Stock Model Tool State dialog:
- Click Tool tab > Utilities panel > Add to Stock Model.
- Select Settings from the Stock Models tool state context menu.
This dialog contains the following:
 — Displays the name of the stock model.
 — Displays the name of the tool used to create the stock model tool state.
 Radial thickness — Enter the radial thickness used to define the stock model tool state. You cannot change this value after the stock model state has been calculated.
This offsets the tool radially.

 Axial thickness — Enter the axial thickness used to define the stock model tool state. You cannot change this value after the stock model state has been calculated.
This offsets the tool axially.

Corner radius (tool diameter units) — Enter the value for arc fitting used on the previous toolpath. You cannot change this value after the stock model state has been calculated.
Workplane — Select a boundary to define the stock model tool state. You cannot set or change the boundary after the stock model state has been calculated.
Boundary — Select a boundary to define the stock model tool state. You cannot set or change the boundary after the stock model state has been calculated.