This example shows how to edit holes generated automatically from the Create Holes option. It uses the RetainerPlate.dgk model in the Examples folder.
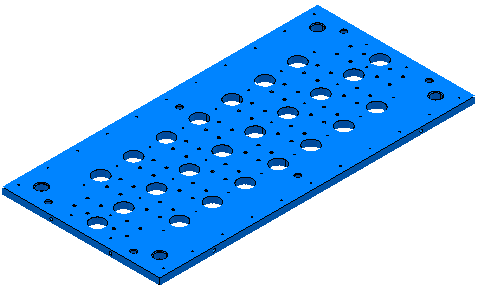
- Select part of the model, including some of the holes.
- From the
Hole Feature Sets context menu, select
Create Holes.
This displays the Create Holes dialog.
- On the
Create Holes dialog:
- Select a Create from of Model.
- Select Create compound holes.
- Deselect Group holes by axis.
- Select Edit after creation.
- Click Apply.
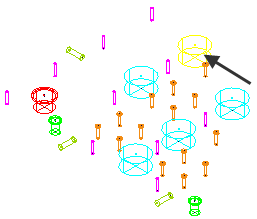
PowerMill recognises the selected holes.
- Select the hole you want to edit.
- On the
Edit Holes dialog:
- Click
 to add a second component.
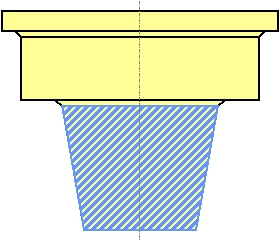
- Select the lower component.
- Enter an Upper diameter of 50.
- Enter a Depth of 100.
- Click
You can use this dialog to build up a more complex compound hole, such as: