
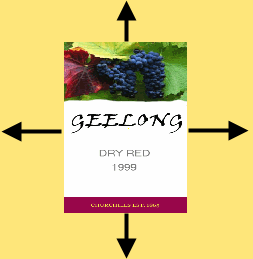
When you select an image in the Image Selector dialog, the image appears as a label on the selected objects and the Label Editor dialog is displayed.
Use the options on the Label Editor dialog to edit features of the label.

You can edit the following:
Label name — The name of the label.
Projection — This determines how the label is projected onto the objects. Select the required projection from the drop-down list:
- Cylinder — This projects the label as a cylinder onto the objects.
The label is fitted onto the objects along the vertical axis of the screen. It is then projected on the objects from the bounding cylinder around them.
Before selecting this option, make sure the objects are displayed in a view such that the vertical axis of where you want to put the label is aligned with the vertical axis of the screen.
Note: If a single primitive cylinder is selected, the label is fitted onto it, regardless of its orientation. - Plane — This projects the label as a plane onto the objects.
To position the label correctly, view the objects on the screen so you are looking directly at the area where the label will be placed, then select the Plane option. If the option is selected before you adjust the position of the objects, reselect it after adjusting the position.
Note: If a single primitive plane is selected, the label is fitted onto it, regardless of its orientation. - Arc — This option is available only for untrimmed surfaces. It projects the label using distances along the objects.
- UV — This projects the label using the parameter space of each object.
Material — Displays the material used by the label.
Use active workplane — Select this option to use the active workplane to position and orient the label. The label is centred on the workplane origin and its vertical axis is aligned with the Y axis of the workplane.
True size — Select this option to preserve aspect size and ratio of cylindrical and plane labels, based on .tif, .jpg and .dmt file formats, if they have length units. If they have no length units, only the aspect ratio is preserved.
Label Layout — Adjust the position of the label using the sliders. The values are proportions of the projection space. The projection space is determined from the option on the Projection menu.
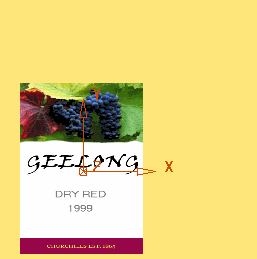
- Use the
X slider to move the label in the X direction
 :
:
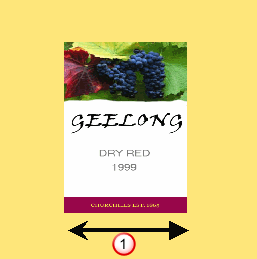
- Use the
Y slider to move the label in the Y direction
 :
:
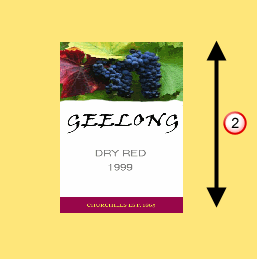
- Use the
Angle slider to rotate the label:
Label Size — Adjust the size of the label using the sliders. The values are proportions of the projection space.
- Use the
Size slider to scale the label in all directions:
- Use the
Aspect slider to scale only the height of the label:
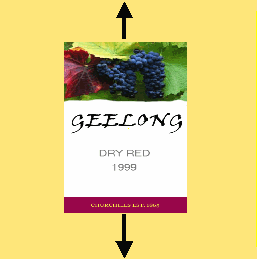
Image — Use the options in this area to edit the label image:
- Change Image — Click this button to display the Image Selector dialog so that you can select another image.
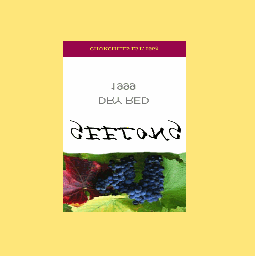
- Mirror U — Select this option to mirror the image along the U axis of the object:
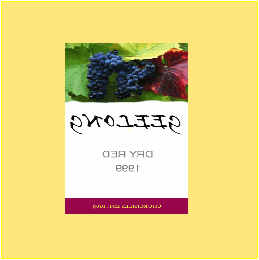
- Mirror V — Select this option to mirror the image along the V axis of the object:
- Tiled — Select this option to repeat and tile the image to cover the entire area of the selected objects:
Image background — Use these options to define the background colour of the image:
- R, G, B — Use these values to specify the colour in the image which is considered to be the background. You can either enter the values or click a colour on the image on the dialog.
- Transparent — Select this option to make the background colour transparent on the label.
Create Wrap — This displays the Chord Length Wrap dialog where you define how the label is applied to the selected object.
OK — Click this option to accept the edits to the label and display the Label Selector dialog.