
Change States on Vault Objects in the Vault Client
The Change State command in the Vault Client is used to change the status of a Vault data and its related files by reassigning the lifecycle state.
The Change State command can be accessed from three places:
- The Document Management toolbar
- The Actions menu on the Autodesk Vault menu bar
- The context-sensitive right-click menu
Multiple Objects
Multiple files, folders, items, or custom objects can be selected for the Change State command. When multiple Vault objects are selected, Autodesk Vault examines the status of each object in the set. If any of the selected objects are not eligible for a state change, the Change State command appears unavailable on both the Actions menu and the context-sensitive menu.
See Learn About the Change State Dialog for more information.
Change a Lifecycle State
Select one or more Vault objects for lifecycle state reassignment. To select multiple objects, hold down SHIFT while selecting objects from the main grid.
Do one of the following:
Click Actions ► Change State.
From the Lifecycle Management toolbar, click Change State.
From the selected objects, right-click and then click Change State.
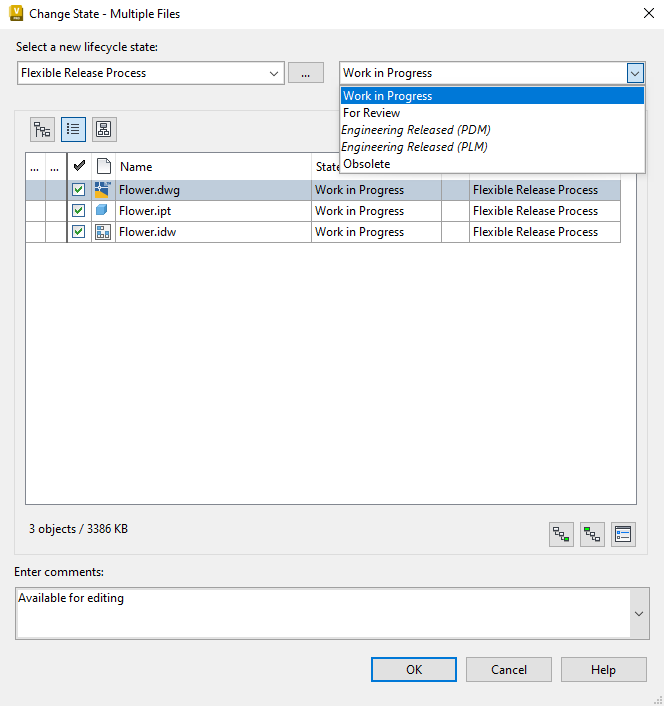
In the Change State dialog box, select the new state from the Select new lifecycle state list. The new state is highlighted in bold in the State column. When related objects are displayed in the table, the new state also applies to those them. Non-released biased revision relationships determine which children are affected. If a file is not the leading version of the leading revision, then the check box is disabled next to it.
Note: Only items with BOM rows that are turned on are displayed.Enter or edit comments in the Enter comments box, as needed or select from a list of previous comments using the drop-down list.
Click OK. The new state is applied to the selected objects. File versions are increased by one.