Contour shading lets you render vector-based contour lines. Contours are similar to the ink component of the Ink 'n Paint material.

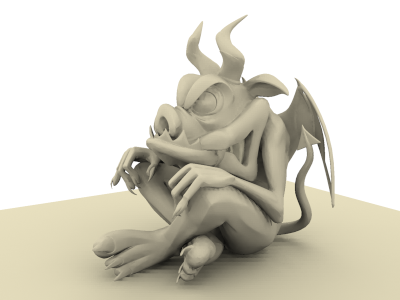
Model rendered without contours

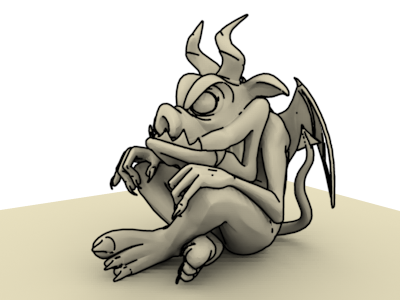
Model with contours added to the rendering (Simple contour shader)
You add contour rendering by assigning one of the contour shaders to the Contour component of a material. This component is found on the mental ray Connection rollout of most materials and on the mental ray material's Advanced Shaders rollout. Then when you render, use the Contours group controls on the Camera Effects Rollout (mental ray Renderer) to enable contours.
On the Camera Effects rollout, additional shaders can modify the contours, or control how they are rendered. For example, to render only the contours, but not the shaded model, assign a Contour Only shader to the Contour Output component.

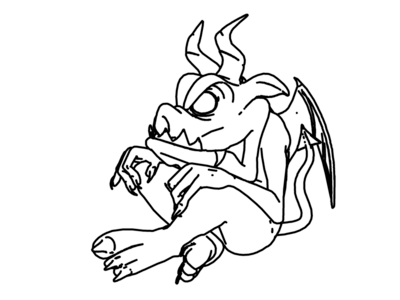
Rendering of the model's contours only (Contours Only output shader, background set to white)
Procedures
To add contours to a mental ray rendering:
- Choose Customize
 Preferences. Go to the mental ray panel, and turn on Enable Mental Ray Extensions.
 - On the main toolbar, click
 (Render Setup).
 If mental ray is not already the active renderer, go to the Common panel, and on the Assign Renderer rollout, click the “...” (Choose Renderer) button for the Production renderer. The Choose Renderer dialog opens. Highlight “mental ray Renderer” in the list, and then click OK.
Leave the Render Setup dialog open, or minimize it.
-
 Open the Material Editor. For the materials of objects you want to render with contours, use the mental ray Connection rollout to assign a shader to the Contour component.
 Another technique would be to use the mental ray material, and assign shaders to both the Surface and Contour components.
Tip: The Simple contour shader renders uniform lines whose color and width you can control. The other contour shaders provide variant contour styles with more direct user controls. - On the Render Setup dialog, go to the Renderer panel. On the Camera Effects rollout, turn on Enable in the Contours group.
To simply add contour lines to a rendering, leave the shaders in the Camera Effects rollout set to their defaults. For other options, see Camera Effects Rollout (mental ray Renderer) .