Create a new scenario, name it, and define its area of interest. After defining a scenario, sync it with its model.
First, you define a scenario from its asset card and the scenario editor. Then you publish it or update changes to the scenario when you include it in a sync of the model that contains it. Sharing a scenario makes it available for viewing in a browser, using InfraWorks 360 web viewer, or on an iPad, using InfraWorks 360 (iPad app).
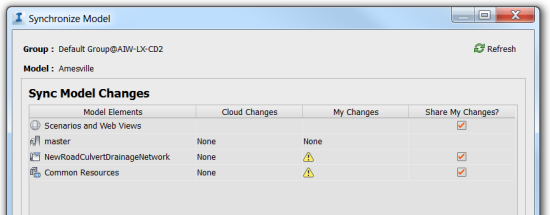
You include a scenario in a sync by checking Share My Changes for Scenarios and Web Views on the Synchronize Model panel. See also To synchronize models.

- Open the model; work in the master or switch the view to a proposal. Scenario definition requires setting the Area of Interest in the target proposal or model.
- Click


 to open the
Scenario Browser.
- Click
 to open the
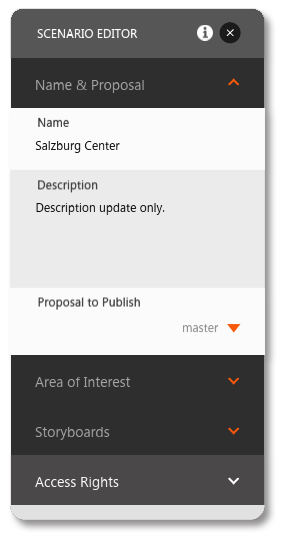
Scenario Editor for a new scenario.
Double-click an existing scenario to open it in the Editor.
To define a scenario:

|
Click inside a section of the Scenario Editor to expand it. |
InfraWorks 360 starts to re-generate the model, attaching the scenario to it. The Scenario Browser reports the status of scenario generation. |
 to sync the model.