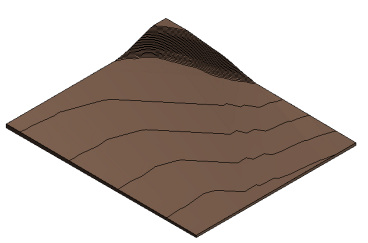
Create or import a representation of the existing toposurface in the Revit model, then use the Set Base Toposurface tool to create a copy of the toposurface for use with Site Designer.

- In the Revit model, open the site plan view.
- Create a toposurface using one of the following methods:
- Place points.
- Import 3D contour data in DWG, DXF, or DGN formats.
- Specify a points file.
- Convert a Revit mass to a toposurface.
- Import a LandXML file from Civil 3D using Site Designer.
- Modify properties of the toposurface:
- Select the toposurface.
- In the Properties palette, for Name, enter Existing Surface.
- For Phase Created, select Existing (or the corresponding phase name used by your organization).
- Modify properties of the site plan:
- In the Project Browser, click the site plan name to display its properties in the Properties palette.
- For Phase Filter, select Show All.
- For Phase, select Existing (or the corresponding phase name used by your organization).
- For View Name, enter Site-Existing.
- Duplicate the site plan:
- In the Project Browser, right-click Site-Existing, and click Duplicate View
 Duplicate.
- Rename the view copy to Site-Proposed.
- Change its Phase to New Construction (or the corresponding phase name used by your organization).
- In the Project Browser, right-click Site-Existing, and click Duplicate View
- Create a copy of the toposurface for use with
Site Designer:
- Make sure Site-Proposed is the current view.
- Click
Site Designer tab
 Convert panel
 (Set Base Toposurface).
- In the Set Base Toposurface dialog, for Toposurface, select Existing Surface and click OK.
- In the Select Surface Name and Phase dialog, for Phase Created, select New Construction (or the corresponding phase name used by your organization). Assign the desired name to the surface. Click Apply.
Site Designer creates a copy of the existing toposurface in the Site-Proposed view. This copy is the proposed toposurface, which Site Designer will manipulate.
- Change the phase filter to Show New:
- In the Project Browser, click the Site-Proposed view name to display its properties in the Properties palette.
- For Phase Filter, select Show New.
This step ensures that the new toposurface displays in the view. Repeat this step for other views where you want to see the proposed toposurface and its site elements.
- Pin the proposed toposurface in place to prevent its accidental deletion or movement:
- In the Site-Proposed view, select the toposurface.
The status bar displays "Topography : Surface," and its properties display in the Properties palette.
- Click Modify|Topography
 Modify panel
 (Pin).
A pin displays near the center of the toposurface in the view.
- In the Site-Proposed view, select the toposurface.
- (Optional) Create 3D views and section views with the Phase Filter property set to Show New and masses visible, and use these views to check the results of your work in Site Designer.
Now you can use Site Designer tools to grade the toposurface and create site elements in the New Construction phase (or the corresponding phase used by your organization).