To adjust the elevation or slope of a site element created with Site Designer, modify the element and use the Change Elevation tool.
For a description of how the Change Elevation tool works, see About Changing Elevations for Site Elements.
To change elevations for a site element
- Open a site plan that displays the site element to modify.
For example, the end point of this swale needs to be deeper for water retention.
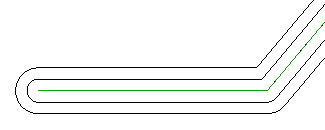
- Click
Site Designer tab
 Modify panel, and click the tool for the element to modify.
- In the view, select the host line for the site element to modify.
Tip: Use the cursor to point to a boundary edge or the host line of the site element, and press Tab until the status bar indicates that you have selected the line (not the Topography : Surface). Then click to select it. See Selected Object Is Not a Host Line.
In the view, elevation values display at each vertex of the host line. Slope values display at each midpoint.
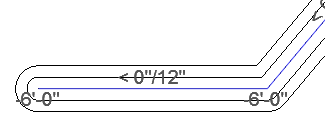 Note: If the values are too large or too small to read clearly, use the Change View Scale tool in the Modify dialog to temporarily change the scale until the numbers are readable.
 - In the Modify dialog, click Change Elevation.
A target (green circle) displays with each value.
You may want to zoom into the view so the targets and their values are clearly visible.
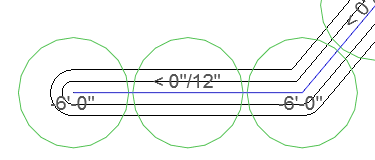
- Make the desired changes:
- To change the elevation for a point, see the section "To change the elevation of a point" below.
- To change the slope of a midpoint, see the section "To change the slope of a midpoint" below.
- Continue to select targets and change their values as needed.
- When you finish adjusting elevations and slopes, right-click in the drawing area and select Cancel.
The Modify dialog displays.
- To make further changes to the selected site element, select another tool in the Modify dialog.
- When you are finished making changes to the site element, in the Modify dialog, click Apply.
The software makes the specified changes to elevation, slope, and other attributes of the site element, updates the toposurface, and updates the model to display the changes.
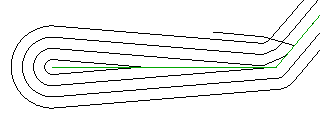
To change the elevation of a point
- Follow the instructions in the above procedure, To change elevations for a site element, through Step 4: Click Change Elevation.
- Click to select the target for a point whose elevation you want to change.
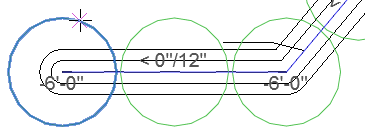
- In the Change Elevation dialog, specify a new value for the selected target, and click OK.
Enter a positive number to rise above the toposurface. Enter a negative number to go below the toposurface.
Based on the new elevation for the point, Site Designer calculates the slope of the line segment.
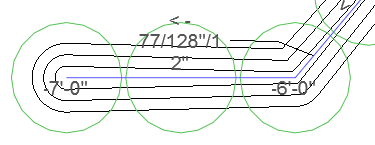
- Return to Step 6 of the procedure, To change elevations for a site element.
To change the slope of a midpoint
- Follow the instructions in the above procedure, To change elevations for a site element, through Step 4: Click Change Elevation.
- Click to select the target for a midpoint whose slope you want to change.
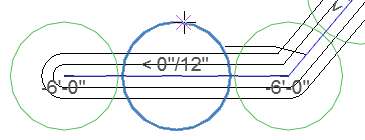
The targets for the points at either end of the line segment display triangles.
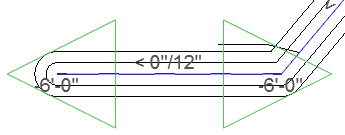
- Select the triangle whose end point will move (up or down) when the slope changes.
The point on the other end of the line segment remains stationary.
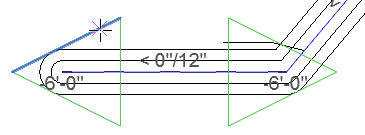
- In the Change Grade dialog, specify a slope value and click OK.
Enter a positive number to slope upward. Enter a negative number to slope downward.
Based on the specified slope from the stationary endpoint, Site Designer calculates the elevation for the moving endpoint.
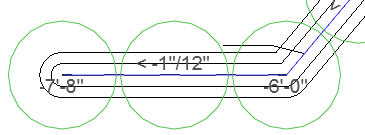
- Return to Step 6 of the procedure, To change elevations for a site element.