Learn to use the drawing process suite to run several processes at once and quickly obtain workshop drawings.
The drawing process suite can be customized using the Drawing Process Manager.
- Go to the Output tab
 Document Manager panel and click
 (Drawing process suite)
- Select the User branch for customization.
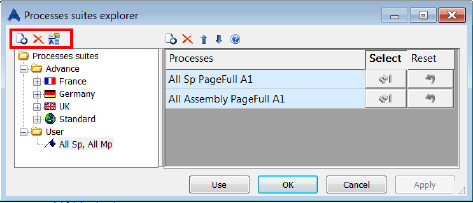
Using the buttons on the top-left of the Process suites explorer dialog box, you can rename the existing (process) suite, copy a process suite or create a new one.

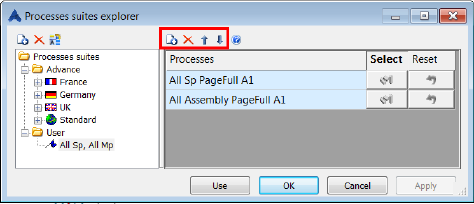
Once you select a process suite, there are several options available to modify the process list (insert, delete and change the order by moving up and down).

Note: The processes that you select must be based on a selection (e.g. Selected SP Plate - AutoPage).
For each process, you need to select the objects from your model for this process.
To select the objects:
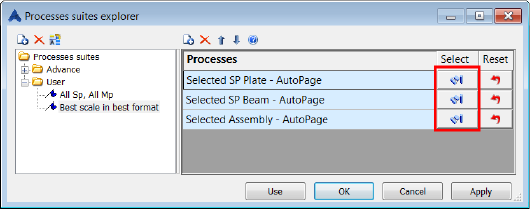
- Click the blue button (called "Select objects for process") in the dialog box.
- Select the elements in the 3D model and press Enter.

Notice that once your selection is done, one of the objects in the blue icon will be colored in yellow.
Note: If you made a mistake, you can reset the selection by clicking Reset selection. - Click Use to start the drawing creation.
Your process will run in the defined order, and the workshop drawings will be automatically created.