Introduction
The Layout Options window may be accessed in any one of four ways:
- From the Layout Options button in the lower left corner of the main Project Explorer window, in order control the layout of content within the Project Explorer window.
- From the Edit Layout Style in the Create Quick Report dialog box, in order to control the layout and formatting of content of outgoing reports or spreadsheets.
- From the Edit Layout Style in the Create AutoCAD Table dialog box, in order to control the layout and formatting of content in outgoing AutoCAD tables.
- From the Edit Layout Style in the Create/Edit Object Set dialog box, in order to control the layout and formatting of content in outgoing reports, tables, or spreadsheets created from the Run Action button for Object Sets.
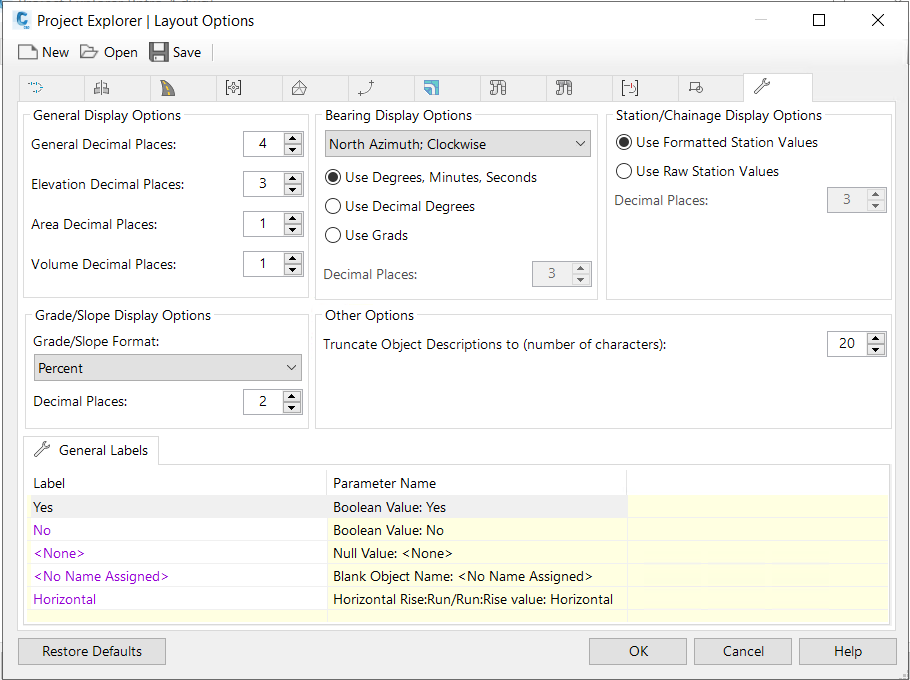
Layout Options determine the layout, format, heading name, and visibility of data columns and values in the Project Explorer user interface and in generated reports, spreadsheets, and AutoCAD tables.
Layout styles
Layout Options may be saved to Layout Styles (.xmpt), allowing custom layout settings to be easily saved and restored at any time or shared with colleagues.
For each object type in Civil 3D, the layout of data columns in the user interface, and in reports, tables and spreadsheets can be controlled in any of the following ways:
- Control the visibility of each data column by checking or unchecking any Column Label field.
- Control the column header text in each data column by editing the value in the Column Label field.
- Control the horizontal text alignment of each data column by changing the value in the Label Alignment field.
- Group several data columns under a common merged heading by choosing the Start New Group option from the Column Group Mode field. Add additional data columns to the group by selecting the Continue Group option from the Column Group Mode field.
- The text and alignment of a column group can be controlled from the Group Label and Group Alignment fields respectively.
- Force Column Labels or Group Labels to be displayed as multiple lines of text by inserting \n or \P into the field to represent a line break.
Restore defaults
The Layout Options currently assigned to the main Project Explorer window can be reset to the default settings at any time by clicking the Restore Defaults button in the bottom left corner of the Layout Options window.