Use the Section Line toolbar for creating section lines through features and points in drawing views. When you accept the section line, a section view is created ready for you position on your drawing.
Note: You can also create section lines manually, by drawing a single line through the view, or by creating a composite curve from a series of orthogonal lines. For further details, see
Creating a section view.
To create a section line using the Section Line toolbar:
- Click Draft tab > View panel > Section.
- Click OK
on the
Information dialog to display the
Section Line toolbar:

- Select the View you want to create a section line for from the drop-down list.
- Choose the mode for creating a section line:
- Select the
Set feature recognition
 button to create a section line through features.
Solid features are highlighted as you move the cursor over them in the view:
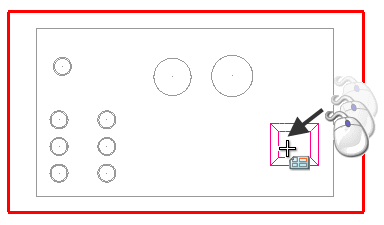
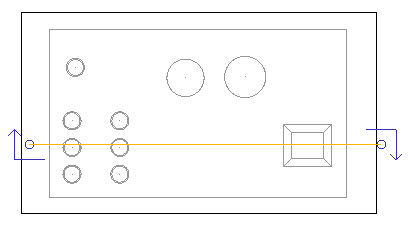
Select a feature to create a section line through the centre of the feature:
- Deselect the
Set feature recognition
 button to create a section line through points.
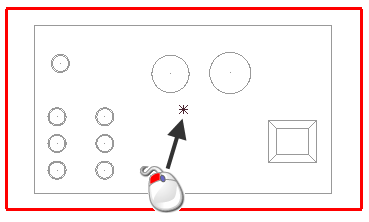
In point mode, features are not recognized. Click in the view to specify a point:
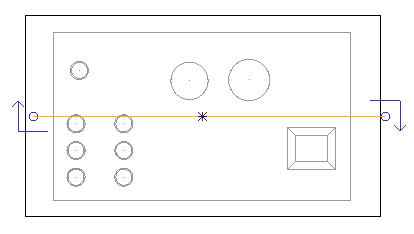
A section line is created through the point:
- Select the
Set feature recognition
- When you have created a section line, the other options become available on the toolbar:
-
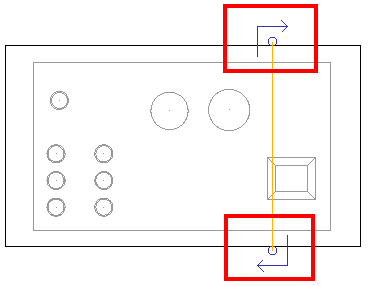
 Toggle direction of the section line. This is the same as clicking on the view's instrumentation to change the direction of the section line direction from horizontal to vertical, or from vertical to horizontal.
-
 — A section view is created ready for you to place in position on the drawing.
-
 — Cancels all changes and closes the toolbar.
-
Tip: You can combine features and points in your section lines.