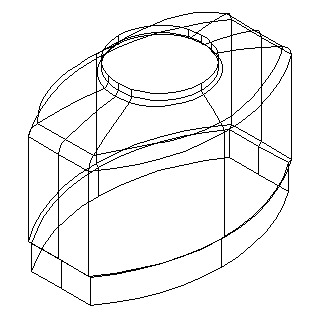
You can create a single view of either a whole model, or of selected objects from a model.
To create a view of the model below:
- If you do not have a drawing open, create a drawing or open an existing drawing.
- To create a view of selected objects, select the objects in the model.
If no objects are selected, a view of the whole model is created.
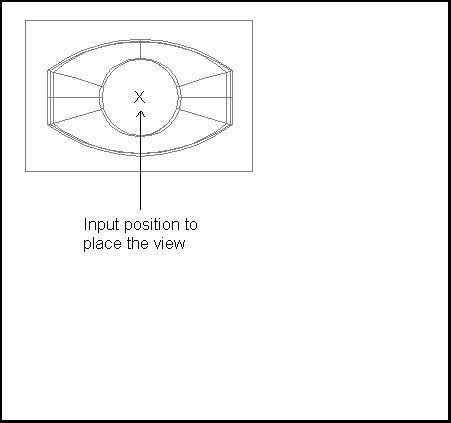
- Click Draft tab > View panel > Single.
- Click View tab > Window panel > Windows, and select the required drawing window.
As you move the cursor around the drawing window, the view is attached to the cursor and is ready to be placed on the drawing.
- Click on the drawing where you want to place the view.
Note: Blanked objects in the model are not drawn in the view.
Note: By default, the view is looking down the top of the world space (down the -Z axis). You can change this by
editing the view.
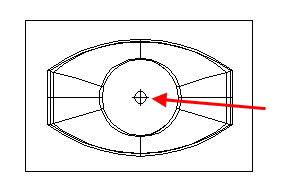
In this example view, you can see a mark made of a circle and two lines that cross. This marks the origin of the view, which can be modified using the Edit View dialog.
When you create a single view, you can create a view relative to it, using Draft tab > View panel > Relative.