If the room height does not reach upper or lower room-bounding elements, Revit uses the specified upper and lower boundaries to compute the height and the resulting volume of the room.
For example, the following section view shows a room that starts at Level 1 and goes up to Level 2, but its upper boundary is not defined by a ceiling, roof, or other room-bounding element. Regardless, Revit uses the specified room height when computing the room volume.
However, if room-bounding elements occur within the range of the room’s defined limits, Revit uses the space defined by the room-bounding elements when computing the volume. For example, if a ceiling or roof occurs below the specified upper limit of a room, then Revit computes the volume up to the room-bounding element.
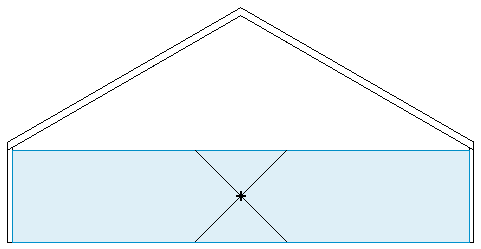
For rooms under roofs, such as attic spaces, specify an upper boundary that is greater than the height of the roof. This strategy ensures that the volume is computed up to the roof pitch. For example, the following section view shows a room that starts at Level 1 and extends 7000 mm above Level 2 (indicated in blue). When computing the room volume, however, Revit uses the intervening roof as the upper boundary for the room (indicated in red).

When a floor occurs above the computation height, it becomes top-bound, not bottom-bound, which results in an incorrect room volume. This situation typically occurs when the ceiling is modeled as part of the floor or when you move a floor to a point above the room's lower boundary. If this occurs, create a new level for the elevated floor, and add the room on this level. Then Revit can compute the room volume correctly.