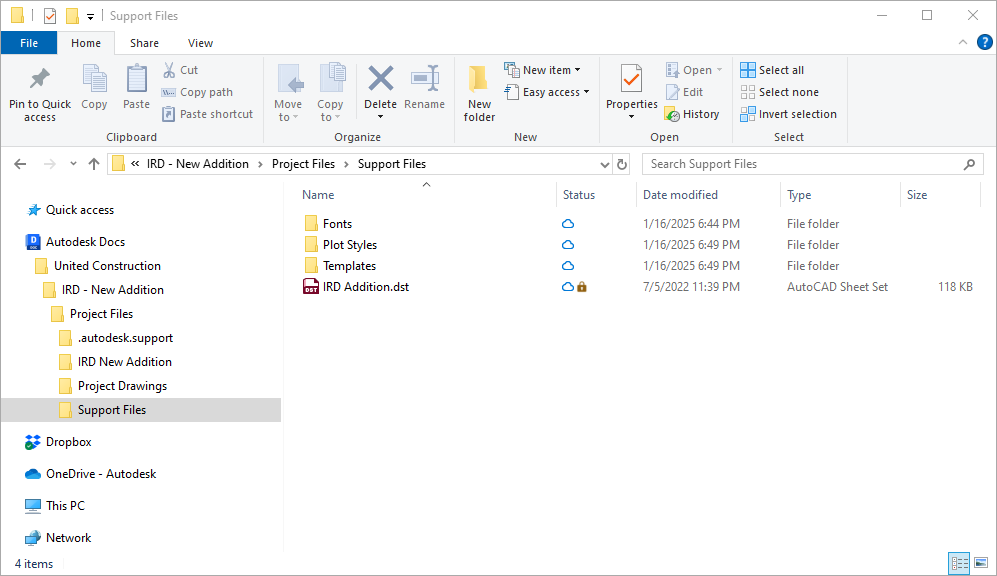
Before you can create folders and upload support files to an Autodesk Docs project, you must connect to the project using Desktop Connector. For information on installing Desktop Connector and connecting to a project, see the following topics in the Autodesk Docs help:
- Once you have an initial project selected in Desktop Connector, in Windows File Explorer, browse to the Autodesk Docs folder.

- In the Autodesk Docs folder, navigate to your project's folder and add any additional folders needed to organize your support files.
- In your support folders, copy your support files that should be used by the drawings in your project.
The support files added to the local folders will be synchronized to Autodesk Docs with Desktop Connector.
In addition to using the Autodesk Docs folder in Windows File Explorer, you can also upload the support files directly to Autodesk Docs using your web browser. For information on uploading support files to Autodesk Docs, see the Upload and Manage Files topic in the Autodesk Docs help.