The following steps outline how to set up Connected Support Files for an existing Autodesk project in Forma Data Management.
For information on how to create an Autodesk project and select your project with Desktop Connector, see the following topics in the Forma Data Management help:
Important: Connected support files can only be set up by members of an Autodesk project with an access level of Project Administrator in
Forma Data Management.
- Once you have an initial project selected in Desktop Connector, in AutoCAD, on the Start page, click Autodesk Projects.
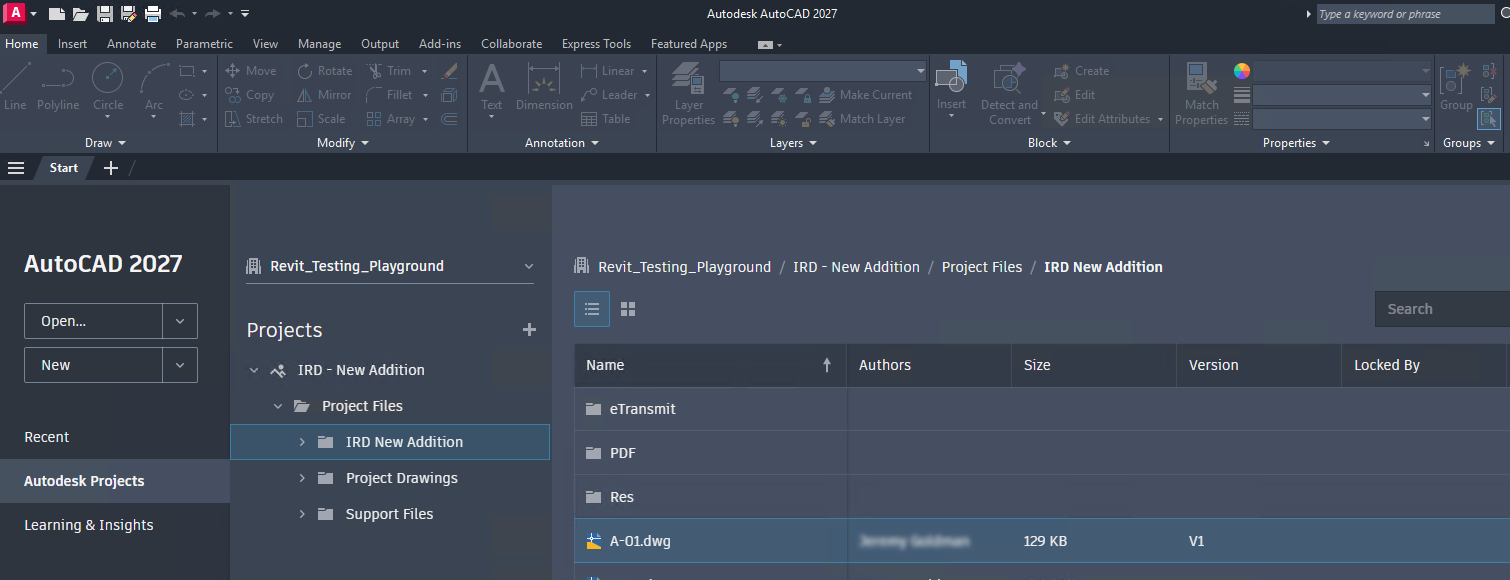
- On the Autodesk Projects tab, expand the project for which you want to set up Connected Support Files.
- Browse to and open a drawing within the project.
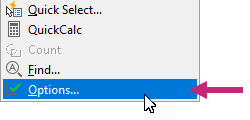
- With the drawing file open, right-click the drawing area and choose Options.
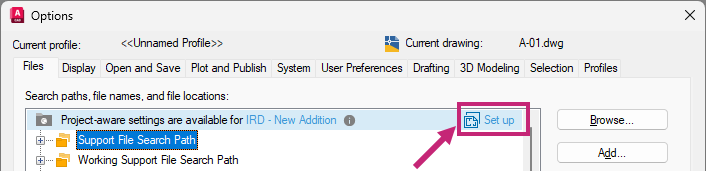
- In the Options dialog box, Files tab, click Set Up along the top of the Search Paths, File Names, and File Locations list of settings.
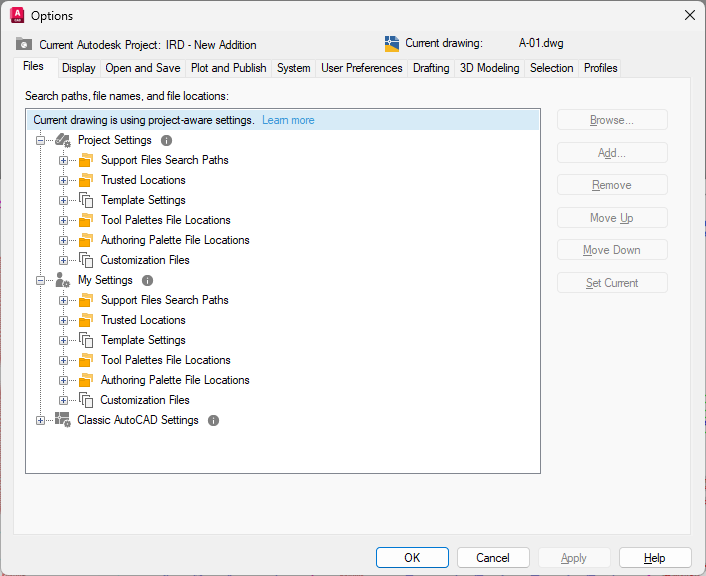
Note: If you don't see the Set Up option, the project might have previously been configured. This can be verified by the appearance of the text "Current drawing is using project-aware settings."
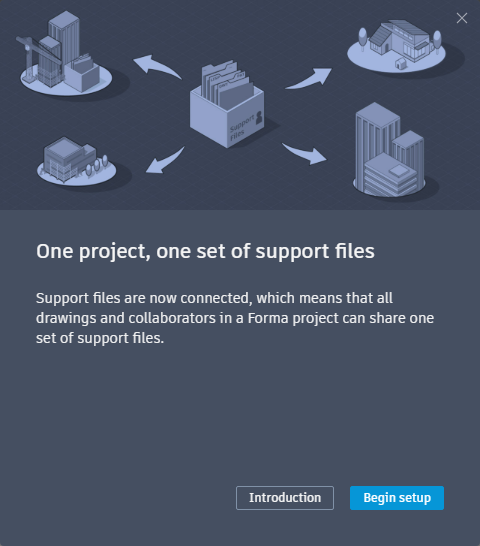
- In the One Project, One Set of Support Files dialog box, click Begin Setup.
Click Introduction if you want additional information on the Connected Support Files feature.
- On the next page, click Setup Project.
- On the final page, click Close Window to return to the Options dialog box.
- In the Options dialog box, click OK.
For information on changing the paths for Connected Support Files, see To Set the Paths for Connected Support Files of an Autodesk Project.