Create a Process Simulation study
This feature is part of an extension. Extensions are a flexible way to access additional capabilities in Fusion. Learn more.
On the Manufacture workspace toolbar, click Additive > Process Simulation > Study
 .
.The Study dialog opens.
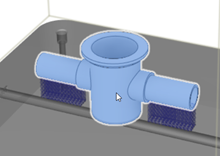
With Target Body active, on the canvas, click the solid body or mesh body that represents the part on which you want to perform the additive process simulation.

In the dialog, enter the Platform settings:
(Optional) Change the Platform Thickness.
If the build platform is preheated to a specific temperature or keeps a constant temperature during the entire manufacturing process, select a Platform Heating option of Initial or Controlled, and then enter the Temperature.
Choose a Directional Removal option of X Direction or Y Direction to simulate, after cooling, a gradual, multi-step removal of the part from the build platform in a specific direction, or None to remove the part in one step.
Click OK.
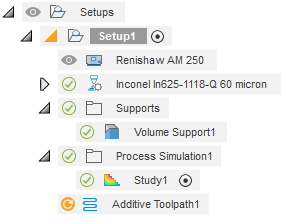
A Study node is added to the Browser and the Solve dialog opens.

(Optional) To choose a different print setting, in the Process Parameters group, click Print Setting
 .
.(Optional) To change the process simulation settings, in the Solve Accuracy group, click Settings
 .
.If the part is not in contact with the build platform, in the Platform Contact group, click Place on Platform
 to place the part on the build platform, or click Volume Support
  to add volume supports between the part and the build platform.
(Optional) To finish creating the study without generating a preliminary mesh or solving the process simulation, click Cancel.
(Optional) To generate a preliminary mesh, in the FEA Mesh group, click
 .
.(Optional) To solve the process simulation, click Solve.
Note: Issues marked with a red exclamation mark must be fixed before you can solve the additive process simulation.