Edit PCB material properties
The material properties are set up so you do not have to edit them, thus the default is for editing material properties to be off. However, there may come a time when the supplied materials do not meet your needs.
Important, changes to the material properties do not update the material library. They are available only for the current layer stack. To retain the material changes, save this layer stack as a preset.
In the 2D PCB document, on the Design toolbar, click Layers > Layer Stack Manager. The dialog displays.
On the Layer Stack tab, select Edit material properties to enable material editing in the dialog.

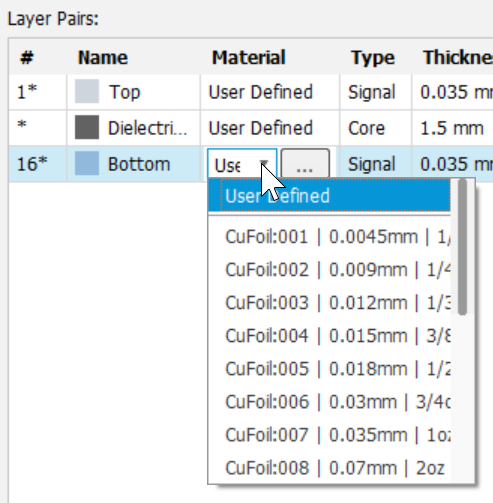
In the Material column, select the material you want to edit. Two buttons appear in the table cell.
- Click the left button and choose a material from the list. The columns in the list are truncated.

- Click the right button to display a dialog where you can view material details. Select the desired material.
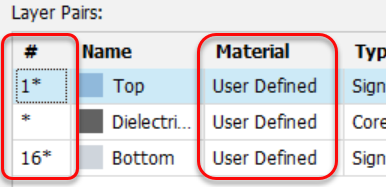
Edited materials display User Defined in the Material column and an asterisk (*) in the ID (#) column.

To reset the material for a selected layer and its complement layer, right-click the row and click Reset User Material. The material properties are set to their default values and edit focus is placed in the Thickness cell.