Assign licenses to members (Fusion Manage Extension)
This content applies only if you have the Fusion Manage Extension. If you don't have the extension, follow these instructions instead.
As a hub administrator, once you've invited new Fusion users to your hub and they've accepted their invitations, you need to assign them licenses. These steps continue from where you (or another administrator) left off in Invite people to a hub (Fusion Manage Extension).
Check invitation status
Open the Fusion web client.
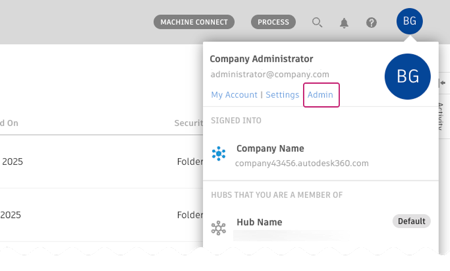
Click your profile image in the top-right corner, then select Admin.
Go to the Members and Groups tab.
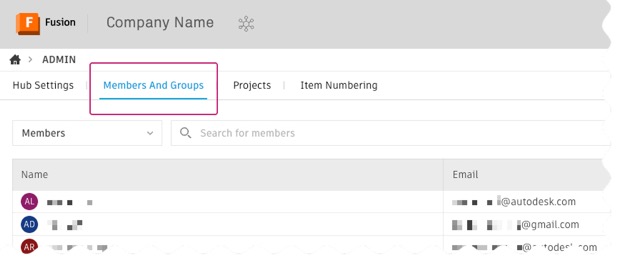
In the Status column, check the status of each recently invited member.
- Pending: Member hasn't accepted the invitation yet.
- Active: Member has accepted and joined the hub.
Assign licenses
Before you start
To assign licenses in bulk, you can import a list of members using Autodesk account management. Prepare a CSV file with each member’s name and email address on a separate line, like this:
| First name | Last name | Email address |
|---|---|---|
| John | Smith | jsmith@email.com |
| Jane | Doe | jdoe@email.com |
When you import the CSV file, members who already have licenses won’t be assigned another.
Assign the licenses
Open the Fusion web client.
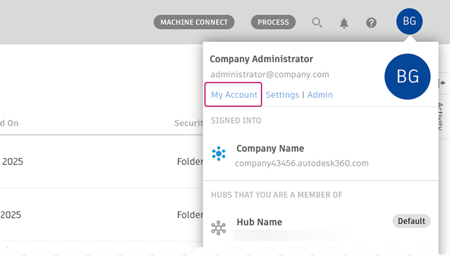
Click your profile image in the top-right corner of the page and select My Account, or go to manage.autodesk.com.
Go to User Management > By Product.
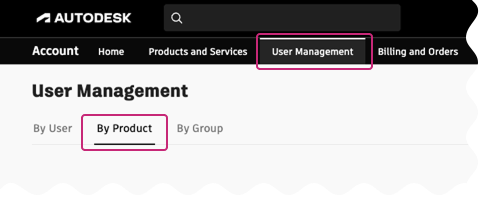
Click Fusion.
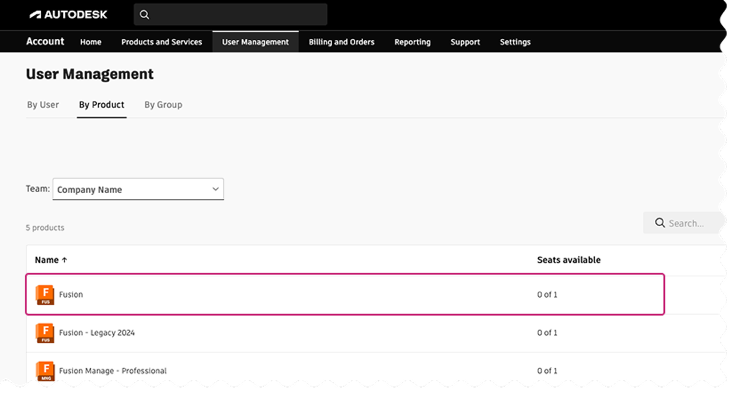
This shows the number of licenses (seats) available, the total number of licenses, and, under Assigned users, people who have had licenses assigned to them so far (if any).
Click Assign users.

In the dialog that appears, choose one of the following ways to assign your licenses:
Use the Assign tab to search for and add users by name or email address.
Use the Import to assign tab to upload a CSV file for bulk license assignment.

Click Assign.
Assigned members will now appear in the license list.
Once licenses are assigned, you can optionally Create a project for the members of your hub to work on, or let them do it themselves. It all depends on your organization and how you want to distribute responsibilities.
For more information on setting up Fusion hubs, see this Autodesk blog post.