
Destruction simulation
Destruction is typically accomplished by first pre-fracturing meshes, then doing a rigid body simulation with the pieces. You can use the bodies' activation state or apply constraints to give the appearance of gradual destruction.
Fracturing
Several compound are available for fracturing meshes:
boolean_fracture_meshlets you slice a mesh with an array of meshes such as planes. You can supply the slicing meshes yourself, or use the options in the compound to generate planes automatically. Note that the slicing meshes must fully enclose the mesh to fracture.voronoi_fracture_meshlets you fracture a mesh using a Voronoi pattern. You can supply the points for the Voronoi cells yourself by scattering manually, or use the built-in options.fracture_meshprovides a choice of fracturing methods.
You can create more complex fracture patterns by combining these together with boolean_meshes, for example, fracturing different portions in different ways or daisy-chaining to fracture the pieces again.
Be careful of small overlaps that can cause problems for the rigid body simulation. If this happens, you can try adjusting the collision shapes.
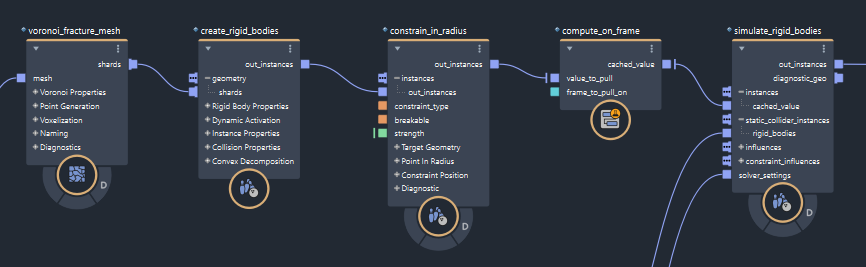
Tips for destruction
- Fracturing can be the most time-consuming part of a destruction simulation to set up. It's a good idea to use a
compute_on_framenode, after fracturing and other steps like constraints but before the actual simulation. This lets you adjust the fracturing on frame 0 without incurring any computational cost until stepping forward to frame 1.
The fracture compounds have naming options that can be helpful for filtering pieces when applying constraints and influences in the RBD simulation.
When rendering an object as it shatters on impact, you can swap the unfractured mesh with the fractured pieces at the moment of collision.