
This shows you how to create the surface features and select the toolpath strategies.
- Press the Esc key to cancel any geometry creation modes.
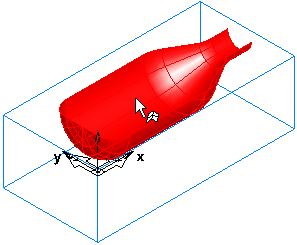
- Select the surface (srf1). On selection it turns red.
- Select the
Features
 step from the
Steps panel.
step from the
Steps panel.
- In the New Feature wizard, in the From Surface frame, select the Surface Milling option, and click next.
- On the Part Surface page click Next.
- On the New Strategy page, select the Choose Rough, Semi Finish, and Finish… option, and click Next.
- On the
Rough page:
- Select the Z Level Rough option.
- Select Classify slices as 3D Pocket.
- Click Next.
- On the Semi-Finish page, select None, and click Next.
- On the Finish page, select Isoline.
- Click the Finish button.