Typically you render the objects in a scene against a black background and composite the rendered images later with an appropriate background using compositing software. However, you can insert a background:
- to avoid having to model background objects or scenery, but want them represented two dimensionally in your scene (especially if you don’t have access to compositing software).
- as a temporary reference (especially for rotoscoping or motion matching) for modeling or animating objects in the scene.
Color backgrounds
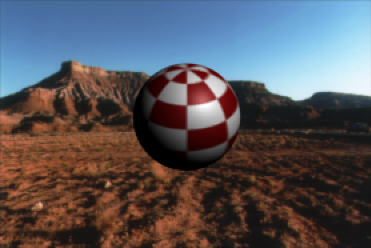
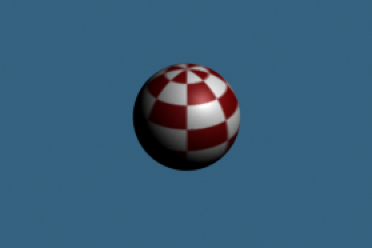
A color background floods the background of the rendered scene with a solid color (for example, black, white, or red).
To create a basic color background for the current camera
- Select View > Camera Attribute Editor from the panel menus.
- In the Attribute Editor, under the Environment section, set the Background Color attribute.
To remove the color background, set the Background Color back to black.
Texture backgrounds
A texture background uses a 2D, 3D, or environment texture on an image plane to simulate a 3D background, or environment.

To create a texture background
- Select View > Camera Attribute Editor from the panel menus.
- In the
Attribute Editor, under the
Environment
section, click the
Create
button to the right of the
Image Plane attribute.
This creates an image plane and connects it to the camera.
- Set the Type attribute for the image plane to Texture.
- Click the texture icon
 next to the
Texture
attribute.
next to the
Texture
attribute.
- In the
Create Render Node window that appears, select the texture you want to use as a background (for example, an
Environment Texture).
This connects the texture to the image plane.
Image file or movie backgrounds
In addition to texture backgrounds, image planes also let you use an image file, a series of image files, or a movie as a background. Refer to the Image planes section for more topics.