Quickstart Fill tutorial: Create a project
All Moldflow analyses are done in Projects. Projects allow you to manage multiple analyses, called Studies. A project is created for your filling analysis.
In this task you will create a Project and import a model.
 Download the files for this tutorial from Autodesk Knowledge Network-Quick Start folder.
To create the project, click
 (Start and Learn tab > Launch panel > New Project).
Enter the project name Quick Start Filling Analysis in the new project dialog box, and click OK.
The project is ready to import a part.
Click
 (Home tab > Import panel > Import).
Navigate to the location where you saved the tutorial files.
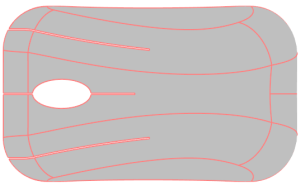
Select the file MouseCover.ipt and click Open.
Select Dual Domain from the drop-down list. This is the most suitable mesh type for a thin shell-like part.
Click OK.

