
Custom Renderer API
You can use the custom renderer to replace the default renderer by integrating an OpenGL based shader plug-in into the MotionBuilder viewport. You can use this feature to develop your own rendering solution that suits your requirements.
Quick Start
To start using the custom renderer feature:
Copy the CustomRenderer sample from
<yourinstallationfolder>/OpenRealitySDK/samples/shaders/CustomRendererto another folder and modify the project setting or source code accordingly.Note: Copying the sample to another folder is optional.Compile and build the sample project in your development environment.
After the project is built successfully, the resulting library is saved in
/bin/x64/plugins. Make sure that you have write access to this folder, or configure the build environment and specify the destination folder as one of the additional plug-in directories. You can add additional plug-in paths either by setting the MOTIONBUILDER_PLUGIN_PATHenvironment variable or by using the Preferences dialog as shown in the following figure.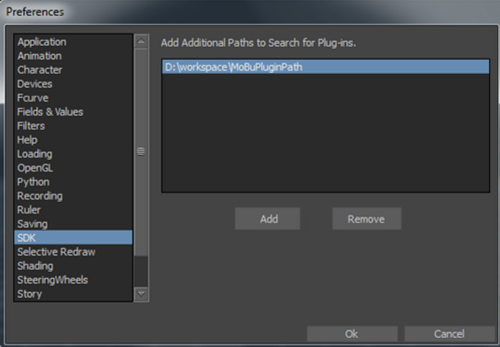
The plug-ins that are saved in these specified folders are automatically loaded at startup.
Run MotionBuilder. An additional Renderer menu appears. You can choose a method for rendering the scene as shown in the following figure.

For more information about accessing the custom renderer, see Accessing the Custom Renderer in the User Interface.