You can use the Geometry Explorer tab to update an item in the inspection sequence with the nominals from the CAD model.
To apply CAD nominals to a geometric item using the Geometry Explorer tab:
- Select the Geometry Explorer tab.
- In the inspection sequence, select the item you want to update.
- Select Home tab > Mouse Context panel > Wireframe Checker.
- Right-click the CAD view, and then select a picking mode from the context menu.
- Move the cursor over the CAD model until the feature whose nominals you want to use is highlighted.
- Click the wireframe to select the highlighted feature. The feature's nominals are displayed in the Geometry Explorer tab.
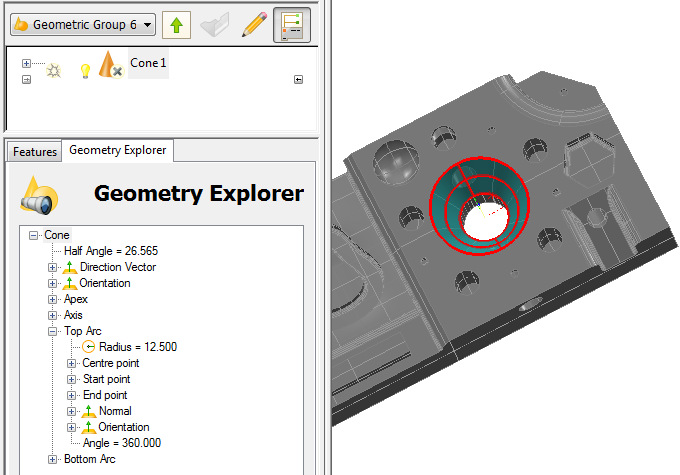
- In the Geometry Explorer tab, click the parameters you want to apply to the selected item. You can select the whole feature (for example, Cone), or click
 to display the feature's details and then select a parameter (for example, the radius of the Top Arc).
 - Select the Edit
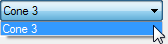
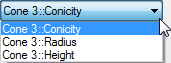
 button, and select the parameter you want to edit in the adjacent list. The contents of the list depend on the selection you made in Step 7. For example, if you select:
- the Cone, the following options are displayed:
- the radius of the Top Arc, the following options are displayed:
- the Cone, the following options are displayed:
- Click
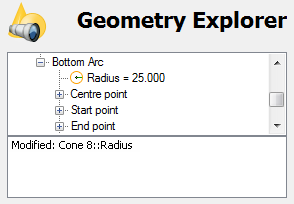
 on the Geometry Explorer tab. PowerInspect displays the updated details of the item in the Features tab.
 - Click on the Features tab to save your changes. When you have used the Geometry Explorer tab to update an item, the status pane confirms the change. For example: