Importing Scans
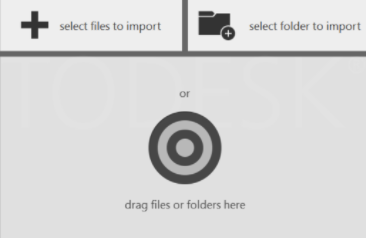
You can elect to either select individual files or folders through the Microsoft® Windows® Explorer pop-up, or simply drag and drop files onto the target area in the center of the screen:

The files can be either traditional scans from a fixed location (structured files), scans from multiple locations, such as those produced by a UAV (unstructured files), or a mixture of both. The scan data type is shown by a badge on the individual scan thumbnail.
| Badge | Description |
|---|---|
 |
Structured Data. The imported scan contains structured data. It can only be registered to already indexed scan data. |
 |
Unstructured Data. The imported scan contains data that is unstructured. It can only be registered to already indexed scan data. |
Once the desired files are selected, import options are presented. These allow you to define several settings that affect the result of the import.

See Scan Settings for more information.
Once the settings are selected, select Import Files in the Scan Settings dialog.
Import may take a few minutes, depending on your number of scans and density of their data. The import progress is displayed on the individual progress wheel of each scan.

You can import additional files at any time with the Add File and Add Folder buttons on the left side of the screen:

You can remove individual files from the list by hovering the cursor over the file and pressing the remove/X button that appears. It might take a few seconds for the X to appear after a scan has finished importing.

