
Scan to Mesh (Cloud)
Convert your point cloud to a mesh using the scan-to-mesh service from ReCap for use in other Autodesk design products.
This is a ReCap Data Service feature that requires Flex Tokens to process. Refer to Data Services and Tokens for more information.
To use the scan to mesh feature, you must have Autodesk Desktop Connector installed and be logged in. You can download and install Desktop Connector here.
This process also requires your computer to have a mounted drive.
Preparing Scan to Mesh
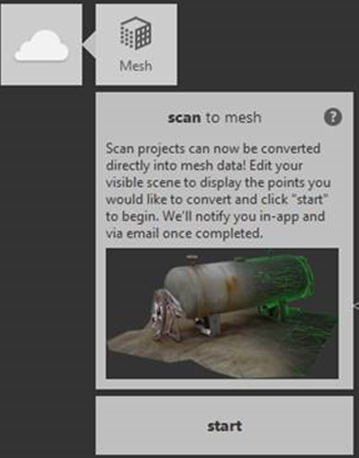
To begin the scan to mesh process, first, define the points that will be included from your project scene.
You can use editing tools such as the Limit Box, Clip, Region, and Deletion tools to control how much of the point cloud is displayed in your scene. Only the visible area will be meshed.
After you've finalized your project for scanning, navigate to the Data Services panel to access the Scan to Mesh dialog.
Click start.
The Scan to Mesh Dialog
When the Scan to Mesh dialog opens, determine the mesh name and mesh location on the Autodesk connected drive.
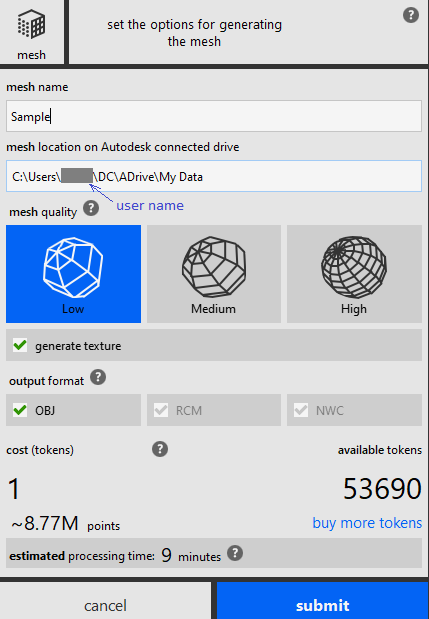
Next, define the mesh quality for the output and the output format. Mesh outputs include OBJ, RCM and NWC files.
The Scan to Mesh dialog will display the token cost for the current mesh output, as well as your remaining token balance.
When you're ready to generate your mesh, click Submit. You will receive an email linking you to the scan to mesh results if you haven't disabled the notification setting.
Monitoring upload progress
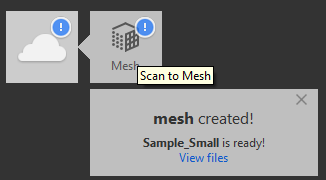
After you submit your scan to mesh request, you can check the upload progress using the scan to mesh service panel.
After a Scan to Mesh or Photo job has been completed, an email notification will be sent.
If the email notification wasn't received, email notifications can be enabled by following the below process:
- Go to profile.autodesk.com
- Click on Settings.
- The "Receive electronic communications" option needs to be checked. If the option is already checked, try to uncheck, save, then re-check, save, to trigger the update.
Viewing Projects in Autodesk Drive
When the project has been uploaded, open the cloud drive location you specified in your internet browser and navigate to the project location. Click on the ReCap project file to view the project in the specified Autodesk connected drive.
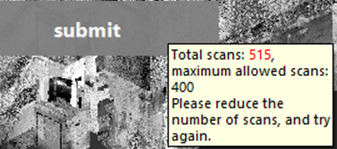
Maximum Scans/Points Processing in ReCap
ReCap has a maximum number of scans and points that can be processed at once, while running Scan to Mesh. If the number of points/scans exceeds this maximum number, a warning message will display (see below).
In this case, you can do one of the following:
- Reduce the Scan to Mesh quality setting.
- Use Project Navigator to hide some scans.
- Use Project Navigator to hide some regions.
- Select points and choose Clip Outside or Clip Inside or delete the points.
Potential Scan to Mesh Issues in ReCap Pro
- A Scan to Mesh job may fail when the point cloud is very noisy.
- If the internet is not stable, the project uploading may fail or ReCap may crash. If the project upload has not been completed yet (scan to mesh cloud processing has not begin yet), the cl will not be charged so user can re-submit the job.
- There must be enough space in the C: drive. The reason is because ReCap will need space to process the files when uploading. The space required could be as big as the total rcs file size. Once the upload has been completed, you can go to the %TMP% folder and delete the temporary files manually.