
Make Changes to the Top Story
Learn how to select elements using the Object Inspector and other methods and how to change the top structural columns to steel.
In the Object Inspector, double-click on Story 5. The view changes to only display the elements of Story 5 as shown below.
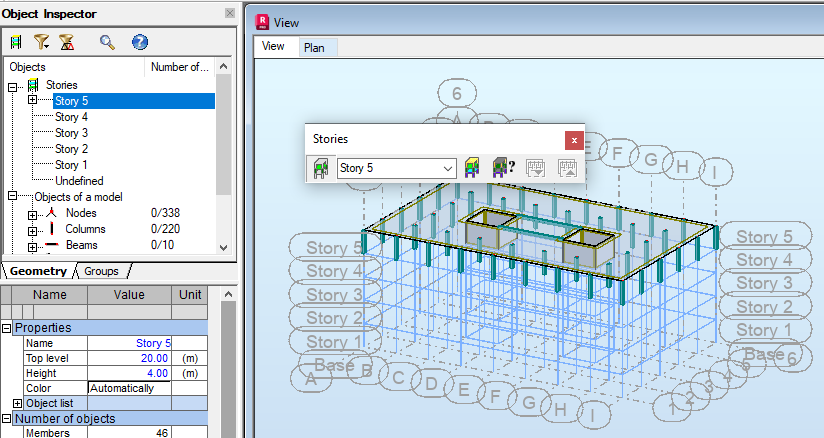 Note: You can select the story in which you want to work using the Object Inspector or from the Stories toolbar, or the pop-up list at the bottom of the screen as shown below. If you test this, ensure that you go back to Story 5 before continuing with the steps.
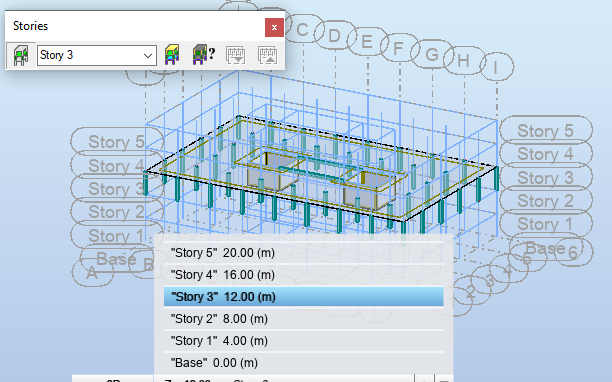
Click the Plan tab and ensure that you are in the plan view of Story 5.
In the Object Inspector, expand Story 5 and select Openings as shown below.
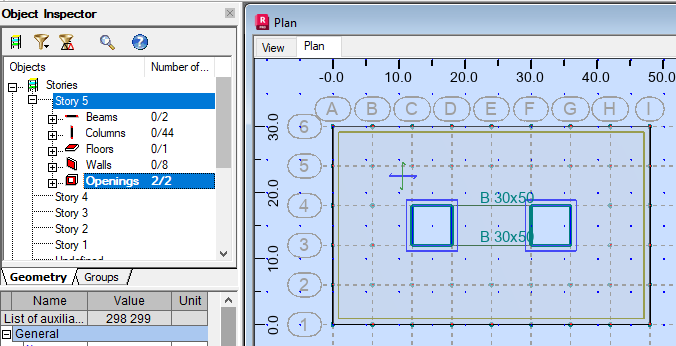
These openings are no longer needed. Press Delete to remove them.
Open the View tab to display the change.
In the Object Inspector, right-click on Story 5 and select Stories. Clear the Filter structure stories option so that all of the stories display.
Another way to select elements is by doing so in a view. In the Standard toolbar, click
 (View) to open the View toolbar as shown below.
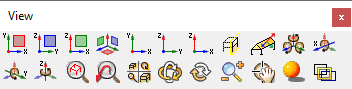 Note: Many of these options are only available in a 3D view.
In the View toolbar, click
 (3D Projection onto ZX).
By clicking
(3D Projection onto ZX) rather than  (Projection ZX), all of the elements in the view are available for selection, not just the one closest to the plane.Note: Leave the View toolbar displayed if you want to switch between other views than 3D and Plan on a regular basis.
Select all of the columns in Story 5 by drawing a crossing window as shown below.

In the View toolbar, click
 (3D Projection XYZ) to return to the 3D view. The Story 5 columns and the walls are selected.
To clear the Walls without dropping the columns, in the Object Inspector, expand Story 5 to display the types of elements that have been used and selected as shown below.

Hold down Ctrl and click Walls to clear the wall selection.
In the Layout drop-down menu, select Properties.
Note: Layouts setup the most useful toolbars and tables for a specific function.In the Structure Definition toolbar that displays, click
 (Member Sections).
In the Sections dialog box, select IPE 270 as shown below and click Apply.
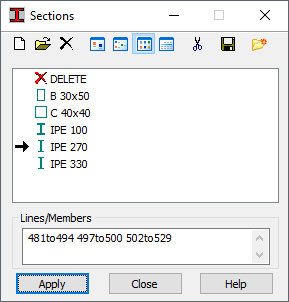 Note: If the IPE 270 section does not display, in the Sections dialog box, click
 (New Section). In the New Section dialog box, on the Standard tab, set the Family to IPE and the Section to IPE 270. Add IPE 330 if needed. Close the dialog box.
Close the dialog box.
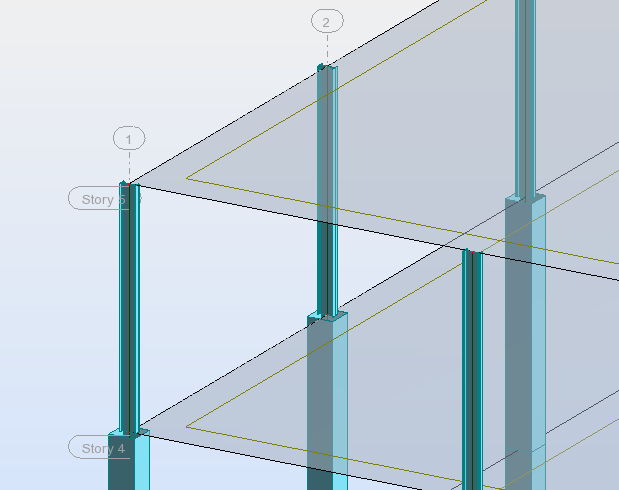
Switch to the 3D view and zoom in to note how the columns have changed as shown below.
Save the project.