
Worksharing display modes let you see the status of different elements in your workshared model.
What is Worksharing Display Mode?
- Checkout Status - See what elements are checked out and editable by you, by others, or not owned.
- Owners - Each different color represents a different user who owns elements in the model.
- Model Updates - See elements that have been changed or removed since your last Synchronize with Central.
- Worksets - See which workset elements are assigned to.
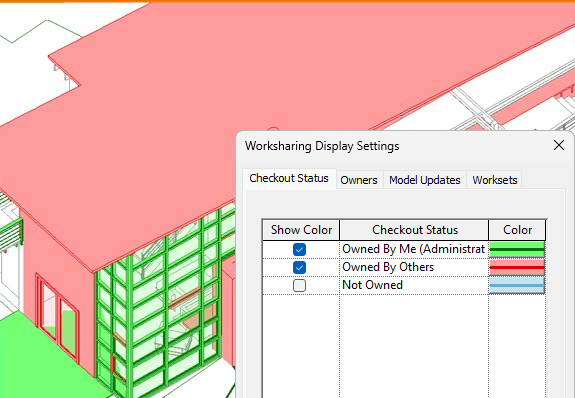 Checkout Status |
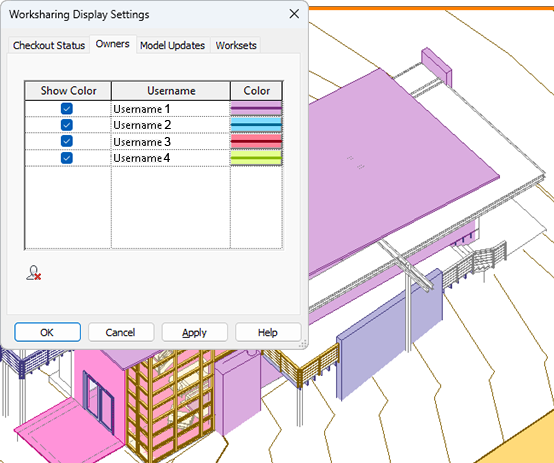 Owners |
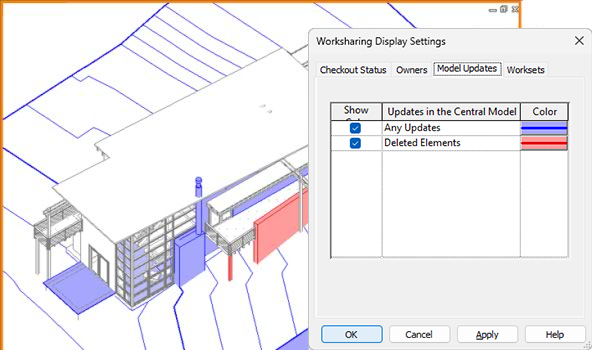 Model Updates |
 Worksets |
Why should you use it?
The worksharing display mode lets you see the status of elements in your model. The control allows you to switch from one mode to another to get a complete picture of your model and who is currently working on it. This information lets you communicate and collaborate with your team. On complex projects, with multiple team members these display mode will save time understand the work being done on the model. You can avoid placing editing requests and waiting for team members to reply, instead use the display mode to see the status of elements before placing the request. Nothing can replace direct team communication, but worksharing display modes can help you understand and coordinate the work being done on your model.
How do you turn on the mode?
 Worksharing Display Off
 Checkout Status
 Owners
 Model Updates
 Worksets
When a mode is applied to the view, the border of the viewport is displayed in orange. The name of the mode being applied appears in the upper left corner of the viewport. Switch from one worksharing display mode to another by selecting the control on the View Control Bar and selecting another mode, or turn the display off.
Other Considerations
- wireframe remains as wireframe
- hidden line remains as hidden line
- all other display styles switch to hidden line
- shadows are turned off
When you turn off worksharing display modes, the original display style settings are automatically reset.
Worksharing display modes work with ghost surfaces as well as edit modes. Note that in edit modes, elements such as sketch lines may display according to the color enabled in the worksharing display mode. You can turn the worksharing display mode on or off as needed to avoid confusion with edit modes.
Worksharing display modes work with ghost surfaces as well as edit modes. Note that in edit modes, elements such as sketch lines may display according to the color enabled in the worksharing display mode. You can turn the worksharing display mode on or off as needed to avoid confusion with edit modes.
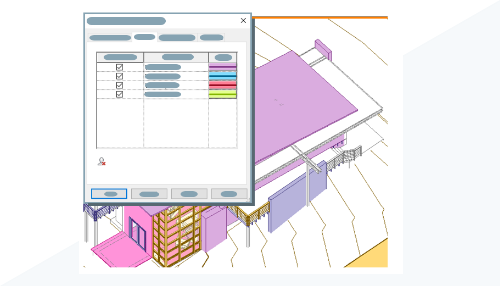
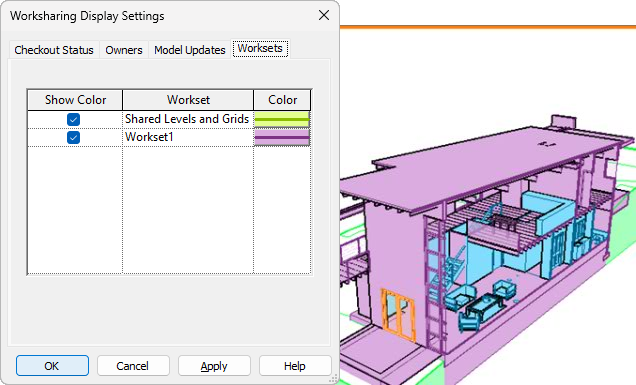
Colors used for the Worksharing Display Modes are controlled in the Worksharing Display Settings dialog.
To assign color to specific criteria
- On the View Control Bar, click
 Worksharing Display Settings.
- Click the tab for the mode you want to customize colors.
- Select Show if you want to see color applied to elements meeting the criteria.
- For each criteria, click Color. In the Color dialog, select the color to use and click OK. See Colors.
- Click Apply.
The specified color for the corresponding criteria displays in the model.
Worksharing Display Modes do not require a synchronization with the central model to update. The modes are updated automatically based on your user settings.
To control the frequency of Worksharing Display updates
- Click File tab Options.
- Click the General Settings tab.
- For Worksharing Update Frequency, specify the time interval.
When set to manual, display mode information is only be updated when you borrow elements.Note: Set to manual to avoid potential performance issues. When set to manual, worksharing display does not generate network traffic.
- Click OK.
For more information on worksharing, see About Worksharing.