Accessing the GMask Tracer
You can access the GMask Tracer using the following methods:
-
Batch, then select a node from the Node bin.
-
Timeline, then use Batch FX (see Creating Batch FX).
-
Tools, then select from the menu (See Accessing Tools).
-
The Modular Keyer, then select a node from the Node bin.
Use the GMask Tracer Start Mode in the Modular Keyer as the default keying pipeline.
Tip: You can also use the GMask Tracer node in the Colour Blend (CBlend) and Matte Blend (MBlend) pipes in Batch, Batch FX, and the Modular Keyer. -
Timeline, then add Timeline FX from the Effects ribbon (see Adding Timeline FX).
When you access the GMask Tracer as a Timeline FX, you can enable Use Matte to use the matte input as part of the effect processing.
- From the Tools menu, make sure that you select a stereo input (Left Front/Matte / Right Front/Matte or Left Front / Right Front).
- From Batch: make sure that you enable Stereo Mode (below the node bin) first before adding the GMask Tracer node, so that the proper stereo inputs are present.

The GMask Tracer User Interface
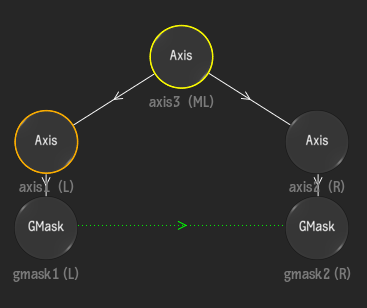
Once you enter the GMask Tracer user interface, you should be familiar with the look and layout, as it resembles the Action interface, with a schematic, node bin, priority editor, and output menu.
The GMask node is usually the primary node that you use within the GMask Tracer, but many other nodes are available in the GMask Tracer node bin to help you create your mattes. You can create a new GMask quickly without using the node bin by using the GMask: Create Node shortcut. Press Alt+N to automatically switch to Draw Shape mode, then once you add your first point, a GMask node is automatically added to the schematic.
Follow the links to the comparable Action sections: