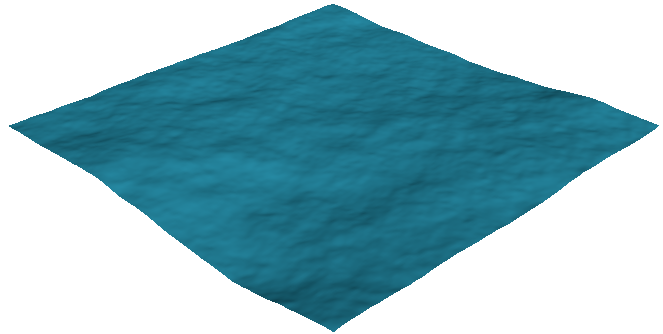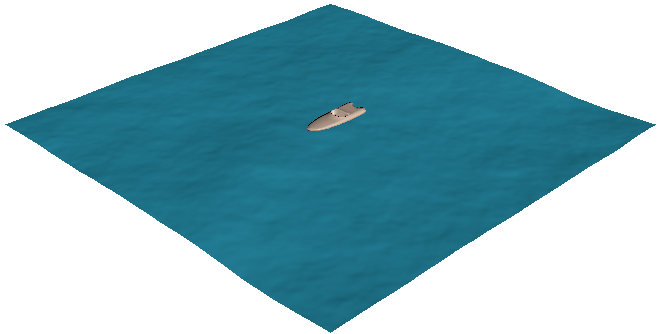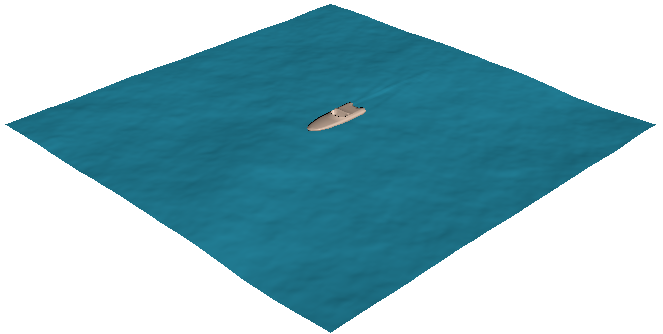
Here is a quick example to give an overview of the steps for creating an ocean surface using the Bifröst Ocean Simulation System.
- Start with a new scene.
- Check the
Settings
Preferences, and make sure that the
Linear
Working Units are set to
centimeter (the default).
Like other dynamics-related tools in Maya, BOSS assumes a scale of 1 cm = 1 m. By leaving the settings at their defaults and modeling objects to this scale instead, you ensure consistent results without the need to change gravity or make other adjustments.
- Create a polygon mesh plane about 50 units long and 50 units wide, centered at the world origin. This corresponds to a patch of water 50 m × 50 m.
- Make sure that the plane has plenty of subdivisions — at least 200 × 200, or even higher to allow for more detail.
- Open the Boss Ripple / Wave Solver by selecting from the FX menu set. For more information, see Overview of the BOSS Editor.
- Select the plane, and click
 Create Spectral Waves. For more information, see
Add and edit BOSS solvers.
There is no deformation yet, because the Start Frame is 2 by default.
- Advance to frame 2. You should now see the resulting deformation.

- In the
BossSpectralWave1 attributes, set
Patch Size X (m) and
Patch Size Y (m) to 50. By matching the actual size of the plane in world space, you ensure that you do not waste computation time and memory by calculating deformation values for regions beyond the mesh.
The deformation changes because the distribution of random numbers is different. In addition, the maximum vertical displacement is a bit smaller because longer wavelengths do not fit on the smaller patch.
- Play back the scene to see the animation.
The following steps will add a collider to interact with the surface deformation.
- Open the Content Browser. On the Examples tab, navigate to Modeling/Sculpting Base Meshes/Vehicles and import SportsBoat.ma.
- The boat mesh is too big for the scene, so scale it down by a factor between 0.01 and 0.02. You can delete the motor mesh.

- Animate the boat mesh to move from about –20 to +20 in the Z axis over 5 seconds (120 frames at 24 fps).
For realistic results, you should use values that are close to real world velocities. In this case, an average speed of 8 m/s roughly corresponds to 16 knots, which is reasonable but not especially fast for a motorboat.
- Select the boat mesh, and then click
 in the
Boss Ripple / Wave Solver window. For more information, see
Add and edit BOSS influences.
- Play back again. You should see a wake behind the boat.

- Continue to adjust the settings and play back as desired.
In particular, the main controls for the overall sea state (waves and swells) are Windspeed (m/s) and Wind Fetch Distance (km). You can also adjust Wave Height to exaggerate or dampen the vertical displacement.
- Optionally, when you are satisfied with the effect of solvers and influences, you can click
 to cache them as EXR files for faster playback. For more information, see
Cache BOSS solvers and influences.
You can also use the cached EXR files as a vector displacement map when rendering. See Apply BOSS caches as displacement maps.