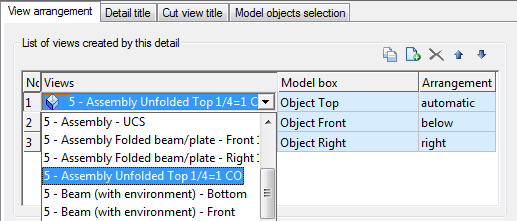
The views created by a selected drawing style are listed in a table.
For each view, a predefined model box and arrangement may be selected. View properties are displayed by double-clicking a view in the table. For more information, refer to View Properties.

The toolbar contains all the necessary management functions:
| Button | Function |
|---|---|
|
|
Create a new view |
|
|
Add an existing view |
|
|
Delete the selected view |
|
|
Move the selected view up the list |
|
|
Move the selected view down the list |
Create a new view
A new view is created by copying a view from the list.
- Select a view from the list.
- On the properties panel, click
 (Create a new view).
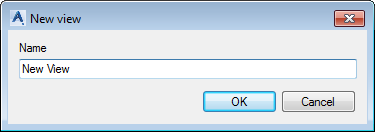
- Enter a name for the new view:

The new view appears in the tree and in the list.
- You can assign a model box and a view arrangement to the new view. This does not affect the original view.

Add an existing view
- On the properties panel, click
 (Add existing view).
- Select a view from the tree and click OK. The selected view appears in the tree and in the list. You can assign a model box and a view arrangement to the new view. This does not affect the original view.
Delete a view
- Select a view to delete from the list.
- On the properties panel, click
 (Remove view) to delete the view.
Note: The first entry in the table cannot be deleted. To delete an item in the first row of the table, it must be moved down the list.
Change the order of the views
You can modify the order of views in the list using the two arrow buttons,
![]() and
and
![]() .
.
Note: Changing the order does not affect the drawing creation and is only useful for organizing the list.