Note: This topic is for Roombook users only.
When doing a material calculation of interior wall surfaces for single rooms for the trades plaster or paint, you need to consider reflected ceilings, additional slab layers or skirtings (baseboards) which are not drawn in the drawing. There are two options:
- Wall height reduction by object: Wall height reduction is applied to all objects of the room quantity wall surfaces. All object heights are reduced by the same defined value.
- Wall height reduction by room: Wall height reduction is applied starting from the maximum room height. The wall height reduction looks for the highest object in the room and applies the reduction value starting from that maximum height. Objects which are smaller are reduced only by the corresponding difference or do not get a reduction at all, if their height is smaller than the maximum height minus the defined reduction height.
This is important to get an even level of reduction for all objects in regard to the room height. The difference between the two options only gets clear when there are objects with different heights in the room.
- Click

 .
. - In the Calculate Room Quantities dialog box, click Calculate.
- Click View/Edit Results.
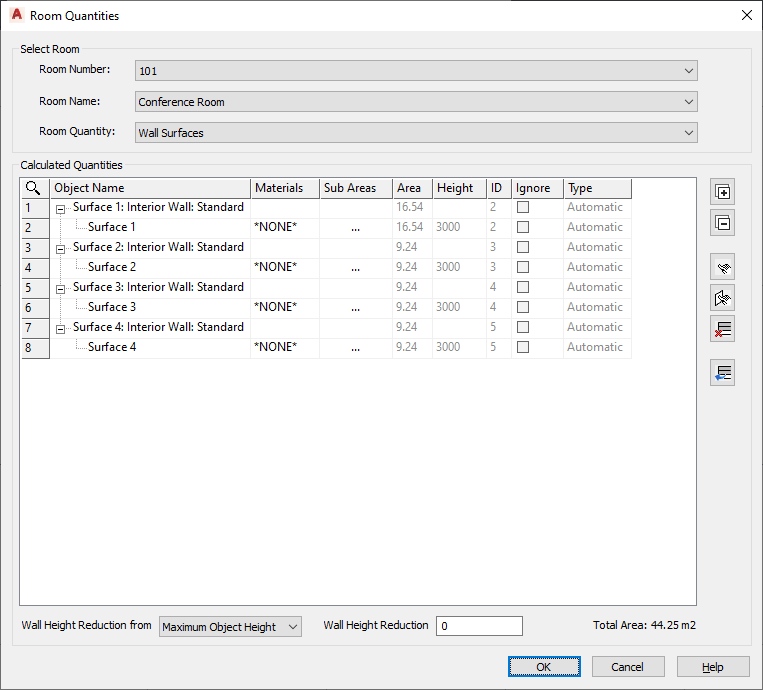
- In the Room Quantities dialog box, under Select Room, select Wall Surfaces from the Room Quantity list.
All wall surfaces which belong to the selected room are listed. The height is displayed for each object and face.
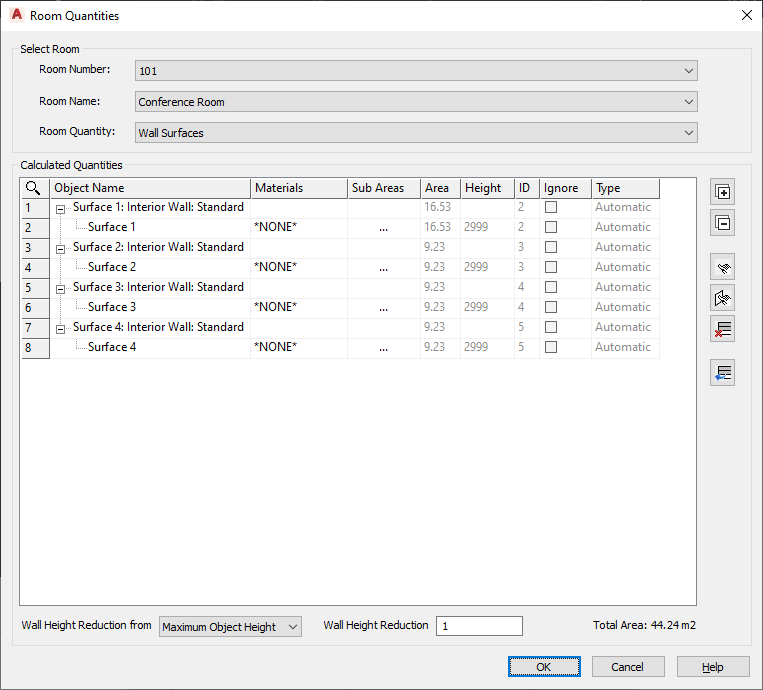
- Select the Wall Height Reduction Type.
- Enter a value in the Wall Height Reduction box.
By default, the value is 0 which means that no wall height reduction is applied.
Example
There are 4 walls in the room: one with a height of 3 meters, the others with a height of only 2 meters.
- No Wall Height Reduction
- No wall height reduction (value 0)

- Wall Height Reduction From Maximum Object Height
- Specify wall height reduction from maximum object height and enter a value of 1 meter. All objects are reduced by the same value (minus 1 meter).

- Wall Height Reduction From Maximum Room Height
- Specify wall height reduction from maximum room height and enter a value of 1 meter. The wall height reduction looks for the highest object in the room and applies the reduction value starting from that maximum height. Objects which are smaller are reduced only by the corresponding difference or don't get a reduction at all, if their height is smaller than the maximum height minus the defined reduction height.
