 Back to
previous stage.
Back to
previous stage.
The first step in adding a 2D zone is to digitise the zone polygon. Then, once digitised, the zone will need to be meshed.
This topic covers meshing of the 2D zone:
- Ensure that the Adding a 2D Zone network and the DTM ground model are both open on the GeoPlan.
-
Use the Select
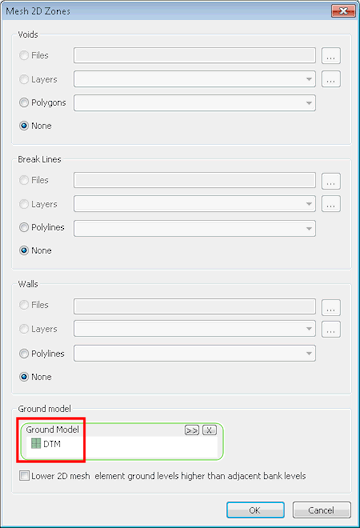
 tool to select the 2D zone. Then create a mesh by choosing
Model | Meshing | Mesh 2D zones. Drag the DTM ground model into the
Meshing dialog and click
OK.
tool to select the 2D zone. Then create a mesh by choosing
Model | Meshing | Mesh 2D zones. Drag the DTM ground model into the
Meshing dialog and click
OK.
-
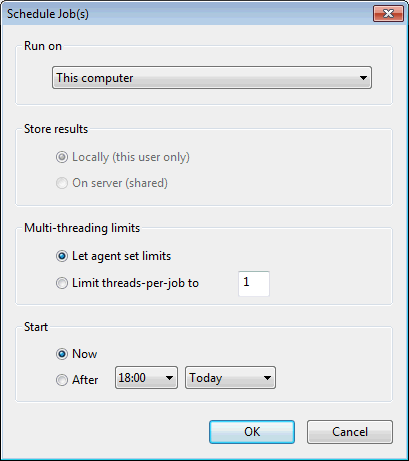
In the Schedule Job(s) dialog, set the mesh job to run on This computer and click OK.
- Open the
Job Control window by clicking on the
Job control window button (
 ) of the
Docking Windows toolbar. The Job Control Window displays the order and status of scheduled simulations and mesh jobs. When the status of the mesh job is
Mesh ready click on the Status cell of the job in the Job Control Window.
) of the
Docking Windows toolbar. The Job Control Window displays the order and status of scheduled simulations and mesh jobs. When the status of the mesh job is
Mesh ready click on the Status cell of the job in the Job Control Window.
-
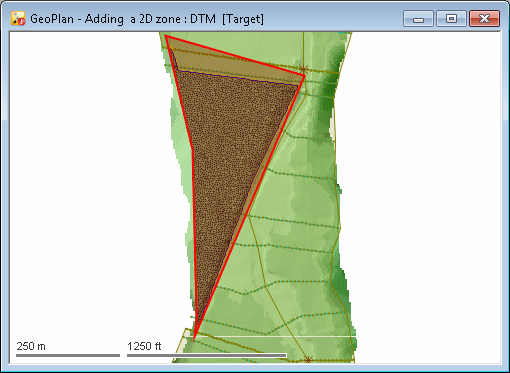
Select the mesh job in the Manage Mesh Results dialog and click the Load Mesh button to load the mesh onto the GeoPlan. Close the Manage Mesh Results dialog.
-
Use the Properties
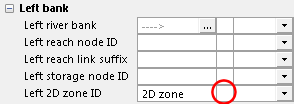
 tool on the river reach to check that the overlap between the bank and the 2D mesh has been created correctly. There should be no validation messages associated with the 2D zone or the connection to the left bank. If there are errors, adjust the shape, size or location of the 2D zone, then re-mesh the updated 2D zone. Repeat this process as necessary until all validation messages have cleared.
-
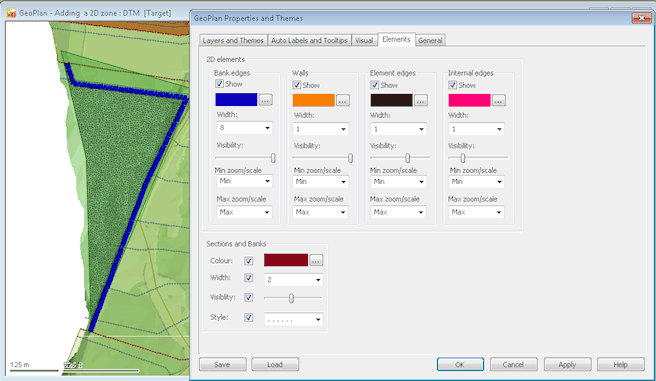
The theme below can be used for bank edges to check that a bank edge is picked up by the 2D mesh.
-
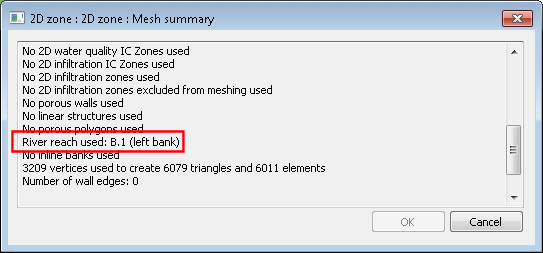
You can also check that a bank edge is picked up by the 2D mesh by looking in the meshing log or the mesh summary viewed from the 2D zone property sheet.
- Finally, use the Validation
 toolbar button to validate the whole model to ensure that changes have not introduced any accidental errors into the model.
- Every time a version-controlled item, such as the network, has been changed, it is good practice to commit the changes. Changes are stored in your own local copy of the network (in your
Local Working Folder directory) and must be committed to the database so that they become available to other users. Also, committing changes on a regular basis allows you to discard all the changes you have made since the last time you committed the network to the database.
- In the Explorer window, right-hand click on the Adding a 2D Zone network and select Commit changes to database.
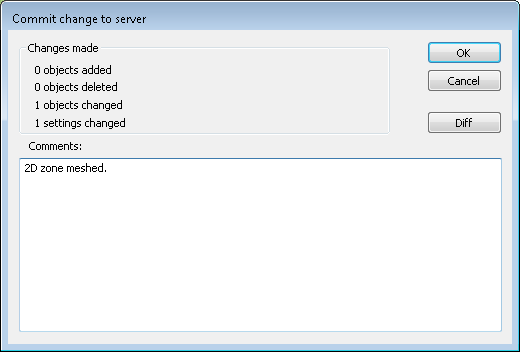
- The Commit change to server dialog is displayed.
- Type in any notes as appropriate.
- Click OK to commit the changes and close the dialog.
You now have all the data you need to run a simulation.
 Back to 2D Zone Tutorial
main page.
Back to 2D Zone Tutorial
main page.