Run a Forma wind estimate for a quick prediction of wind speed and direction.
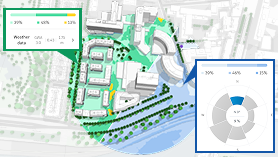
Learn about Forma wind analysis and the difference between wind simulation and wind estimate.
Before performing a wind estimate, prepare the model to access Forma tools.
To perform a wind estimate
- Open a view that displays terrain (including contextual data or Revit toposolids), such as a 3D view or a site plan.
- Click Analyze tab > Forma Analyses panel >
 (Wind Estimate).
As an alternative, you can click Analyses & History and, for Run analysis, click Wind > Estimate.
The wind estimate results display in the view. By default, it shows the wind comfort results for a 150 meter circle at the center of the terrain.
- (Optional) In the Wind Estimate panel, click Place circle, and click in the view to place a circle around the model.
This circle defines the area to be included in the analysis. Use the slider to adjust the radius of the analysis circle.
When you move or resize the circle, the wind estimate results update in the view.
- Explore the results using controls in the Wind Estimate panel:
- Click Comfort to see pedestrian comfort ratings or Direction to see estimates of wind direction across the site.
- Click a segment of the wind rose to see wind estimates from that direction.
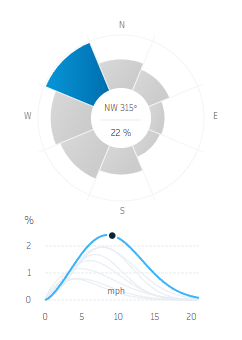
The wind estimate results update whenever you modify the design or adjust the analysis area. For example, place a row of trees and shrubs to create a wind break, and instantly see how the change impacts pedestrian comfort.
When you switch to other open Revit models while the panel is open, the wind estimate results are displayed and settings are maintained for each model.
- To stop the wind estimate, close the Wind Estimate panel.