
Fill Out and Submit Forms built using the Template Builder
When filling out a form with sections, navigate through the different sections of the form on the left panel and fill them out accordingly. When complete, click Submit at the bottom right corner to move the form to the next status.
If the form uses section assignees:
Any form sections assigned to you will have a You label next to them in the left panel.
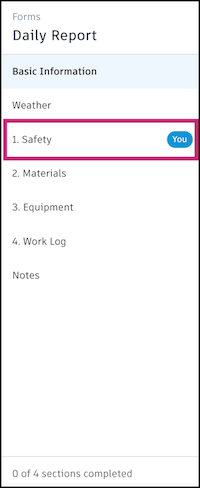
You can view other sections and see how many sections are complete. However, if you are not assigned to a section, you cannot edit or submit it.
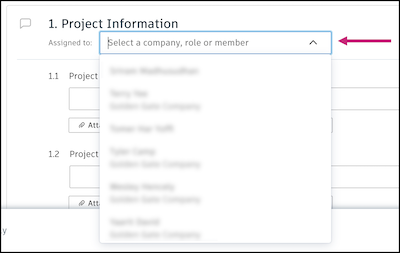
If you need to reassign a form section assigned to you, you can do so by clicking the Assigned to field in the section and selecting from the drop-down menu.
Sections are submitted individually so the option to Submit section is available at the bottom right corner for each section.
Section Types
Sections may ask custom questions or request specific information. Learn more about each type of section and what you can expect:
In the Basic Information section, you can fill out details and add references to the form.
- Navigate to the Basic Information section from the left panel in the form.
- Select a date for the form.
- Select a location from the drop-down menu. Locations are configured in your project's location settings. Learn more about project locations.
- Select a due date for the form.
- Enter a description.
- The information next to the eye icon provides you with the form's editability and visibility. Click the blue text to see a list of the viewers, editors, reviewers, and managers on the form. Learn more about these different form permissions in Form Statuses and Permissions.
- References: Use the Add references drop-down menu to attach assets, photos, issues, files, or other forms to the form. These will be included with the form once it's submitted.
These are sections with questions where you must provide a response by selecting an option, entering text or numbers, or selecting a date. Fill out the fields and keep in mind that some may be required to submit the field.
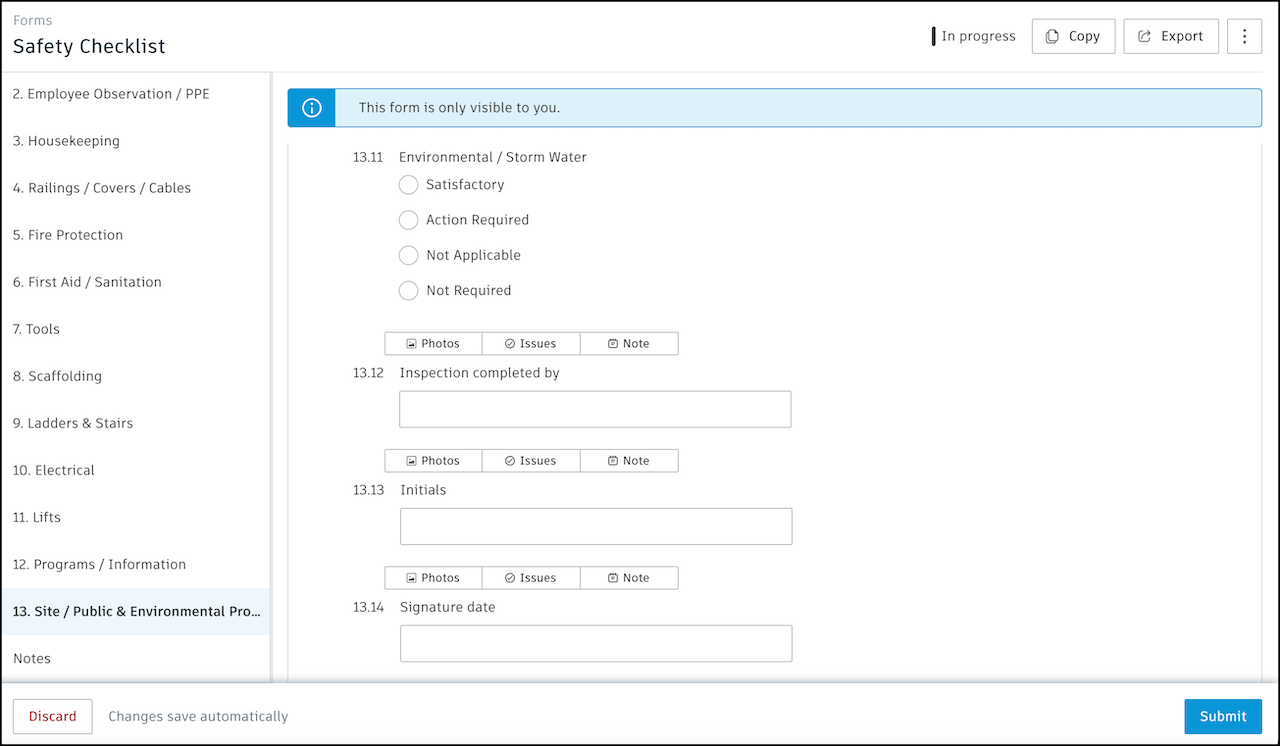
At the bottom of any question, click Photos, Issues, or Note respectively to add a photo, issue, or note to support your response. Issues or photos referenced at this level will apply only to that individual form field.
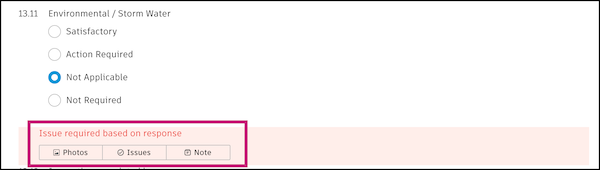
- If a photo or issue is required, you must create that item to submit the form.
- You can add a photo to the References or Attachments section to satisfy this requirement.
In the Equipment section, you can track equipment related to the form.
To track equipment:
Click Add equipment.
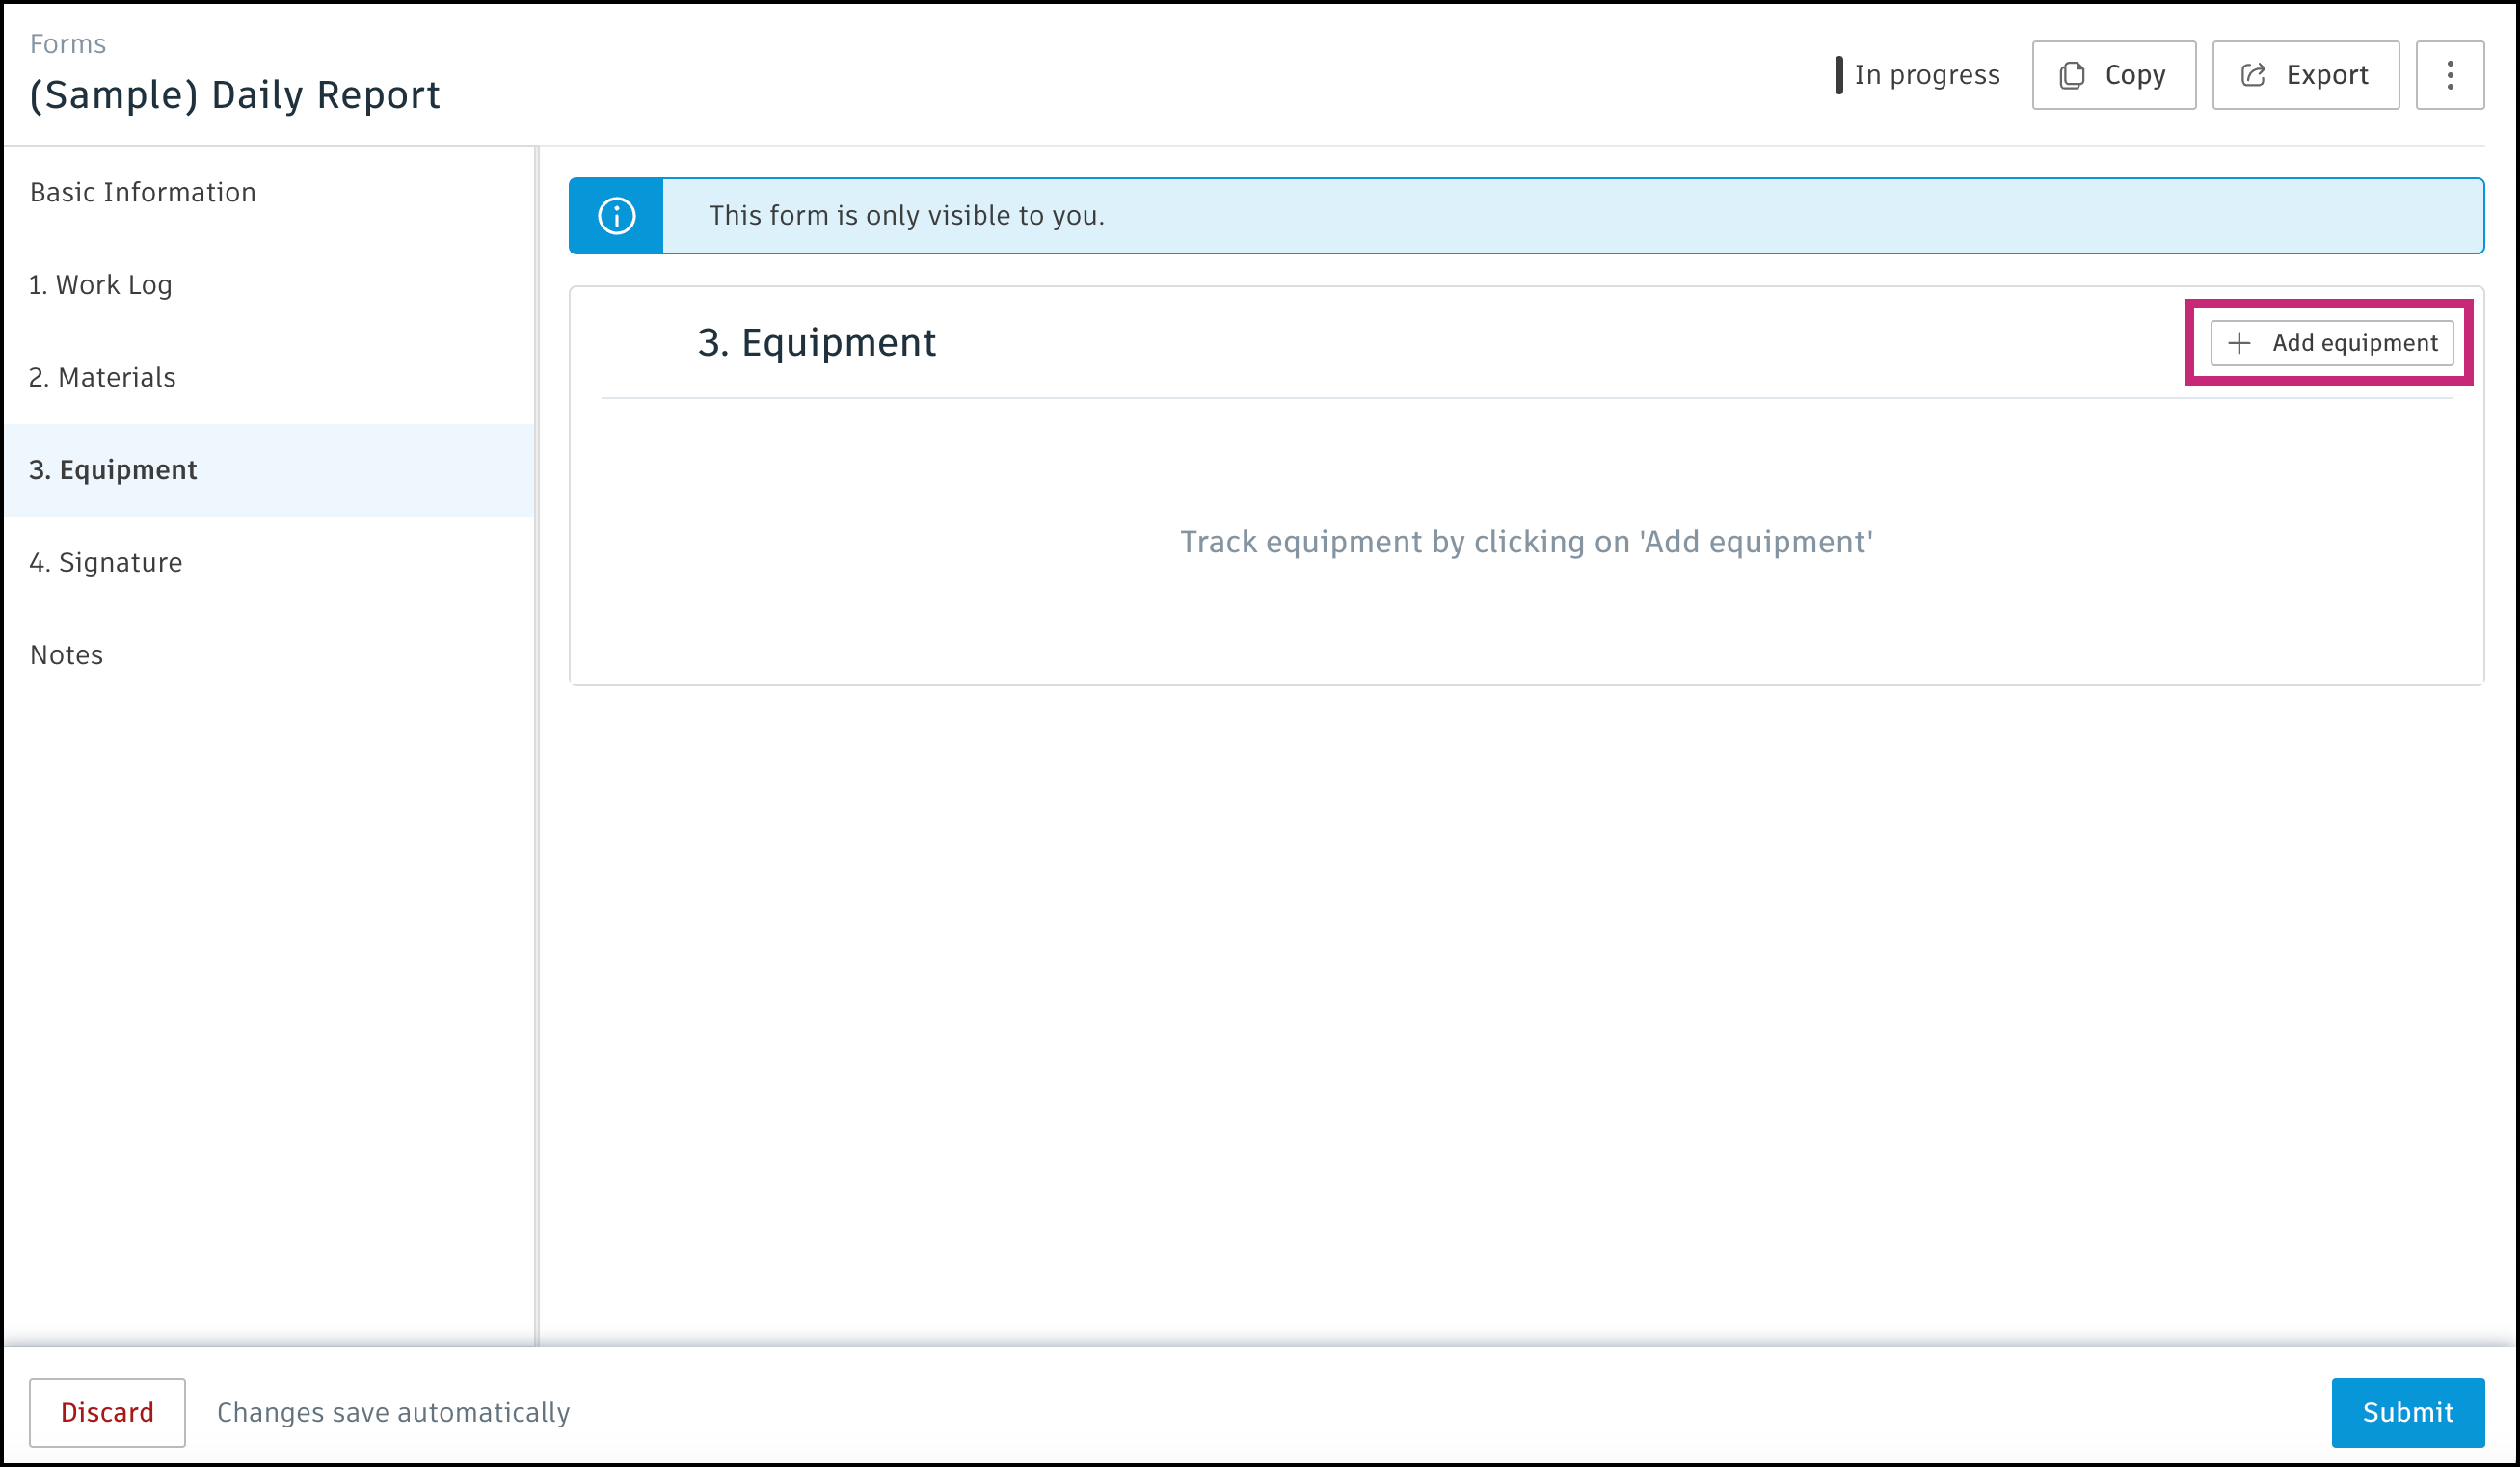
Enter the equipment, quantity, hours used, and any comments.
Click Save.
Click Add equipment to add more materials.
In the Materials section, you can track materials related to the form.
To track material:
Click Add materials.
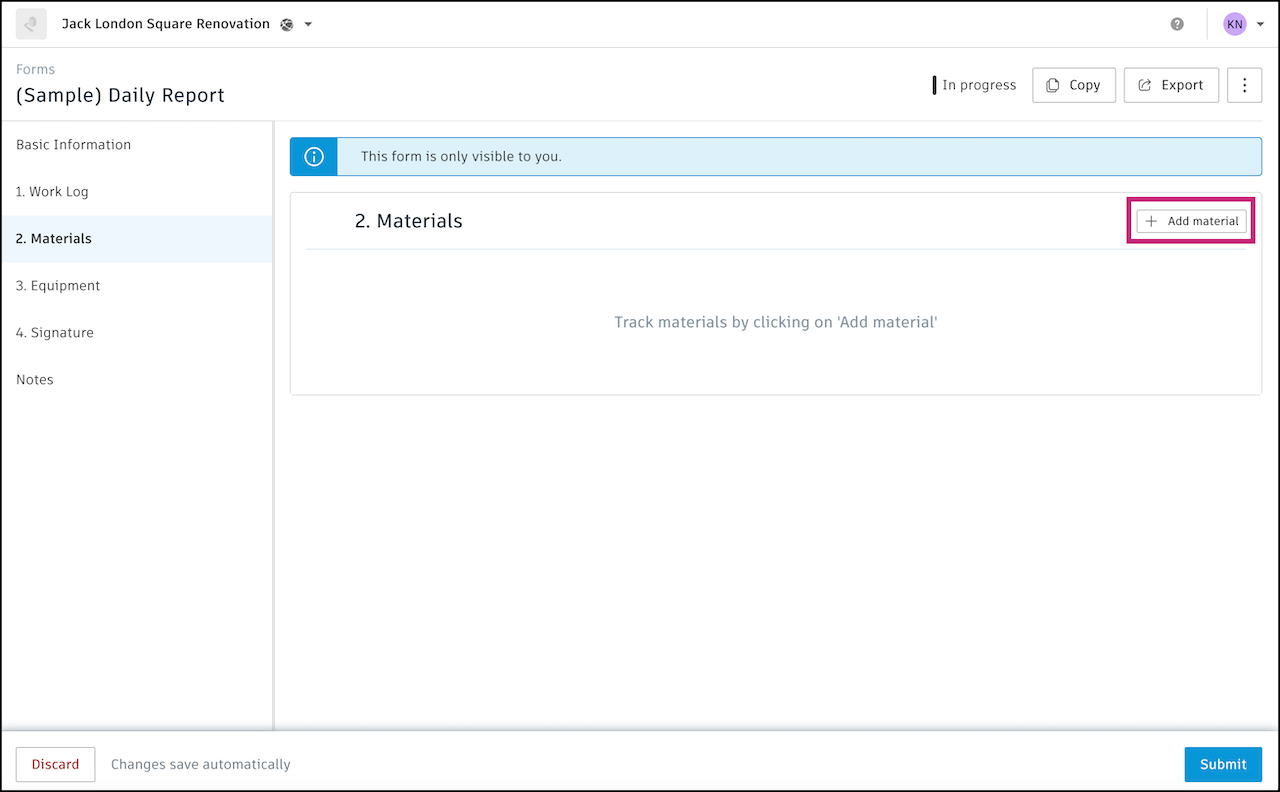
Enter the material, quantity, unit, and any comments.
Click Save.
Click Add materials to add more materials.
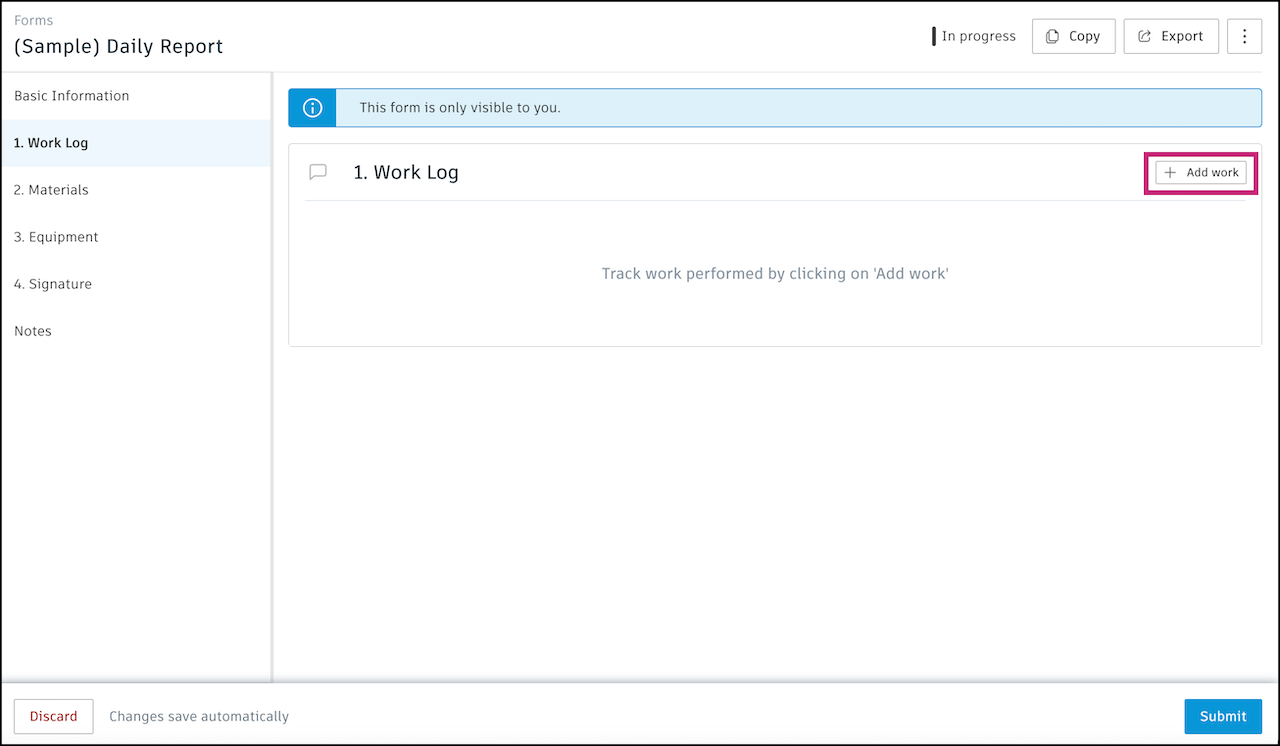
You can track work performed in the Work Log section.
Click Add work.
In the pop-up window, the fields that appear are configured by the form template manager. Fill them out accordingly. These can include:
- Company: These are companies that exist in your account. Account administrators can add companies in the Account Administration tool.
- Discipline: Select a discipline from the drop-down menu. A form template manager specified these options by editing the form template. They may or may not allow you to add custom options.
- Role: These are roles that exist in your account. Account administrators can add roles in the Account Administration tool.
- Number of Workers
- Number of Regular Hours
- Total of Regular Hours: Automatically calculates from the multiplication of number of workers and number of regular hours when both fields are populated
- Number of OT Hours
- Total of OT Hours: Automatically calculates from the multiplication of number of workers and number of OT hours when both fields are populated
- Work performed: Describe the work that was performed.
Click Save.
Click Add work to track more work. The Work Log section will list each entry and calculate the totals of various fields, including # Workers, # Regular hours, and # OT Hours if applicable.
To edit or delete a work performed item, click the More menu
 to the right and select accordingly.
There can be sections with tables where you must provide a response by adding an entry and your response will fill out the rows in the table.
Click Add entry.
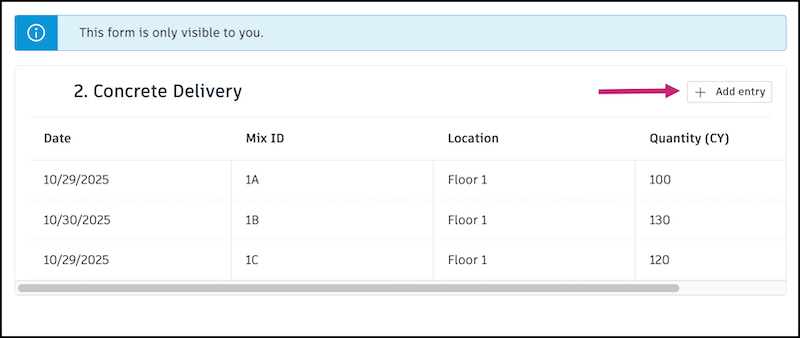
In the dialog, fill out the fields accordingly and click Save to add the entry to the table.