Mini-map
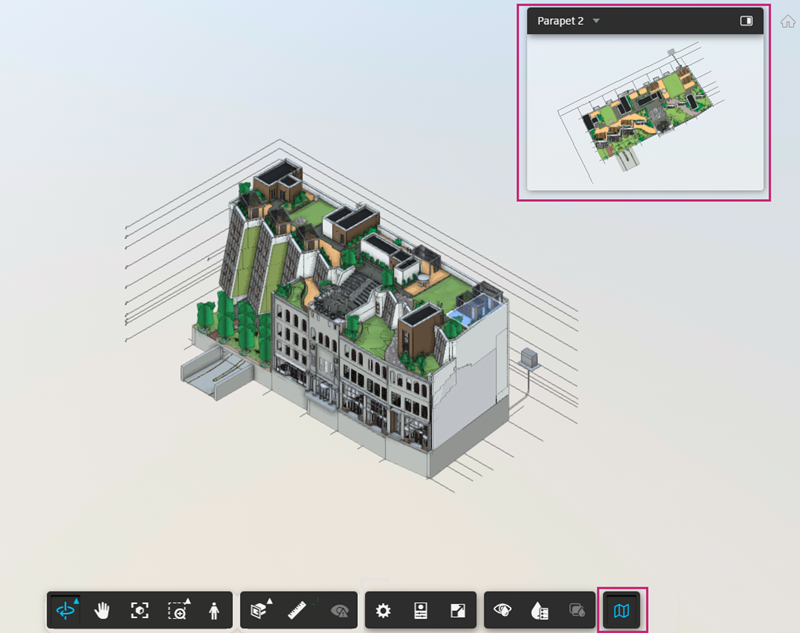
The mini-map is a small map that you can open in the viewer, which displays a top-down view of the model, helping you orient yourself in 2D while navigating the model in 3D.
The mini-map can be used whenever you're viewing 3D model content in Model Coordination that contains levels. It's especially helpful in combination with the First Person tool in the viewing toolbar, and the Levels tab.
Turn on the Mini-map
You can turn the mini-map on for any 3D model or view that contains levels data.
To turn the mini-map on:
Select and open models from the Models tool, or open a view from the Views tool.
Click Mini-map
 in the viewing toolbar at the bottom of the viewer to open the mini-map.
To close the minimap, toggle the button in the viewing toolbar.
Mini-map Layout
You can use the mini-map to navigate the model using two layouts:
- Compact layout
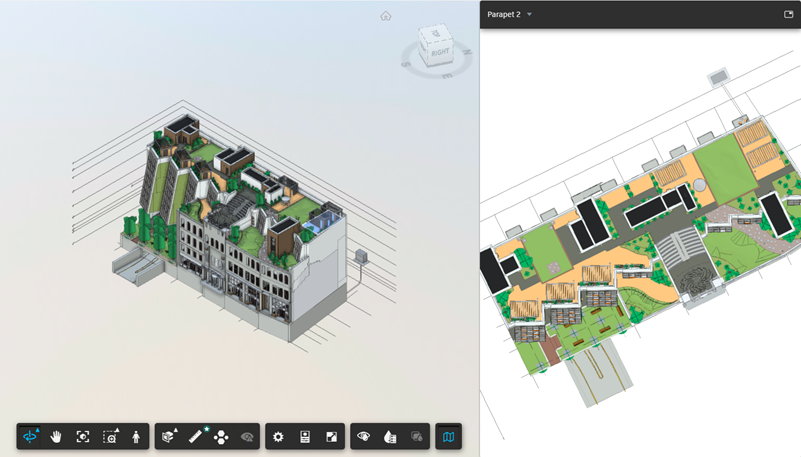
- Side-by-side layout.
Compact layout (Small map)
This is the default layout of the mini-map, which appears at the top right of the viewer.
Side-by-side layout
To open the side-by-side layout:
Click
 on the top right of the mini-map to change to the side-by-side layout.
To go back to a compact view, click
 .
.
In both of these layouts, you can click and drag the blue icon in the mini-map to adjust your location within the model or drag the viewing angle indicator to adjust the view.
Use the Mini-map to Navigate
The mini-map works by showing a top-down view of a particular level in the model. Generally, this is the level the camera is currently positioned in. The name of the level is shown at the top of the mini-map.
 . When you have multiple models open, you can use the Levels panel options to specify which model levels data is drawn from.
Move around in the model in the viewer. The mini-map will automatically update to the nearest level.
When a level filter is applied in the Levels tab, use the drop-down list at the top left of the mini-map to change the filtered level.
Note: When you have filtered to a level, the mini-map will always show the filtered level, and won't automatically update as you move.As you navigate the model, you can use the blue icon in the mini-map to understand your location and viewing angle as it relates to the entire model.
Tip: If you don't see the icon in the mini-map, it may be because the camera is too far away from the model.
Use the Mini-map with the First Person Tool
The mini-map is particularly useful when used in combination with the First Person tool.
To enable the First Person tool:
Click the First Person button
 in the viewing toolbar at the bottom of the viewer.
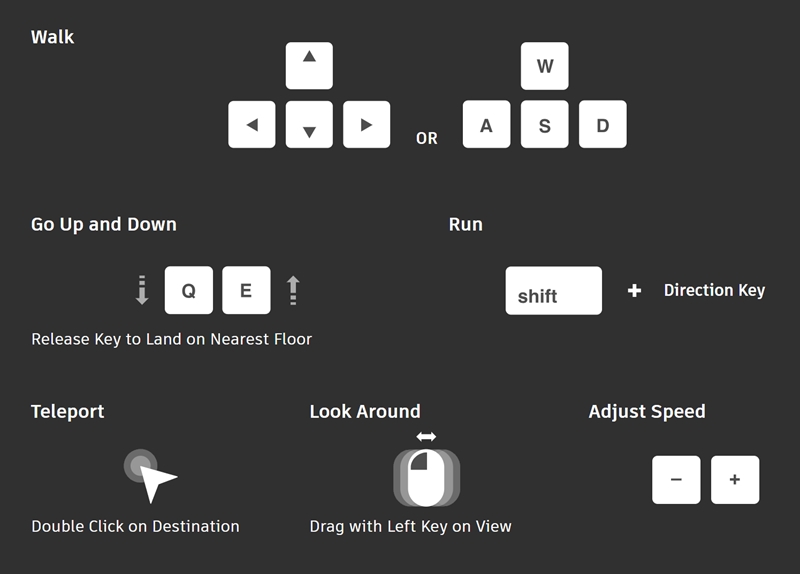
Review the first person navigation controls, and then close the dialog box to continue.

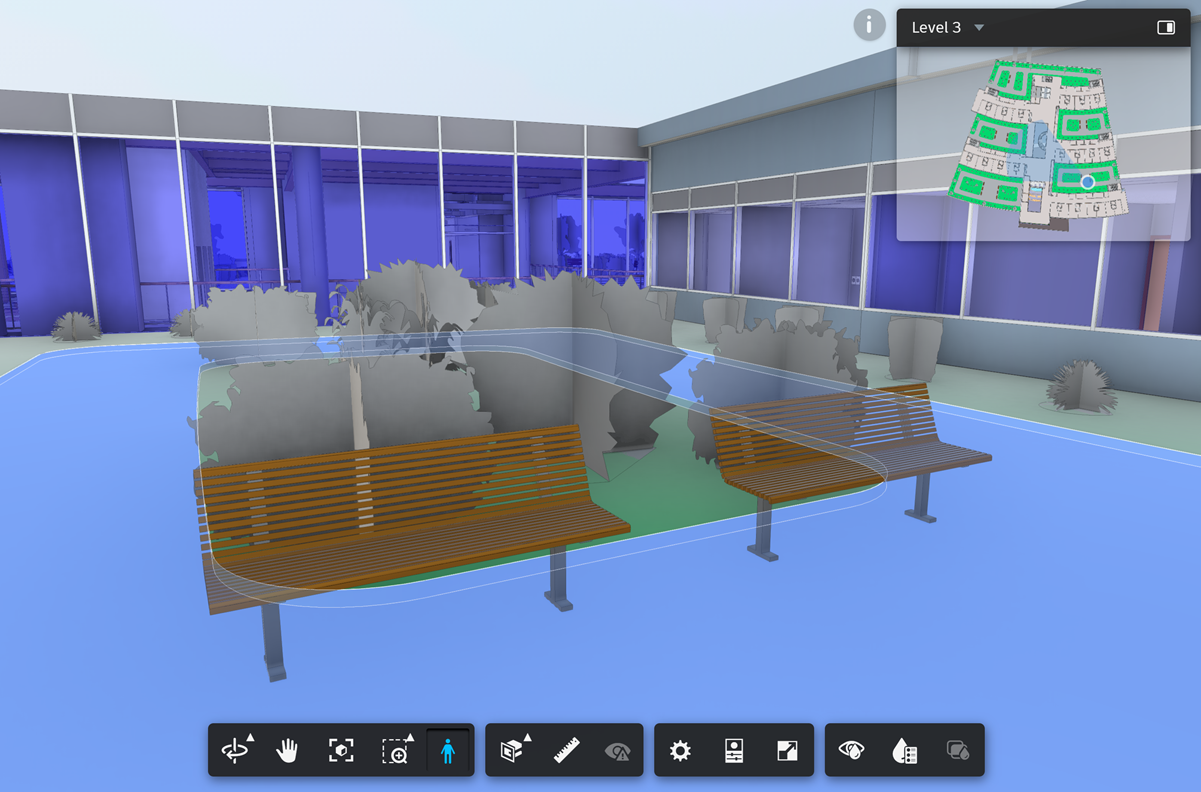
The mini-map displays in the top-right corner of the screen. As you navigate in first person mode, your location and viewing angle are indicated in the mini-map, helping you to identify your location as it relates to the entire model.

When using the mini-map in first person mode:
Use the blue icon to help you navigate the model:
Click and drag the icon in the mini-map to move to another location in the model. Alternatively, double-click on a spot in the mini-map to teleport there.
Click and drag the viewing angle indicator to rotate.
Use the levels dropdown in the top left of the mini-map to move up and down to other floors.
- If you have a levels filter applied on the Levels panel, changing the Levels dropdown in the mini-map will also automatically filter to the level you're now on.
