This section describes how to import a 3D solid model into PartMaker and extract geometry from the model.
Tip: If your
PartMaker installation does not allow you to import solid models, or you prefer to work in 2D, skip this section and follow the instructions in
Importing a 2D geometry file.
- Select
File > Import > X_T Parasolid Text File to display the
Import Parasolid X_T File dialog.
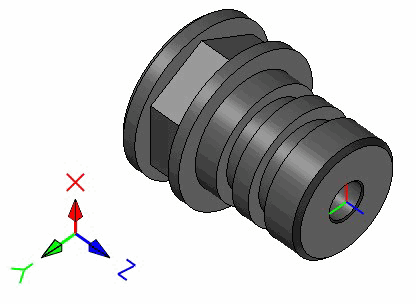
In the Getting Started folder of your PartMaker installation, select the getting_started_inch.x_t file and click Open.
PartMaker displays the solid model in the 3D area of the graphics window:
- Click the
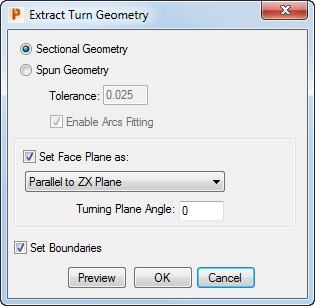
Extract Turn Geometry button on the Solids toolbar to display the
Extract Turn Geometry dialog.

- Complete
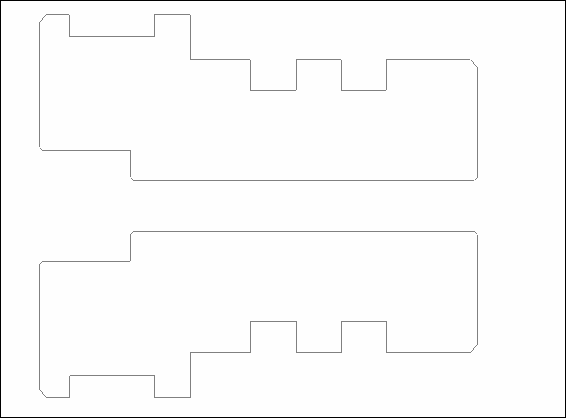
Extract Turn Geometry dialog as shown, then click
OK.
PartMaker displays a copy of the 2D profile in the Face window:
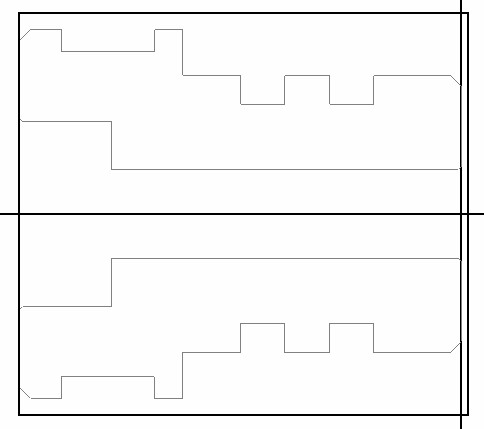
- Click the
Show Axes and
Show Boundaries buttons to display axes and boundaries in the
PartMaker window: