
Quickstart Fill tutorial: Set injection location
In this task, you set an injection location on the end of the CAD model.
Rotate the part to approximately -135 -145 30 so the View Cube looks like the following image.

Zoom up on the left edge of the part similar to the following image.

Click
 (Home tab > Molding Process Setup panel > Injection Locations).
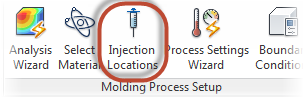
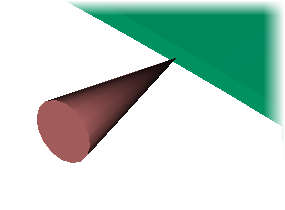
Click the edge of the part near the center of the edge.
The exact location of the injection location will be set in the next steps.
Right-click on the injection cone and select Finish Set Injection Locations.
Right-click on the injection cone and select Properties.
The Edit Properties Tool panel opens
Set the X value to 480 mm.
Set the Y value to 125 mm.
Set the Z value to 27 mm.
Click OK to set the exact location.
Note: If the entered coordinates of the injection location are not on the surface of the part, the closest location on the surface of the part to the values you entered will be used.