Quickstart Fill tutorial: Create a project
All Moldflow analyses are done in Projects. Projects allow you to manage multiple analyses, called Studies. A project is created for your filling analysis.
In this task you will create a Project and import a model. Download the files for this tutorial from Autodesk Knowledge Network-Quick Start folder.
When you launch Adviser, a Web page and dynamic help are displayed by default. To save space, we will close these items.
Click the X on the tab for the Web page to close it.

Click the X in the upper right corner of the Dynamic Help pane to close it.

Click
 (Start & Learn tab > Launch panel > New Project).
Enter Quick Start Filling Analysis in the Project Name field.

Click
 (Home tab > Import panel > Import).
Click the Ellipsis button on the Import Wizard dialog box to find the file to import.
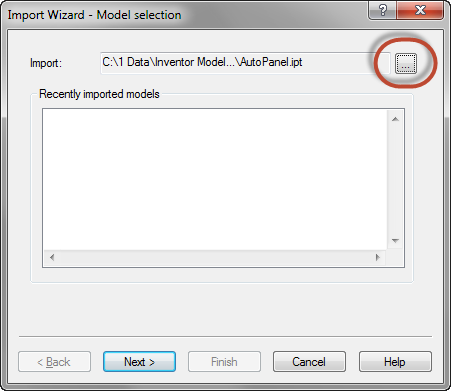
Navigate to where you stored your tutorial files.
Open the Quick Start folder.
Select the Panel.ipt file and click Open.
Click Next on the Import Wizard dialog box. The part takes several seconds to import.
Confirm the units are Millimeters.
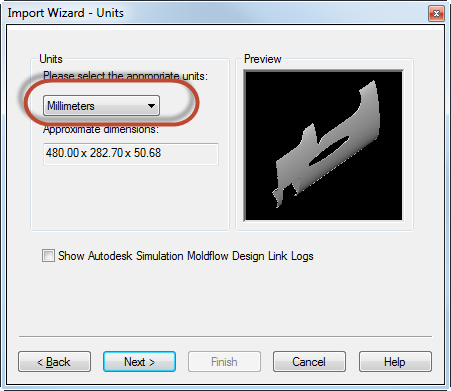
Click Next to open the Advanced options page.
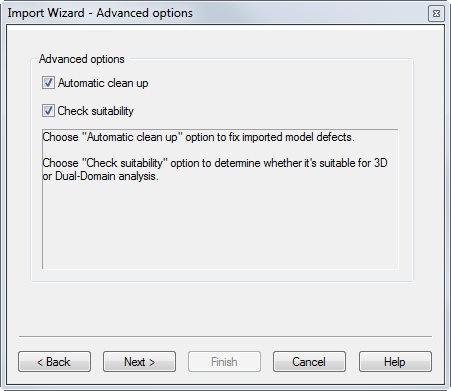
Click Next
It takes a few seconds for the cleanup and checks to take place.
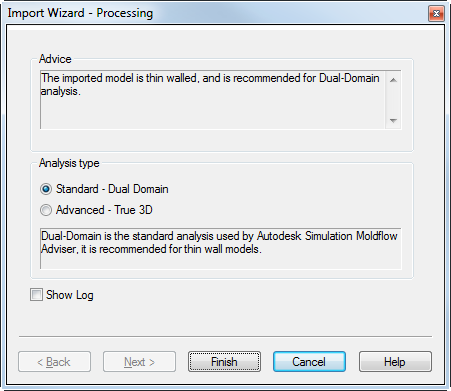
Click Finish to accept the analysis type as Standard - Dual Domain.
Right-click the imported study in the Project manager and select Rename.
Change the name of the study to Panel End Gate.
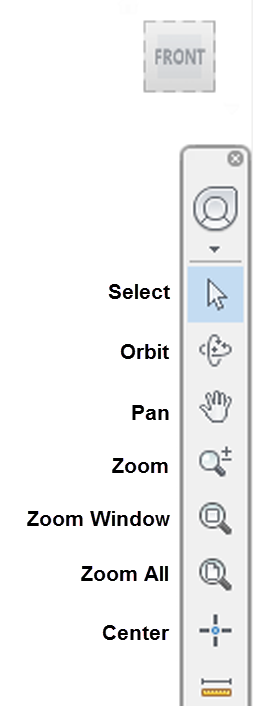
Use the View Cube and Navigation bar on the right to move the model around the screen.
