
Draw a Polyline Takeoff
Record single or multiple line segments using a Polyline.
Use for: Lengths or perimeters, and where the geometry to be measured is a non-standard shape.
In the Quantification workbook, select the Item you want to associate with your Polyline.
On the 2D Takeoff toolbar, click Polyline
 .
.Click the sheet to position a start point.
Notice that the cursor changes to a snap (green vertex) when you move it over existing geometry.
Note: To draw a line that is perfectly horizontal or vertical, press and hold SHIFT when drawing.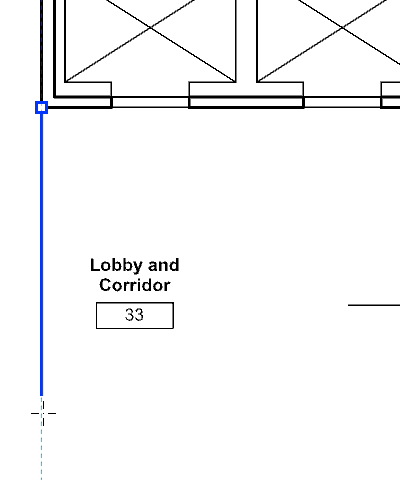
Now choose from one of the following options:
For a single line, click the sheet at your end point, then right-click over the end vertex.
For multiple line segments, continue moving and clicking until you have created the required amount of line segments. Right-click the last vertex to finish.
For a polygon, click the sheet to specify a start point. Continue moving and clicking until you have created the required amount of line segments. For your final line segment, right-click over the first vertex of your shape.
Note: Use snaps to position the last vertex over the first vertex, ensuring you have a closed polygon.
The properties of your Polyline Markup appears in the Takeoff Pane.
To change the line thickness of your markup, open the Item Catalog and type a value in the Line Thickness field.