
Use the Manage Attachments dialog to create new attachments, and edit existing ones.
- With a component selected, click Assembly tab > Modify panel > Attachment > Manage Attachment.
The Manage Attachments dialog is displayed:
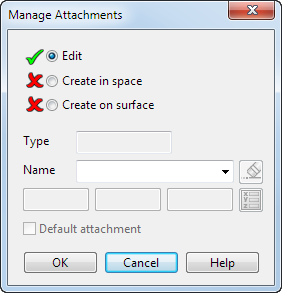
- Use the options on the dialog as follows:
- Edit
(selected by default):
- Name — enter a new name, or select an existing name from the drop-down list.
- Specify the selected attachment as the Default attachment.
- Create in space:
- This option is useful when you are trying to position a component and there is no other geometry to attach to.
- Click Create in space and click the required position. The attachment is created at the specified position. The attachment position will not update if the component geometry is modified.
- Create on surface:
- Create on surface lets you attach to a specified position on a surface. This is useful when you are trying to position a component, and a default attachment of plane, point or line isn't available.
- Click Create on surface and click anywhere on the surface. The attachment is linked to the underlying surface parameters and will update if the geometry is modified.
When you have created an attachment, the Edit option is selected. Use the following options to modify the attachment:
- Enter a Name. By default, the new attachment is named Unnamed.
- Enter the
X Y Z
coordinates, or click the
Position
 button to open the
Position dialog, where you can use position entry tools.
button to open the
Position dialog, where you can use position entry tools.
- Click
 to remove the created attachment.
- Click Default attachment to make the new attachment the default.