Export Images and Video
Export Images
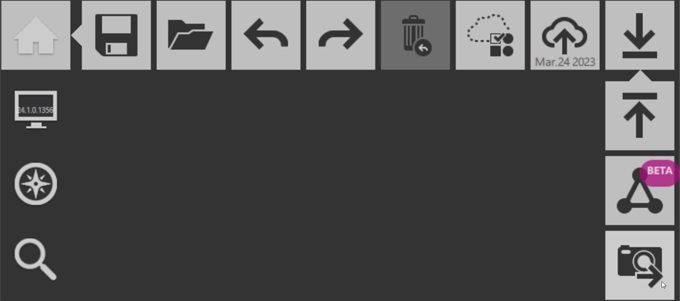
Capture the screen view of a model in either JPEG or PNG format for export as an image to use in presentations or documents.

You are prompted with a dialog to adjust the settings of your image export.

Choose your preferred file format, as well as dimensions, file path and name. Once exported, your files are available at your predefined destination.
Export Video
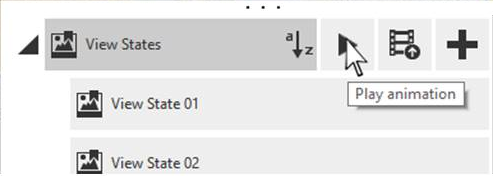
ReCap now provides a quick way to turn your View States into a handy animation for creating presentations or work packet materials. Utilizing the stock transitions between states, ReCap generates an animation that moves seamlessly between them, maintaining a sense of context within the model. Access to playback and export are found as two contextual tools under the View State header, as well as in individual groups.

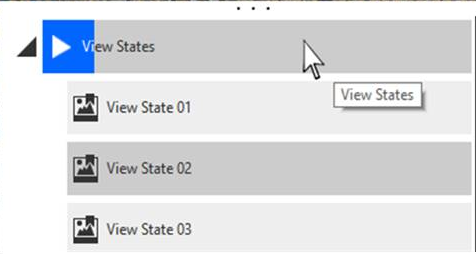
Playback is initiated through the Play button found on mouse-over of the group entry in the Project Navigator. Once playback has been started, ReCap automatically cycles through the View States contained within that group, from top to bottom as they appear in the Project Navigator.

New View States can be added, removed, or moved in the View State list to extend or modify the animation result. Because we are utilizing the standard animations for View States, it's best to think of individual View States as key frames that the animation toolkit uses to move the user through the project.
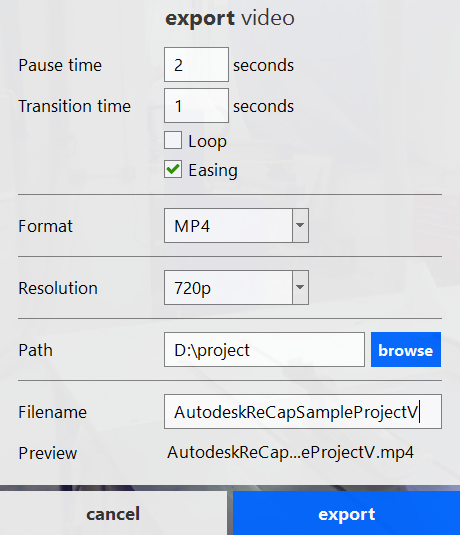
Exporting animations as videos is also accessible through the contextual UI of group headers for Pro subscribers.

Current export options allow for MP4 or AVI formats, with 720p, 1080p, or 4k resolution. You can also choose to "loop" your video and toggle the use of an easing in transitions between View States. Turning easing off creates a constant speed of travel between each View State.

Once exported, the video provides a crisp, full resolution visualization of the point cloud, omitting any transition artifacts that may be present when viewing the animation within ReCap.
Important: To run Export Video in ReCap Pro 2025 or later, you must have the Cisco OpenH264 Video Codec. ReCap will try to setup the codec automatically for you when it detects an update is needed. Alternatively, you can manually download and setup the codec as follows:
- Download the OpenH264 2.3.1 codec from http://ciscobinary.openh264.org/openh264-2.3.1-win64.dll.bz2
- Extract the package
- Rename the file openh264-2.3.1-win64.dll to openh264.dll
- Create folder OpenH264Installation under %LOCALAPPDATA%\Autodesk\Autodesk ReCap
- Copy openh264.dll to %LOCALAPPDATA%\Autodesk\Autodesk ReCap\OpenH264Installation
- Open ReCap Pro and follow the video export procedure described above.
