Interacting Within a Collaboration Session for HMD Users
There are two kinds of collaboration session participants, desktop and HMD users. This article covers the instructions for how to do things as an HMD user. For desktop users, see Interacting Within a Collaboration Session for Desktop Users.
How to Get Around in a Scene
Use Teleport to get around in a scene. Click the following links for:
How to Switch Between Hands and Controllers
There are two ways to switch between displaying hands and controllers. With both, to return to the other state, repeat the action.
Click the Controller/Hand button from the VR Menu.
Align the top of the controllers, bringing them together.
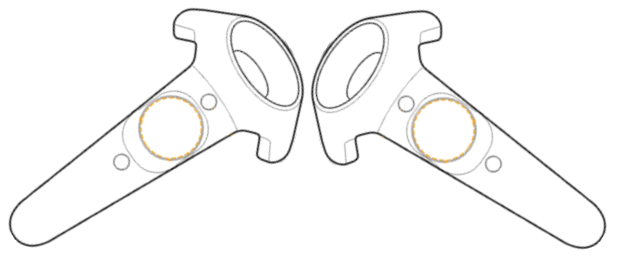
When using the controllers, tooltips appear to show which functions are controlled by which control.
For Left-handed Users
The controllers are mapped in such a way that both left- and right-handed users can use them.
The controller used to open the VR Menu automatically becomes the non-dominant hand controller. Therefore, if you are left-handed, you want to open the VR Menu with the controller in your right hand.
Using Hand Poses
Hand poses are used to communicate visually. Click the Hand Poses Only button to enable it. Now you can make a thumbs up, thumbs down, pointing, open hand, or a fist (closed hand) to indicate liking, agreeing, etc. See VR Hand Gestures for more information.
How to Use the Pointer
Line up your hand or controller with the content you want to draw attention to and squeeze the trigger to fire your laser pointer.
Pointer Display
- Press VR Menu on your controller.
- In the VR Menu, do the following:
- For other participants to see your pointer and draw their attention to something, enable Share Pointer.
- When engaging with touch sensors and not wanting to draw attention, disable Share Pointer. This way, the pointer is only visible to you.
How to Return to the Pointer
To return to using the pointer after hand poses, deactivate Hand Poses Only.
Swipe Scrolling Through Lists
If you find the scroll bars hard to use, when scrolling through a list, try swipe scrolling.
Press the trigger and move up or down to scroll through a list of options.
Pressing and releasing the trigger will select the highlighted option.
How to Calibrate the Ground Level

In the VR Menu, enable Teleport Ground.
Press Calibrate Ground. A green plane appears to represent the new ground plane.
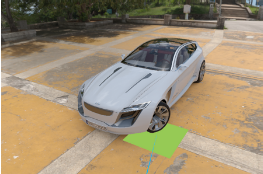
Move the green plane to where the ground place should be.
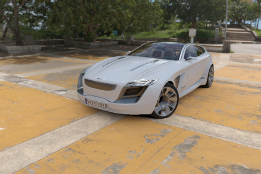
Pull the trigger to select that spot and reset the ground plane.
How to Change the Viewpoint
If viewpoints are set up for a scene, they are accessible through the VR Menu.
When you change the viewpoint, it only affects you.
How to Add Annotations
When interacting within a collaboration session, use annotations to add notes for others to see instantly.
From the menu bar, select Interaction > Annotation. For complete steps, see How to Create an Annotation.
When joining a collaboration session, all annotations are synced. However, if there are annotations created before joining a collaboration session, these will be lost (deleted) upon joining.
How to Access Variant Sets
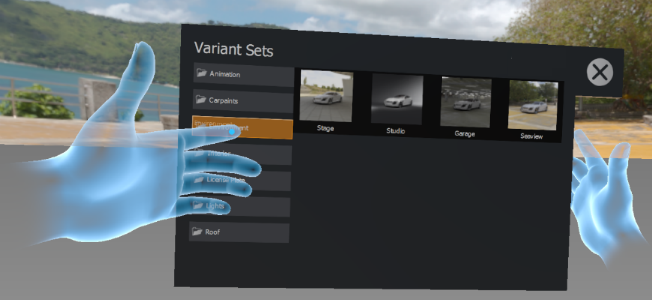
If variant sets (VSets) are set up for a scene, they are accessible through the Variant Sets option in the VR Menu.
Use the VR Menu on your controller to access the VR Menu home page.
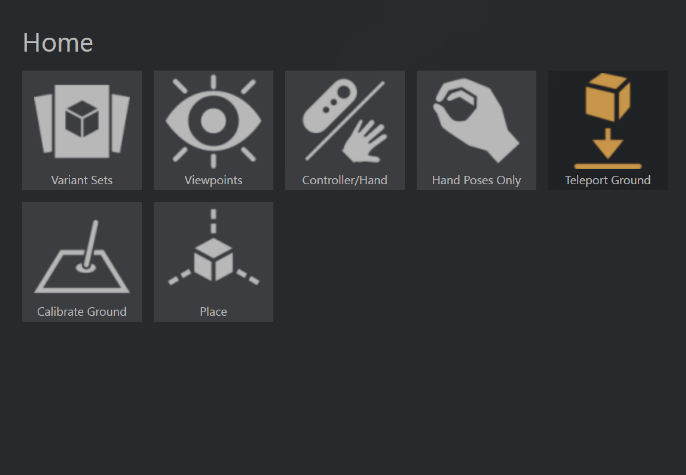
Click Variant Sets to open the Variant Sets panel.
Click a variant set to change something in the scene.
How to Identify Touch Sensors
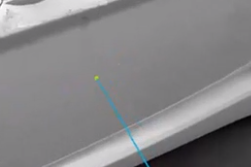
If there is a touch sensor in a scene, how do you know? When your pointer hovers over a touch sensor, a green ball appears at the end of your pointer, indicating a sensor.
How the Safety Twin Works
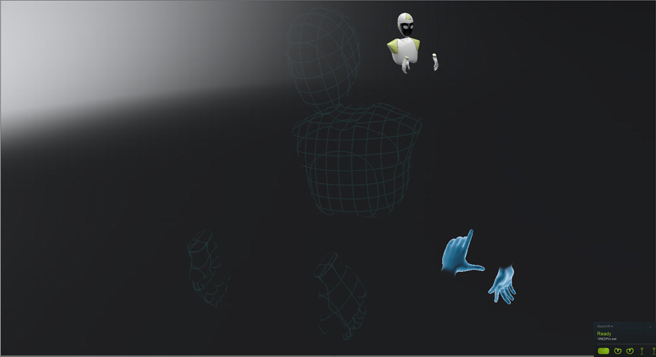
When multiple participants are in the same real-world space, without some type of safety mechanism in place, collisions can occur. In VRED, we added the safety twin to provide a visual cue to keep you safe and help avoid collisions.
When a blue grid mesh appears (the safety twin), that indicated another participant is nearby.
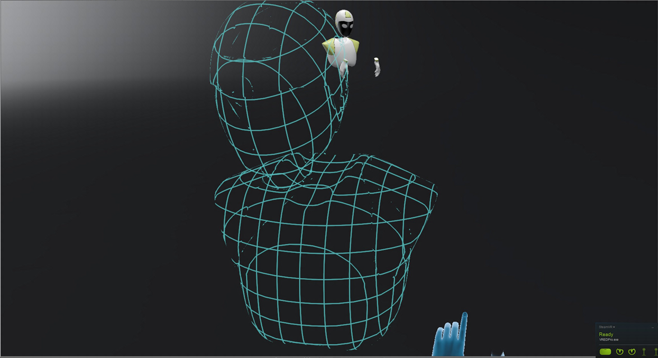
As they move closer, the mesh of the safety twin begins to fade, becoming increasingly transparent.
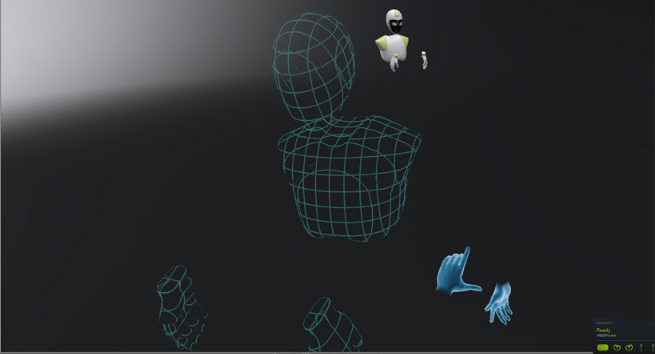
If the safety twin becomes completely transparent, that participant is dangerously close.
How to Leave and Rejoin a Session
There is no button in VR to leave a session. If you take off your headset, in the Collaboration module, click ![]() to leave the session. Click it again to rejoin the session, then put on your headset. If the scene has been updated, you will be notified.
to leave the session. Click it again to rejoin the session, then put on your headset. If the scene has been updated, you will be notified.