
Place a component in your schematic
Components are the building blocks of your schematic, and they represent the physical parts you will use in your circuit.
In the Electronics workspace, on the Schematic document toolbar, click Place > Place Components
 to show the Place Components persistent panel on the right of the canvas.
All the components available in all the active libraries are listed in the Place Components panel.
Optionally, at the top of the Place Components panel, use the dropdown to switch from all active libraries to show only the components already used in this design.
Note: If you want to include additional libraries, click Open Library Manager to find and activate them.
Filter the list to reduce the number of components displayed.
For example, type "resistor" in the search box to show only resistors.
In the Place Components panel, double-click the component you want to add to open the Add dialog.
Note: The origin of the schematic sheet is indicated by a stationary cross in the canvas.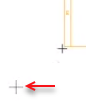
In the Add dialog, if necessary change the orientation of the component before you insert it.
In the canvas, hover over the spot where you want to place the component.
Note: The toolbar shows the coordinates of the mouse pointer.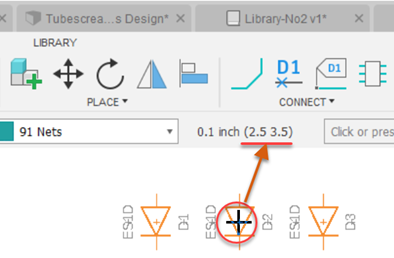
Click on the canvas to place the component.
Continue clicking to place more copies of the same component.
Continue to choose and place other components, such as resistors, capacitors, 555 timers, LEDs, to complete component placement on this schematic.
When you have finished placing components, click Done to to close the Add dialog.